Here is a collection of simple ESP8266 Projects that are implemented in Electronics Hub. As we make more ESP8266 Projects, we will update this page with all the latest information.
Outline
Toggle- Getting Started with ESP8266 and Arduino: ESP8266 Arduino Interface
- How to Update Flash ESP8266 Firmware – Flashing Official AT Firmware
- DIY PCB for ESP8266 WiFi Module (ESP8266 Breadboard Adapter)
- WiFi Controlled LED using ESP8266 and Arduino
- How to Control ESP8266 over Internet?
- How to Connect ESP8266 to WiFi | A Beginner’s Guide
- ESP8266 PWM Tutorial | LED Fading using ESP8266
- ESP8266 AT Commands
- Control a Relay using ESP8266 and Android MIT App Inventor
- Web Controlled Servo using ESP8266
- Control a Relay From Anywhere in the World using ESP8266
- Connect ESP8266 to ThingSpeak
- DHT11 Humidity Sensor with ESP8266 and ThingSpeak
- DS18B20 Temperature Sensor with ESP8266 and ThingSpeak
- WiFi Controlled Robot using ESP8266 and Arduino
- Getting Started with NodeMCU | A Beginner’s Guide
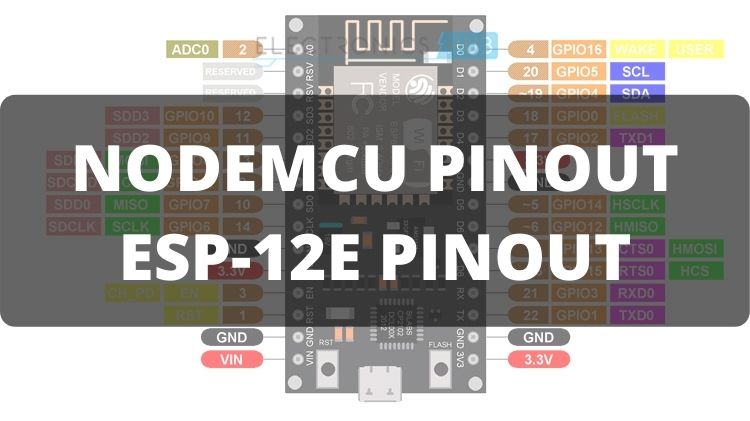
- NodeMCU Pinout and ESP-12E Pinout
- How to Configure GPIO Pins as ESP8266 NodeMCU Input Output?
- ESP8266 ADC Tutorial
- Programming ESP8266 using VS Code and PlatformIO
- How to Enable ESP8266 Deep Sleep Mode?
- How to Create ESP8266 Web Server?
- How to Interface PCF8574 I2C LCD with ESP8266 NodeMCU?
- How to Interface OLED Display with NodeMCU ESP8266?
- Connecting Nokia 5110 LCD Display with ESP8266 NodeMCU
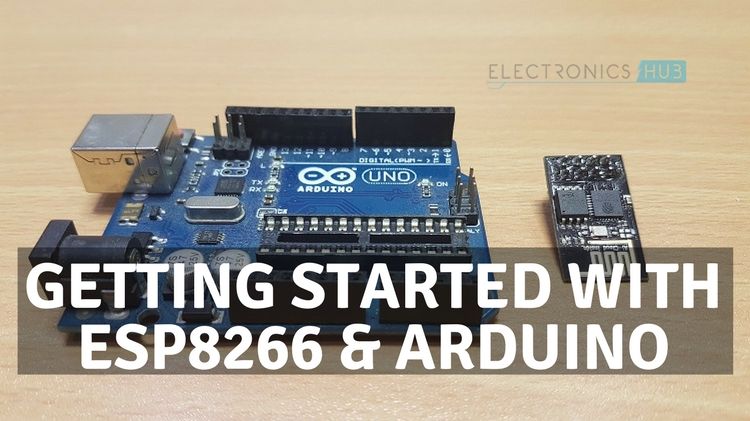
Getting Started with ESP8266 and Arduino: ESP8266 Arduino Interface
Description: This is first project on ESP8266 which gives an introduction to ESP8266 WiFi Module and how to interface ESP8266 with Arduino and upload the code. In this project, you can get an idea about the Pin Configuration of ESP8266, the Pin Description and also the basic connections.
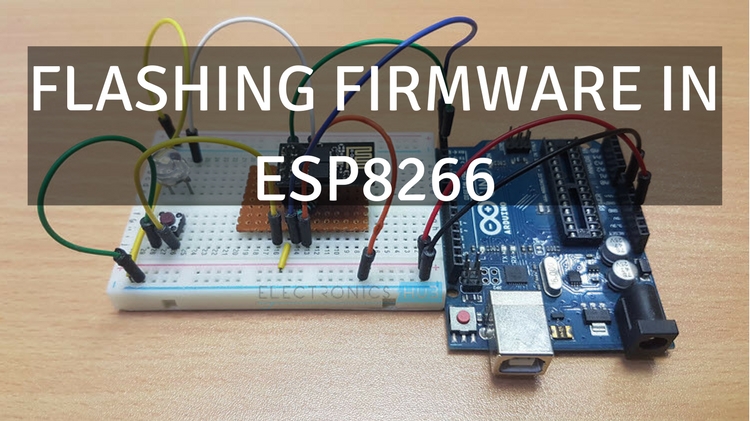
How to Update Flash ESP8266 Firmware – Flashing Official AT Firmware
Description: In the second ESP8266 Project, I will show you how to update or flash the AT Commands Firmware in ESP8266 WiFi Module. AT Commands are very important for ESP8266 WiFi Module as they are responsible for all the operation associated with its working.
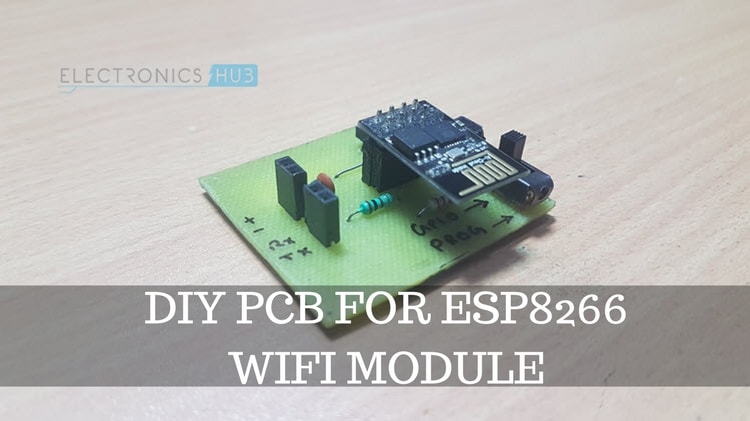
DIY PCB for ESP8266 WiFi Module (ESP8266 Breadboard Adapter)
Description: If you observe the ESP8266 WiFi Module, especially the basic ESP-01 variant, its pins are so awkwardly given that we cannot use them on a breadboard. In this project, I will take you through the steps of designing a Breadboard adapter for ESP8266 with all its major components.
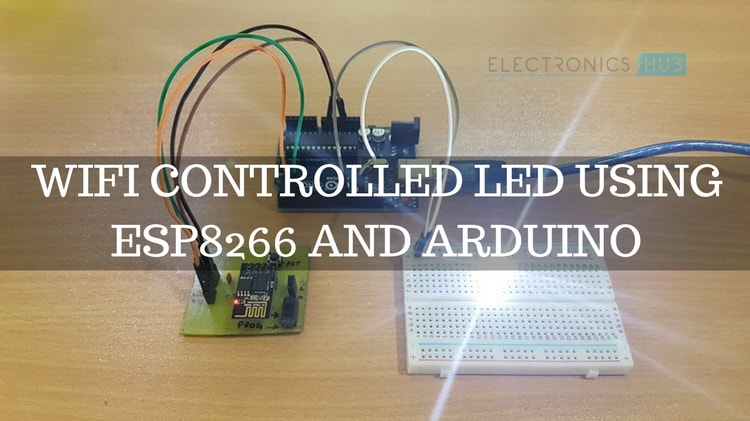
WiFi Controlled LED using ESP8266 and Arduino
Description: WiFi Controlled LED using ESP8266 and Arduino is a simple project where you can control an LED connected to Arduino over a WiFi Network. This project can be very useful in further implementation of IoT Projects using ESP8266.
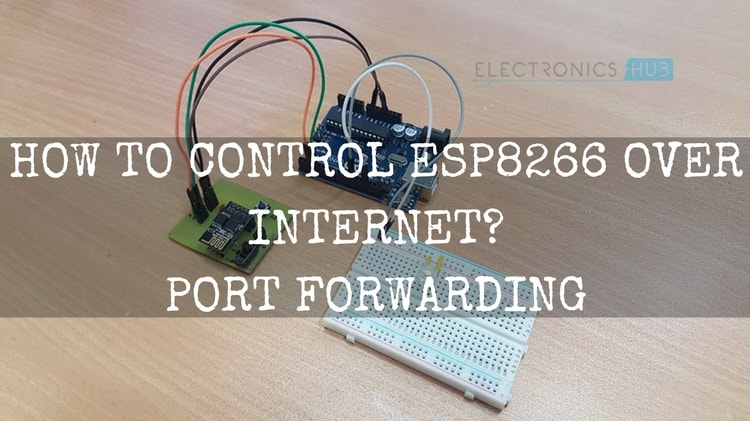
How to Control ESP8266 over Internet?
Description: In this project, I will show you how to control an ESP8266 WiFi Module over the Internet. A technique called Port Forwarding can be used for this purpose. I will discuss the pros and cons of this method and also the alternative techniques.
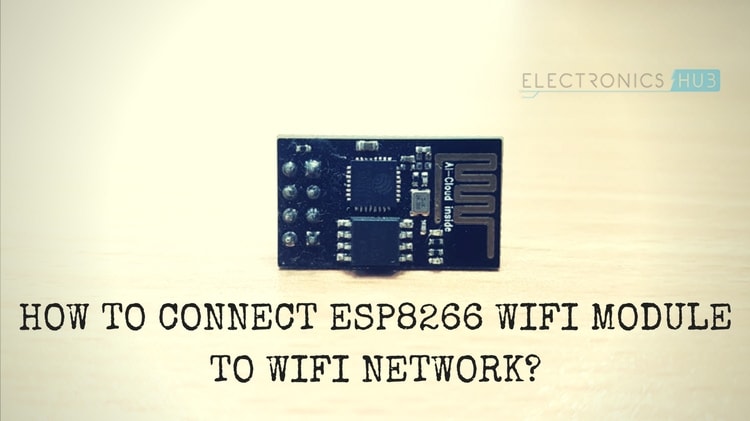
How to Connect ESP8266 to WiFi | A Beginner’s Guide
Description: An important project with respect to the ESP8266 WiFi Module. In this project, I will take yo through all the steps required to connect the ESP8266 Module to a WiFi Network. In the process, I will also talk about the WiFi Modes of operation in the ESP8266 Module.
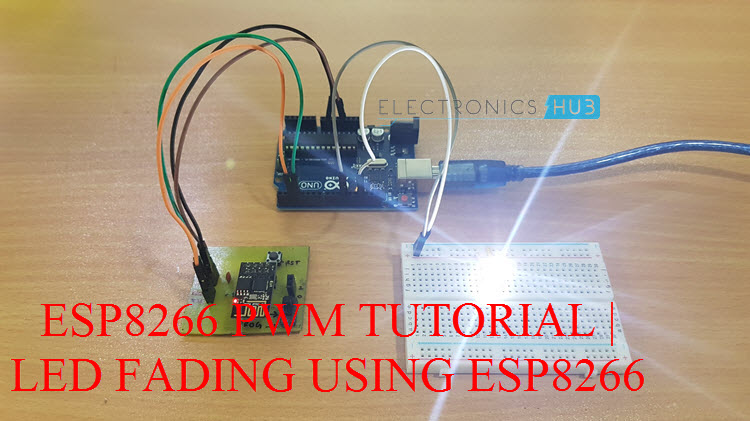
ESP8266 PWM Tutorial | LED Fading using ESP8266
Description: The GPIO Pins of the ESP8266 WiFi Module are capable of generating PWM Signals. Using one of the GPIO Pin and generating a PWM Signal, I will show you how to implement an LED Fading operation using ESP8266.
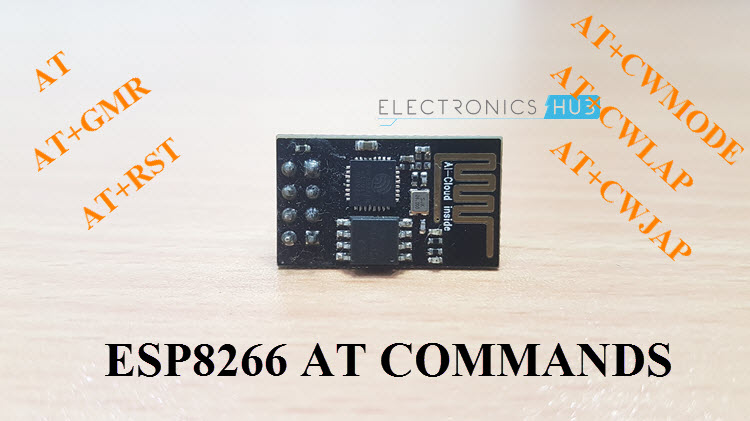
ESP8266 AT Commands
Description: AT Commands are very important part of the ESP8266 WiFi Module as they are responsible for almost all the operations performed by it like Restarting, Turning On/Off WiFi, Connecting to a WiFi Network, Enabling TCP/UDP Protocols etc. In this tutorial, I will explain some of the frequently used ESP8266 AT Commands.
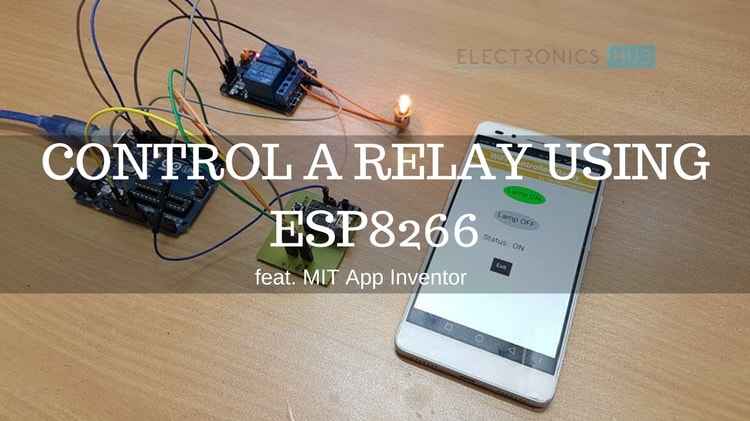
Control a Relay using ESP8266 and Android MIT App Inventor
Description: Controlling a Relay is an important task if you can to implement a Home Automation System. In this project, I will show you how to control a relay using ESP8266 and an Android App developed using MIT App Inventor Application.
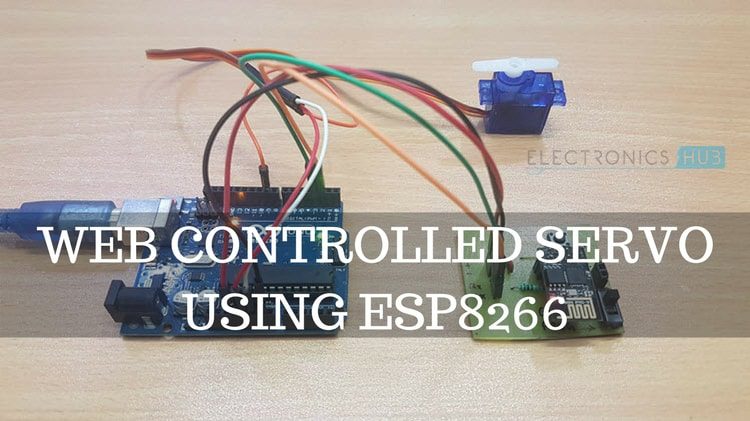
Web Controlled Servo using ESP8266
Description: Servo Motors are very important components for every hobbyist as they are used in almost all kinds of robotic project. In this project, you can understand how to control using ESP8266. The interesting thing is that the Servo Motor is controlled through a Web Page.
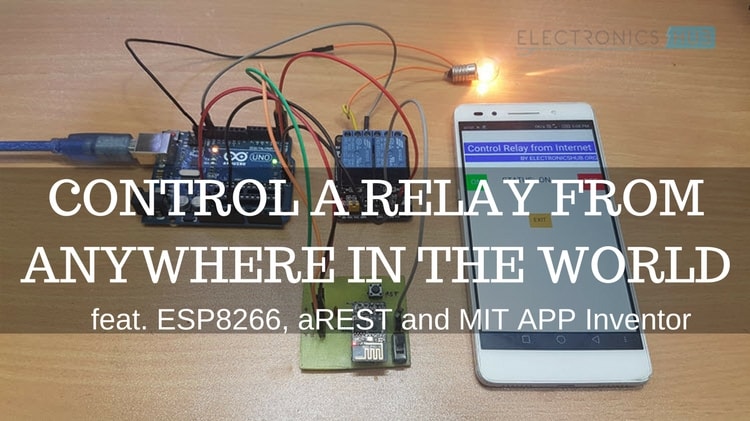
Control a Relay From Anywhere in the World using ESP8266
Description: The previous relay control project involved controlling a Relay using ESP8266 from the same WiFi network. Taking it a step further, in this project, I will show you how to control a relay from anywhere in the World. For this, I will be using a platform called aREST.
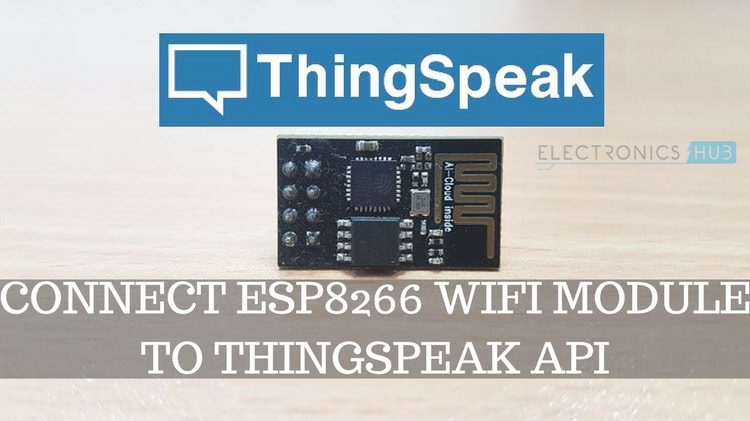
Connect ESP8266 to ThingSpeak
Description: ThingSpeak is an IoT Platform for data collection, analyzing and triggering. The combination of ESP8266 and ThingSpeak is very crucial if you want to implement a true IoT Application. In this project, you will get the basics of ThingSpeak Application and also how to connect ESP8266 to ThingSpeak.
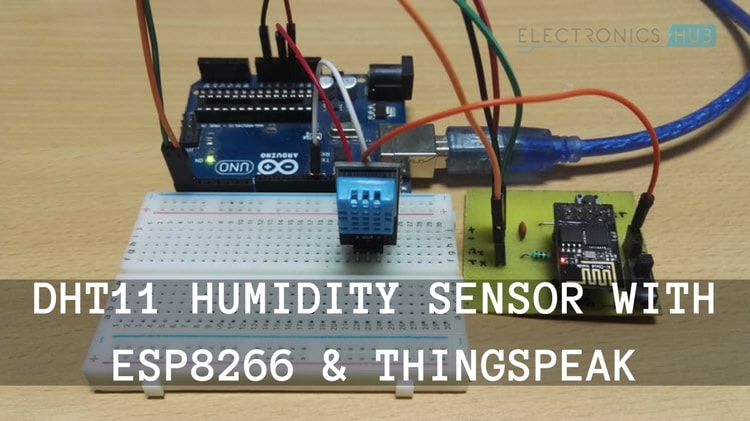
DHT11 Humidity Sensor with ESP8266 and ThingSpeak
Description: When we talk about ESP8266, ThingSpeak and IoT, the first sensor that comes to mind is DHT11 Humidity and Temperature Sensor since this sensor can produce data related to two quantities. In this project, I will interface DHT11 with ESP8266, collect the data and post them on ThingSpeak.
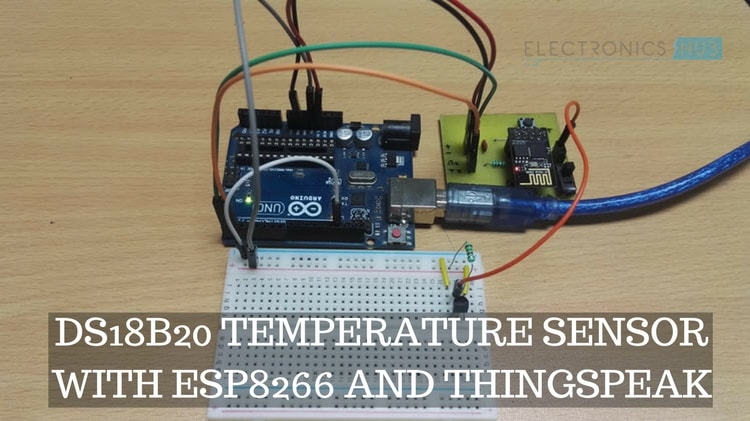
DS18B20 Temperature Sensor with ESP8266 and ThingSpeak
Description: DS18B20 Temperature sensor is one of the important and most frequently used sensors in the DIY Community. In this project, I will show you how to interface the DS18B20 Sensor with ESP8266, extract the temperature data and update the same on ThingSpeak Application.
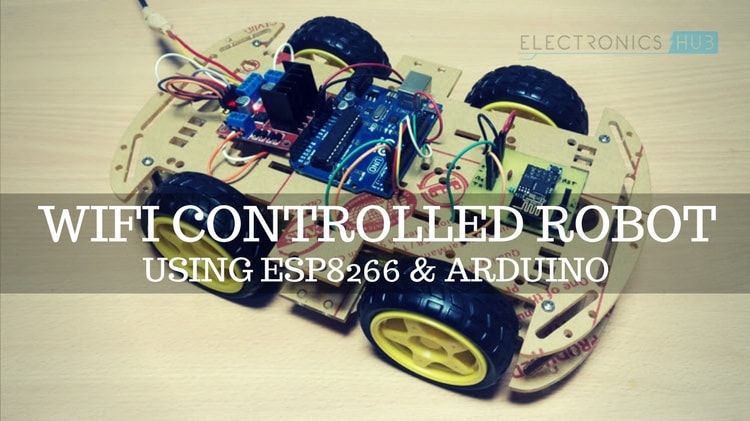
WiFi Controlled Robot using ESP8266 and Arduino
Description: Any form of robot is always an interesting topic for DIYers and hobbyists. WiFi Controlled Robot is a simple Robotic Application built around ESP8266 and Arduino, where the controls to the Robot i.e. forward, reverse, left turn and right turn are given from a Web Page over the WiFi network.
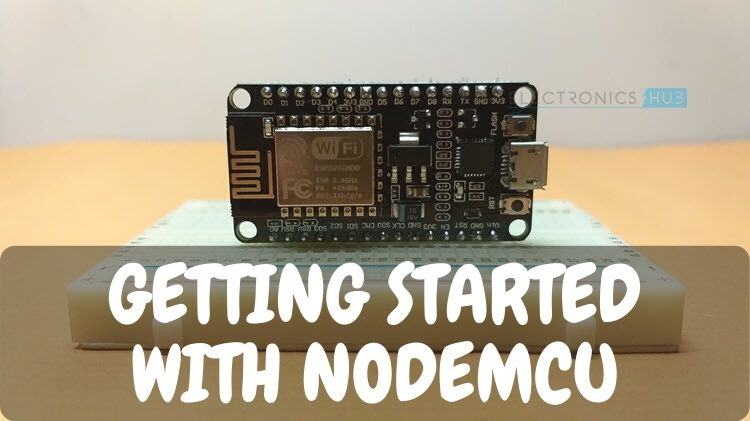
Getting Started with NodeMCU | A Beginner’s Guide
Description: Even though ESP8266 ESP-01 Module is a great beginning component for Wi-Fi related projects, it has several limitations (in terms of programming and exposed GPIO Pins). To overcome this and make complete use of the ESP8266EX SoC, we can use the NodeMCU Development Board. This tutorial is a complete beginner’s getting started guide for NodeMCU.
NodeMCU Pinout and ESP-12E Pinout
Description: NodeMCU is based on ESP-12E Module, which in turn uses the ESP8266EX SoC. Understanding and learning the Pinout of these module is very important if you want to design your own ESP8266 Board using ESP-12E Module or want to know what are the functions of the pins on NodeMCU board and also what pins are safe to use in our projects.
How to Configure GPIO Pins as ESP8266 NodeMCU Input Output?
Description: Once you learn the Pinout of NodeMCU, you are now ready to use the GPIO pins in your projects either as Input or as Output. Thanks to the Arduino IDE integration of all the tools and libraries for ESP8266, configuring GPIO pins as INPUT or OUTPUT is actually very simple. Learn how to configure GPIO Pins of ESP8266 NodeMCU as Input or Output in this tutorial.
ESP8266 ADC Tutorial
Description: The ADC or Analog to Digital peripheral of a Microcontroller is very useful in interfacing Analog Sensors and Devices to the Microcontroller. The ESP8266 SoC also features a 10-bit SAR ADC, which can be used to connect different sensors (like LM35 Temperature Sensor) or devices (like potentiometers) to the NodeMCU board. Learn more about how to use the ADC of ESP8266 in this tutorial.
Programming ESP8266 using VS Code and PlatformIO
Description: Visual Studio Code or simply VS Code is one of the best code editors available out there. In fact, many professional software developers use VS Code as their main code editing tool. But how can we use VS Code for developing applications for ESP8266 or other boards like ESP32 and Arduino? This is where PlatformIO comes into picture.
PlatformIO is an IDE designed especially for embedded development. By using PlatformIO with VS Code, you can easily program ESP8266 NodeMCU, ESP32 and many other boards.
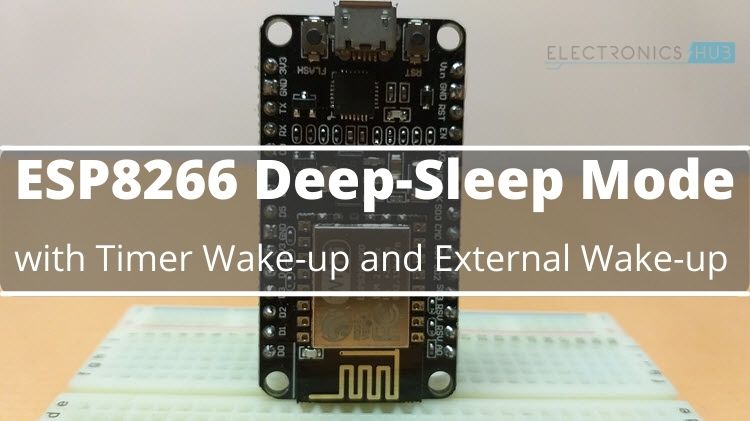
How to Enable ESP8266 Deep Sleep Mode?
Description: One of the very useful features of modern microcontrollers and microprocessors is their ability to run on very less power (useful in battery operated devices). This is possible by implementing several sleep mode techniques, which turns off different parts of the SoC when not in use. The ESP8266 SoC also features a few sleep modes and Deep Sleep mode offers the maximum power savings. Learn how to enable ESP8266 Deep Sleep Mode and also how to wake it from sleep.
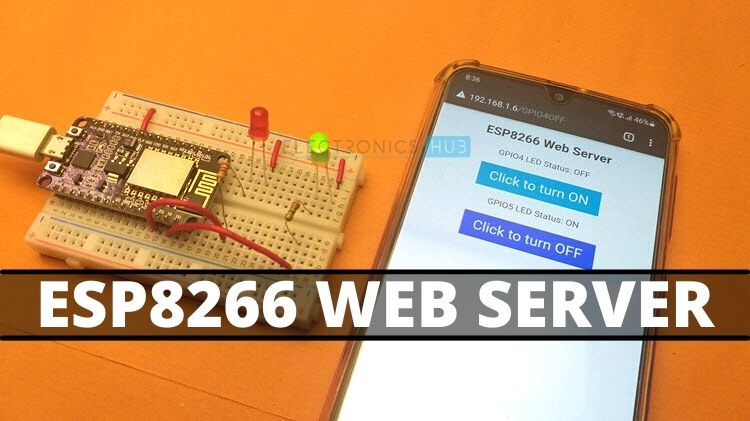
How to Create ESP8266 Web Server?
Description: one of the benefits of having Wi-Fi connectivity on ESP8266 is the ability to create Web Servers. A web server is a system which hosts a webpage and this webpage can be accessed by different clients. One simple application of such web servers is ESP8266 monitors and updates temperature and humidity on the webpage. You can simply open the webpage in your phone to view the readings. Learn more on how to create ESP8266 Web Server.
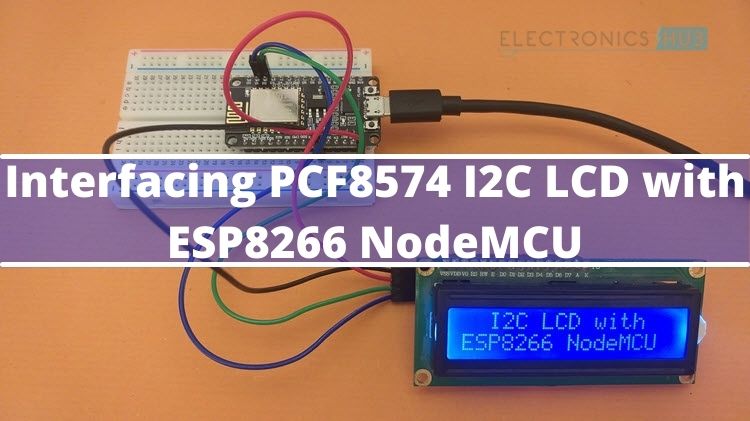
How to Interface PCF8574 I2C LCD with ESP8266 NodeMCU?
Description: If your project involves displaying simple text and numerical data on a screen, then the 16×2 LCD is a cheap and easy choice. To overcome the parallel interface of this LCD (which uses a lot of GPIO pins of ESP8266), we can use PCF8574 I2C LCD Module to convert it into an I2C device. In this tutorial, you can learn how to connect PCF8574 I2C LCD with ESP8266 NodeMCU.
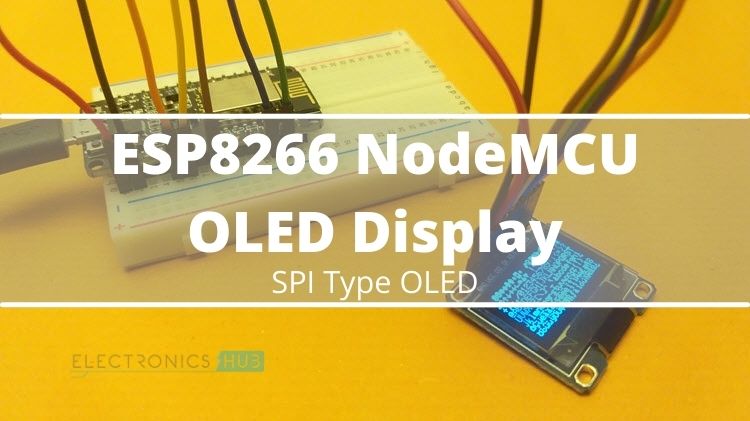
How to Interface OLED Display with NodeMCU ESP8266?
Description: The self-emitting OLED based displays are one of the best displays in the consumer market. The demand for battery operated DIY projects has led to development of affordable OLED displays, which cab used to display important information, animation and graphics. There are two types of OLED Displays: I2C and SPI interface. Learn how to connect an SPI type OLED display with NodeMCU ESP8266.
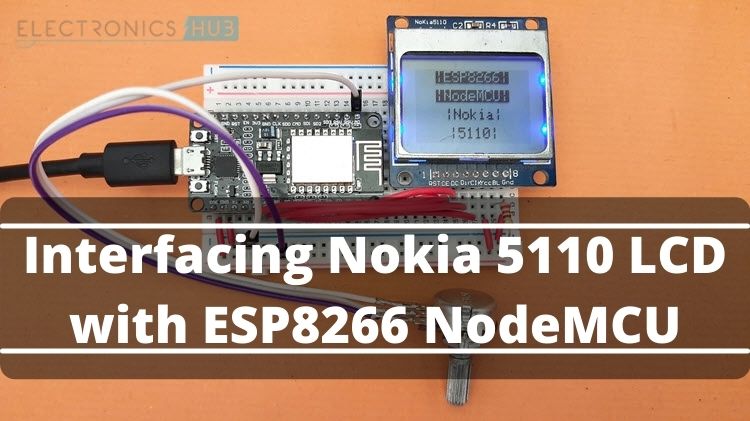
Connecting Nokia 5110 LCD Display with ESP8266 NodeMCU
Description: The Nokia 5110 LCD Display is an iconic display module used in the famous Nokia 5110 Mobile Phones. This display has found a new home in the form of DIY projects, where you can easily interface a Nokia 5110 LCD to your microcontroller and display text of different fonts, custom symbols, images, animations etc. In this tutorial, you will learn how to interface a Nokia 5110 LCD Display with ESP8266 NodeMCU.

