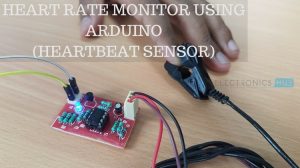
Heartbeat Sensor is an electronic device that is used to measure the heart rate i.e. speed of the heartbeat. Monitoring body temperature, heart rate and
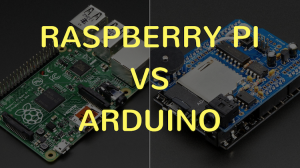
Raspberry Pi and Arduino are two very popular boards among electronics DIY builders, hobbyists and even professionals. Raspberry Pi and Arduino are quite different boards.
In this project, we will build a simple Access Control System using RC522 RFID Module, Arduino and MG 996R Servo Motor. Authenticate people using their