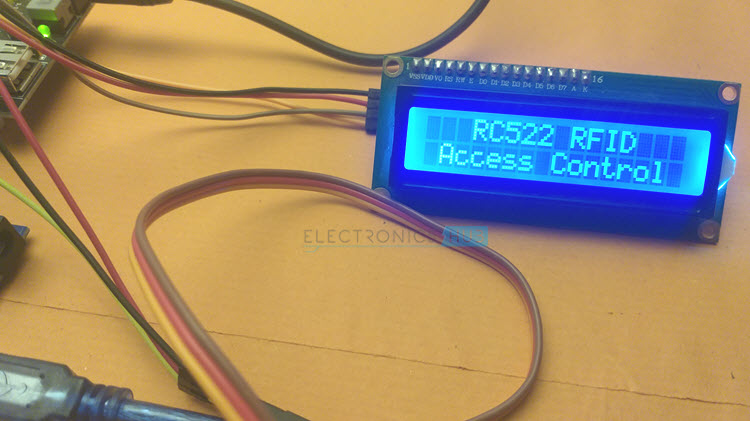
In this project, we will build a simple Access Control System using RC522 RFID Module, Arduino and MG 996R Servo Motor. Authenticate people using their RFID Smart Cards or Key Fobs and allow them access i.e., open or close the Servo (gate) only if they have permission.
To keep things clean and simple, I used a Servo Motor to represent a gate opening and closing. If you are interested in a more professional installation but keeping it DIY, then you can use a Solenoid Door Lock or an electromagnetic door lock. If cost is a factor, then I suggest you to use a Solenoid Door Lock.
Outline
ToggleRFID Based Access Control System
Access Control is an important technique in the field of Security, where personnel may have restricted access to enter a place, use an object or consume something. Authorization is the process of verifying the credentials of a person and granting permission to access the resource.
Electronics Access Control or EAC is a simple concept which uses a computer system to overcome the limitations of physical lock and keys. In EAC, we have three types of authentication. They are:
- Using a keypad to enter a PIN or a password.
- Scan smart card or key fob
- Use a biometric system like fingerprints or iris
In this simple DIY Project, we will use an RFID based access control system which authenticates persons using Smart Cards and Key Fobs.
Anatomy of an Access Control System
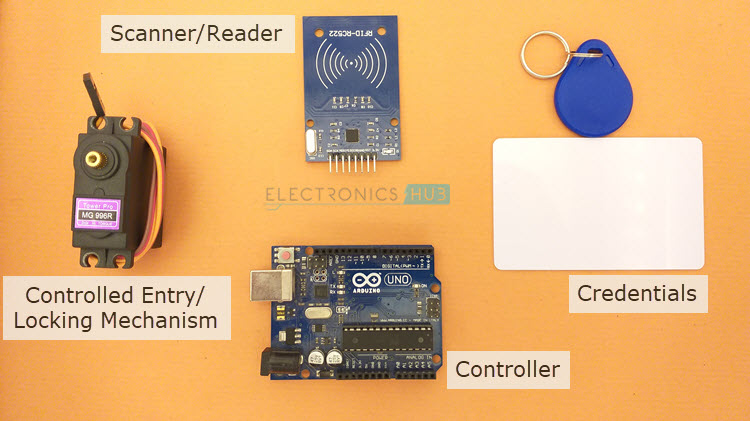
A typical Access Control System consists of the following components. These are the minimum components required to implement a working Access Control System. But the complexity of the Access Control System may vary from system to system.
- Controller: A Microcontroller or Microprocessor capable of interfacing with a scanner / reader Module.
- Controlled Entry: Like a door or a gate.
- Scanner / Reader: A Module used for accepting input from the user, like a keypad or an RFID Scanner or a fingerprint reader.
- Locking Mechanism: Like a solenoid door lock or a motor – controlled door strike.
Component Description
RC522 RFID Module
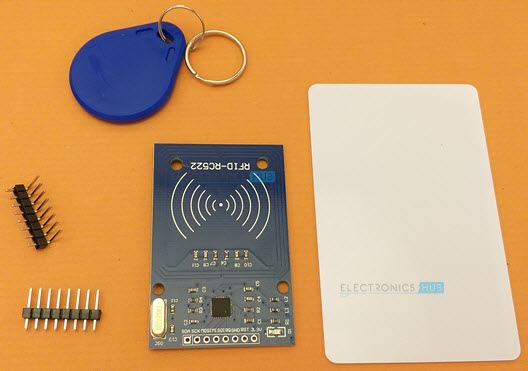
MFRC522 IC based RC522 RFID Module is a cheap yet reliable RFID Module for Arduino. The kit consists of the main RFID Scanner / Reader Module (with embedded PCB Antenna), a Smart Card and a Key Fob (both are of type MIFARE 1K Classic).
I made a dedicated tutorial on Interfacing RC522 RFID Module with Arduino. Check it out.
MG 996R Servo Motor
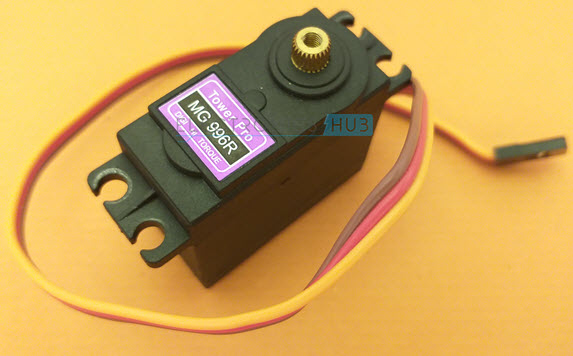
Tower Pro’s MG 996R is a digital metal gear servo with a high stall torque and can rotate up to 120 degrees (60 degrees in each direction). At an operating voltage of 4.8V, MG 996R Servo can provide a stalling torque of 9.4 kgf.cm.
NOTE: Do not power MG 996R Servo Motor from Arduino as the running current is very high (typically, between 500mA to 900mA for 6V supply). The stalling current, depending on the load, can reach 2.5A (at 6V).
So, use a separate power supply for Servo and make the ground common between this external power supply and Arduino.
PCF8574 I2C LCD Module
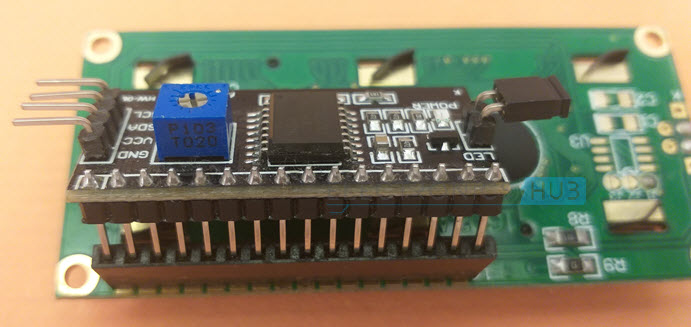
One of the very useful modules available for Arduino is the PCF8574 I2C LCD Module. It converts a regular 16×2 LCD Display into an I2C interfaced device so that you can control the display with just two wires (SDA and SCL of I2C).
I made a dedicated tutorial on Interfacing PCF8574 I2C LCD with Arduino. Check it out.
Arduino RC522 RFID Module based Access Control System
I chose Arduino UNO as the main controller for this project. To accept input from users, we will use the RC522 RFID Reader Module. The users will be given RFID smart cards and key fobs as their credentials.
A 16×2 LCD Display along with a PCF8574 I2C LCD Module will be connected to Arduino to display relevant text for the user (like welcome message or UID).
The connection between Arduino and RC522 RFID Module uses SPI Interface while the communication between Arduino and PCF8574 I2C LCD Module (and subsequently, the 16×2 LCD) is based on I2C interface.
Connect the Servo Motor to a PWM pin of Arduino and provide an external power supply if you are using the same powerful MG 996R Servo Motor as I did.
Components Required
- Arduino UNO
- RC522 RFID Module
- RFID Smart Card
- RFID Key Fob
- MG 996R Servo Motor
- 16×2 LCD Display
- PCF8574 I2C LCD Module
- Breadboard
- Breadboard Power Supply
- Connecting Wires
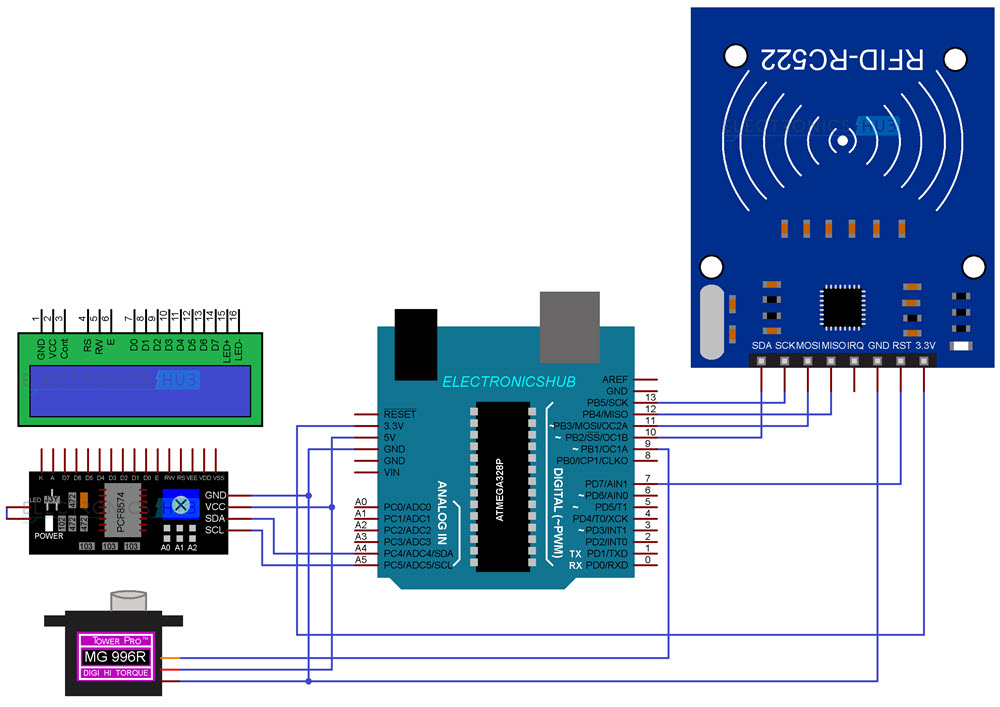
Circuit Diagram
The following image shows all the necessary connections for Arduino RC522 RFID Module based Access Control System.
Prerequisites
Before proceeding with the build of Arduino RC522 RFID Module based Access Control System, there are a few things you need to prepare.
Install Libraries
The first thing you need to do is to check if all the necessary libraries are installed or not. If you are building an RC522 RFID Module based Access Control System using Arduino as mentioned in this project, then you require the following libraries:
- SPI
- MFRC522
- Servo
- LiquidCrystal_I2C
In this, SPI and Servo libraries are already installed with Arduino IDE. So, make sure you install the other two.
UID of Master Card(s)
The next thing to do is get the UID (Unique ID) of all the master cards, which will have permission to access the resource (in this case, the gate will open). Use the ‘DumpInfo’ example from the ‘MFRC522’ library to get the UID of master RFID cards and key fobs.
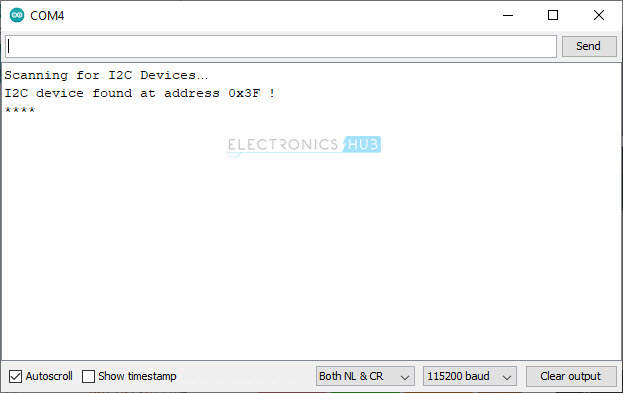
Slave Address for I2C LCD Module
Finally, since we are using an I2C LCD Module with 16×2 LCD Display, we have to know the I2C address of the PCF8574 IC. Connect only the PCF8574 I2C Module to Arduino (through I2C bus) and use the following code to get the slave address.
Code
We are now ready to write the main code for the Arduino RC522 RFID Module based Access Control System. The code is very simple. Keep a list of all the RFID card / key fob UIDs, which are considered to be masters i.e., which have access.
Scan an RFID card or key fob using RC522 RFID Module, which is connected to Arduino. If the scanned card’s UID matches with one in the list, then open the gate i.e., activate the MG 996R Servo and display welcome text on the LCD.
If the scanned card does not have permission, do not open the gate and display an access denied text on the LCD.
Working
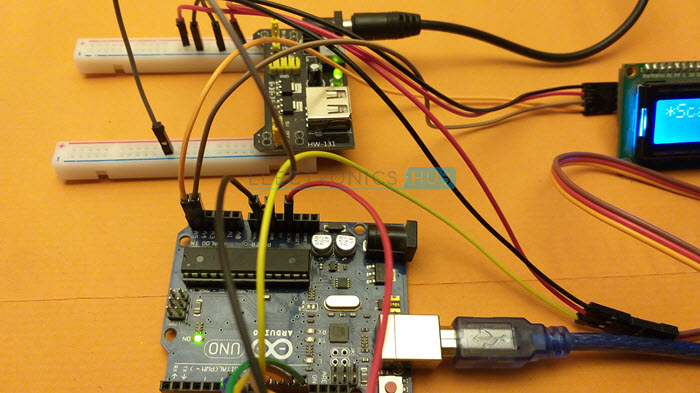
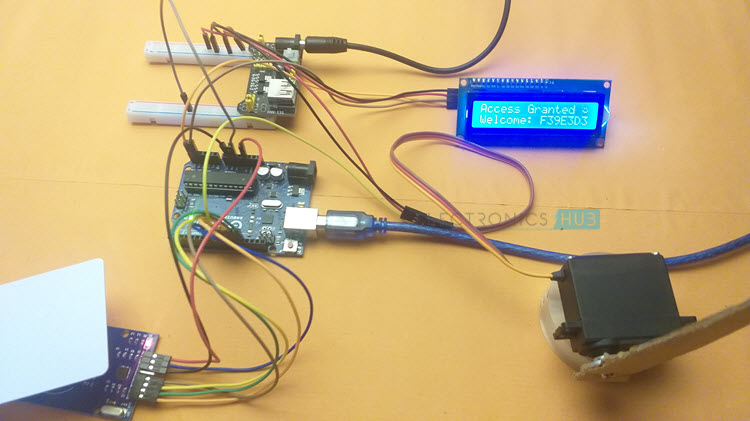
After displaying all the intro text, Arduino will say ‘Scan Your Card’ on the LCD and is now ready for reading / scanning RFID cards or key fobs. I programmed the RFID Card as the master card i.e., only RFID card has access and the key fob doesn’t.
When I scan the RFID smart card, the Servo will activate which represents opening a gate or unlocking a door.
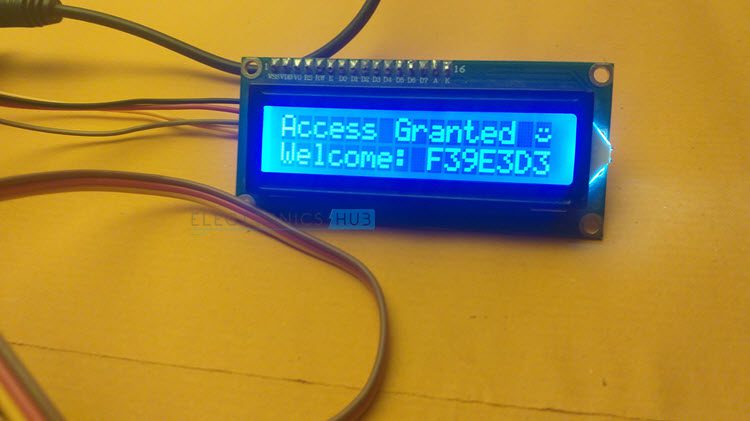
The LCD displays ‘Access Granted’ message and also the UID of the card.
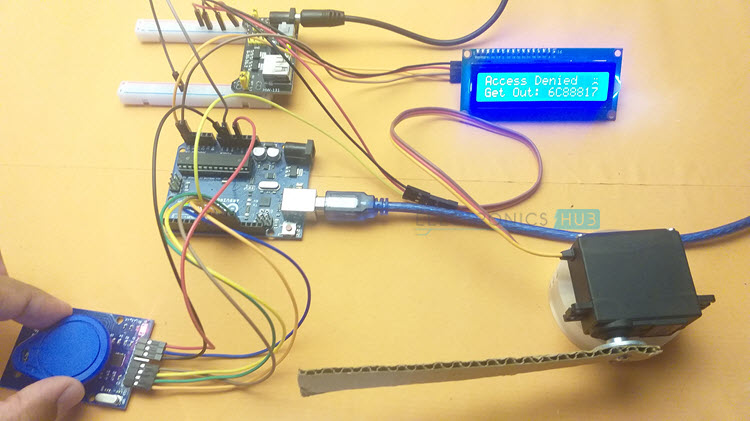
If I scan the key fob, the Servo remains in the closed position as it is not a master card.
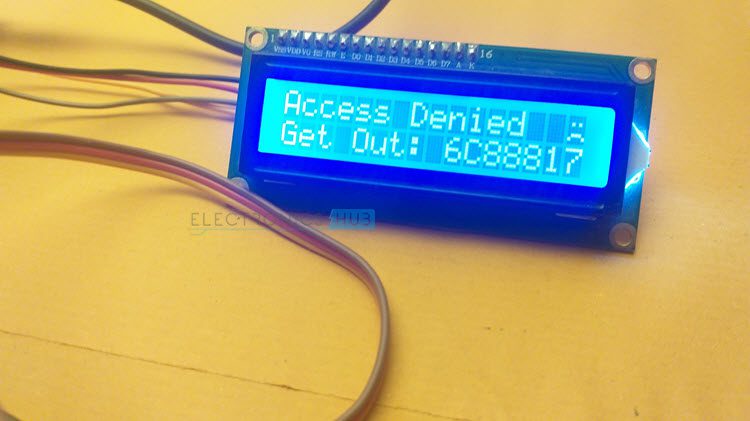
An ‘Access Denied’ message will be displayed on the LCD.
Conclusion
A simple Access Control System DIY Project is demonstrated here using Arduino, RC522 RFID Module, MG 996R Servo, PCF8574 I2C LCD and a couple of RFID smart cards and key fobs. You learned the important components required for this project and also the simple implementation of Arduino RC522 RFID Module based Access Control System.

