Expanding your PS4 8217 s storage is essential for any avid gamer Games updates and downloadable content consume space quickly Therefore having the right external
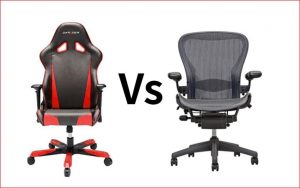
Comfortable seating is quite important for working professionals and gamers as they sit for extended periods of time So while purchasing a chair the most