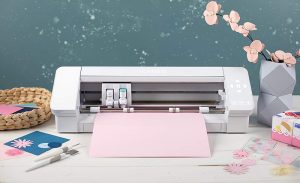
In recent years printing technology has gone through significant advancements transforming how we produce physical copies of documents images and designs These advancements have been
Inkjet printers are made for accurate and long lasting printing perfect for creating your designs They are great at putting ink on various materials like
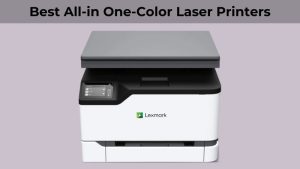
Looking for the ultimate all in one color laser printer For home based business owners offering unmatched convenience and efficiency With lightning fast color and
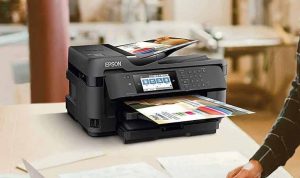
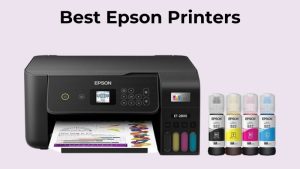
Epson printers stand out as the top choice for creative professionals especially graphic designers and photographers offering a perfect blend of innovation and precision Epson