Do you often find interesting YouTube videos but have trouble jotting down important details for later? Whether you need the info for accessibility, studying, or better search results, transcribing videos can be handy. This guide will teach you how to do it effectively.
How To Transcribe YouTube Videos To Text?
There are several methods available to transcribe your YouTube videos into text. Among the popular choices are YouTube’s automatic captions feature and YouTube Studio. If you’re interested in alternative methods, you can explore other options to find the one that suits you best.
Method #1: With YouTube Studio
While not technically a transcription method itself, YouTube Studio offers a convenient way to access transcripts already generated for your videos (if applicable). Here’s how it works:
Steps to Access:
- Open YouTube Studio after uploading your video.
- Click ‘Subtitles’ on the left menu.
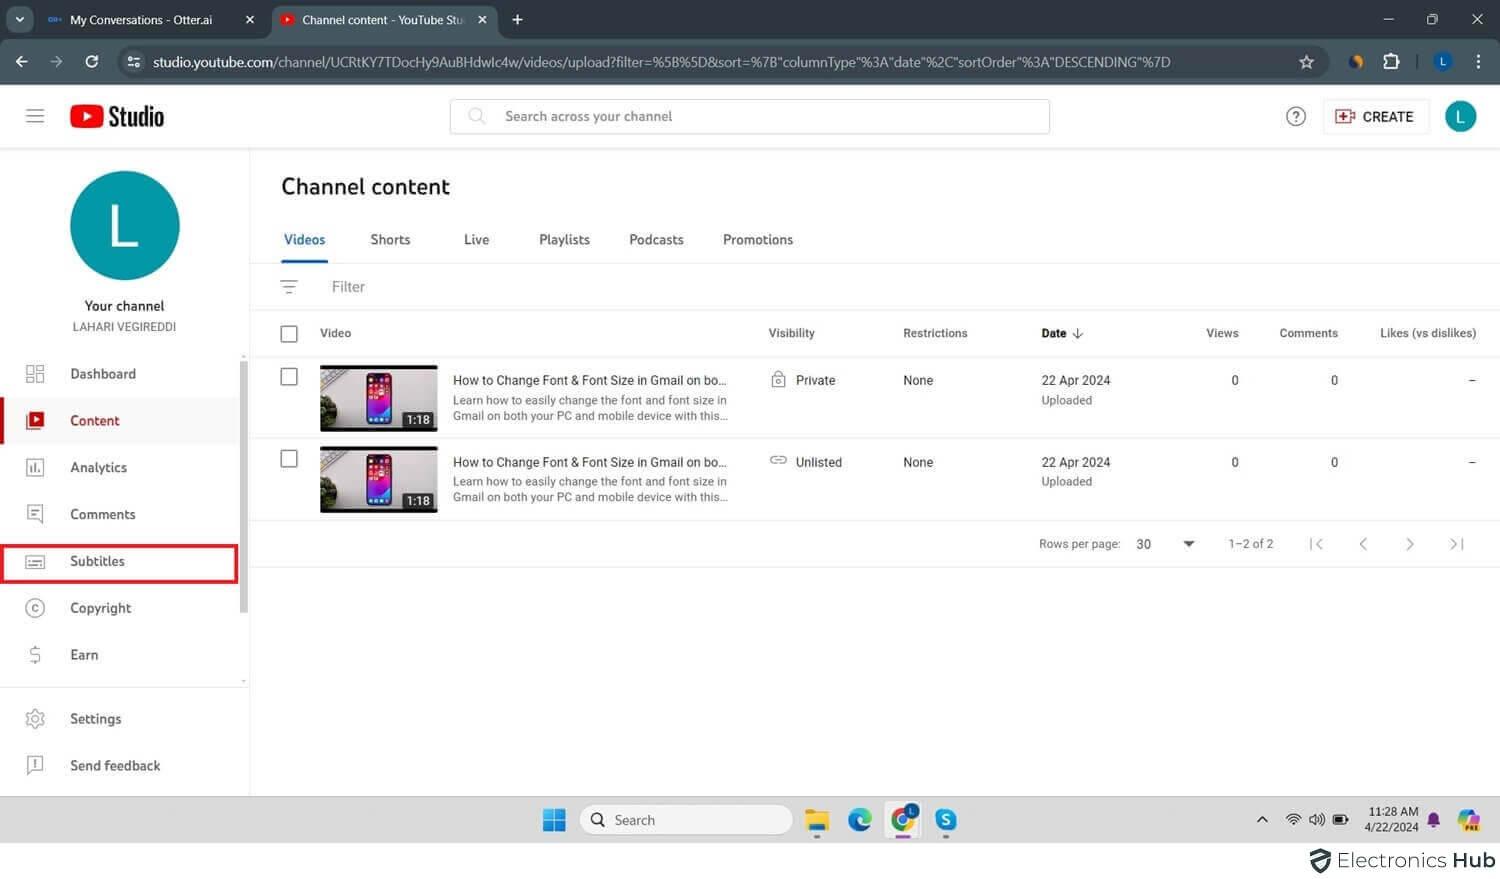
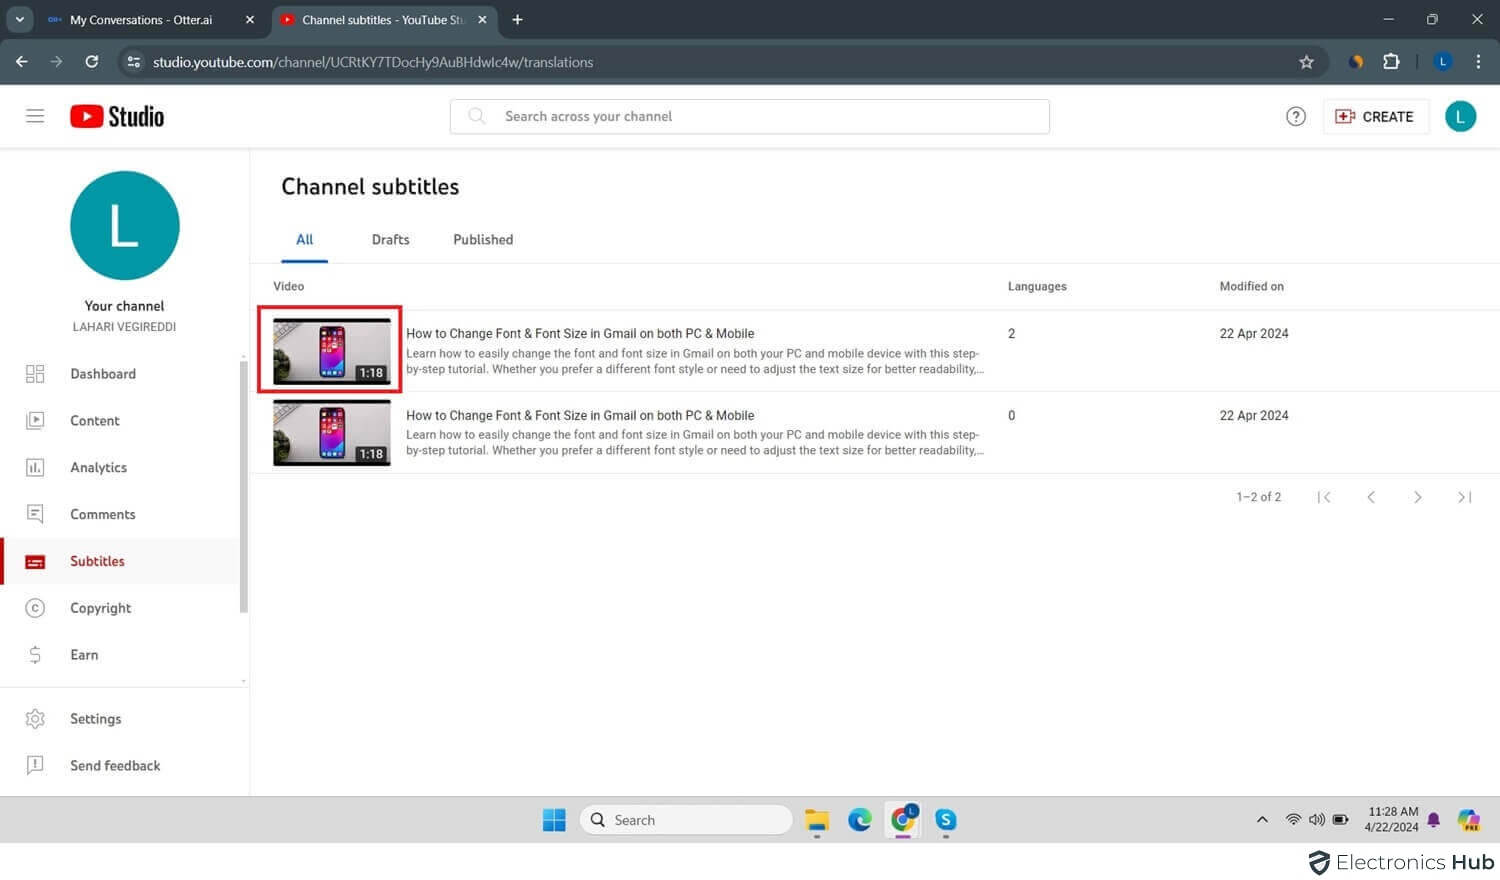
- If your video appears, ‘Click its Thumbnail’. If not, wait a bit for processing.
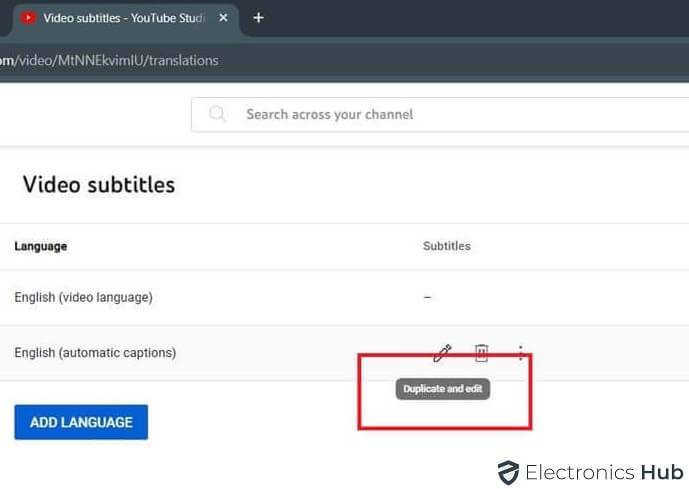
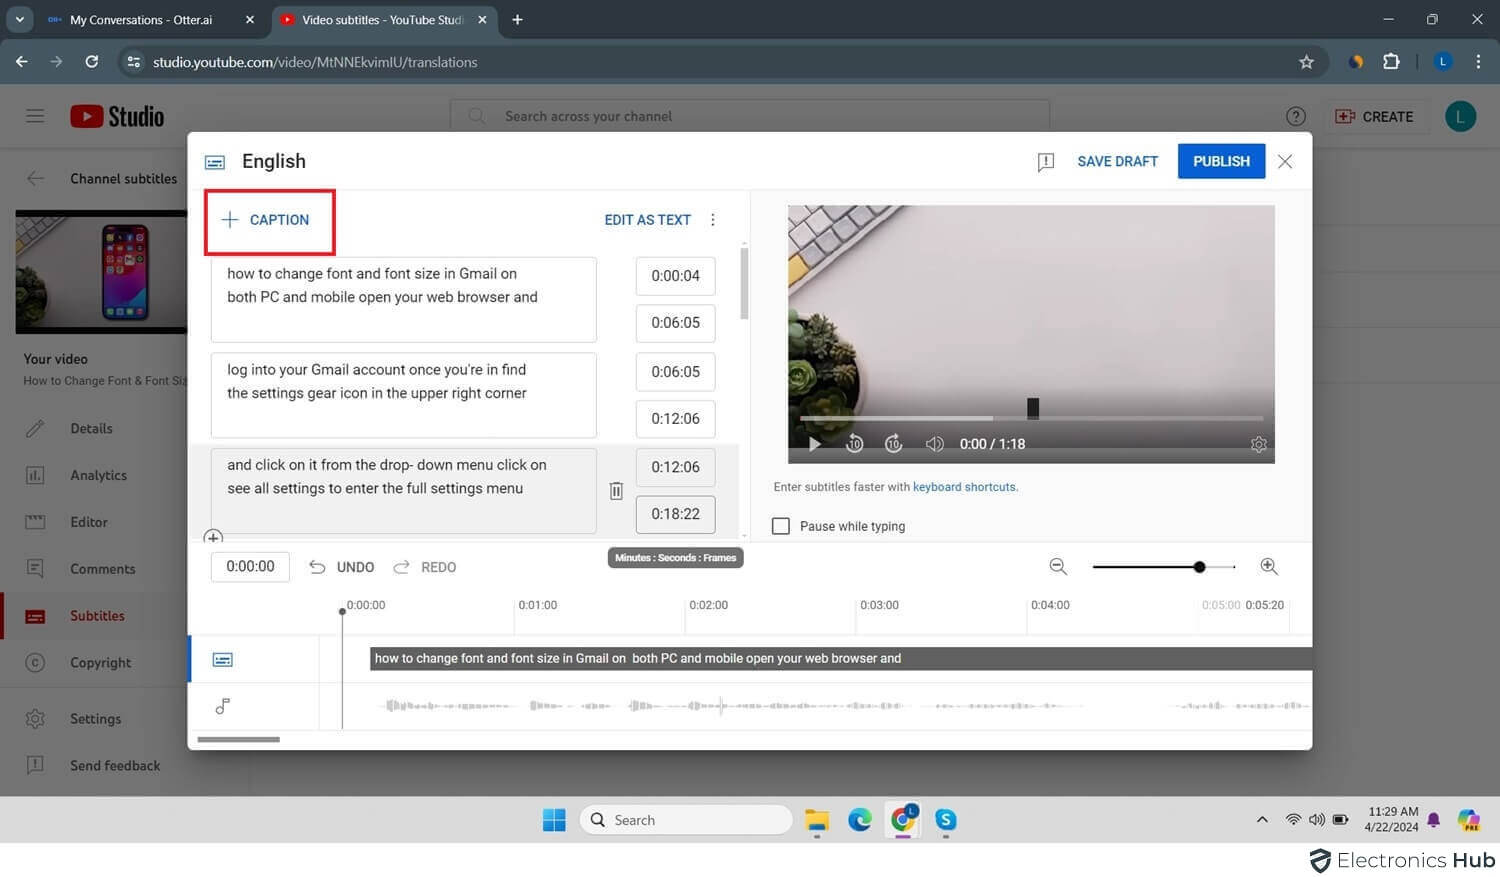
- Click ‘Duplicate and Edit’ on the right to open the YouTube Caption Editor.
- Here, fix any errors and add punctuation. Click ‘Edit Timings’ to adjust timestamps if needed.
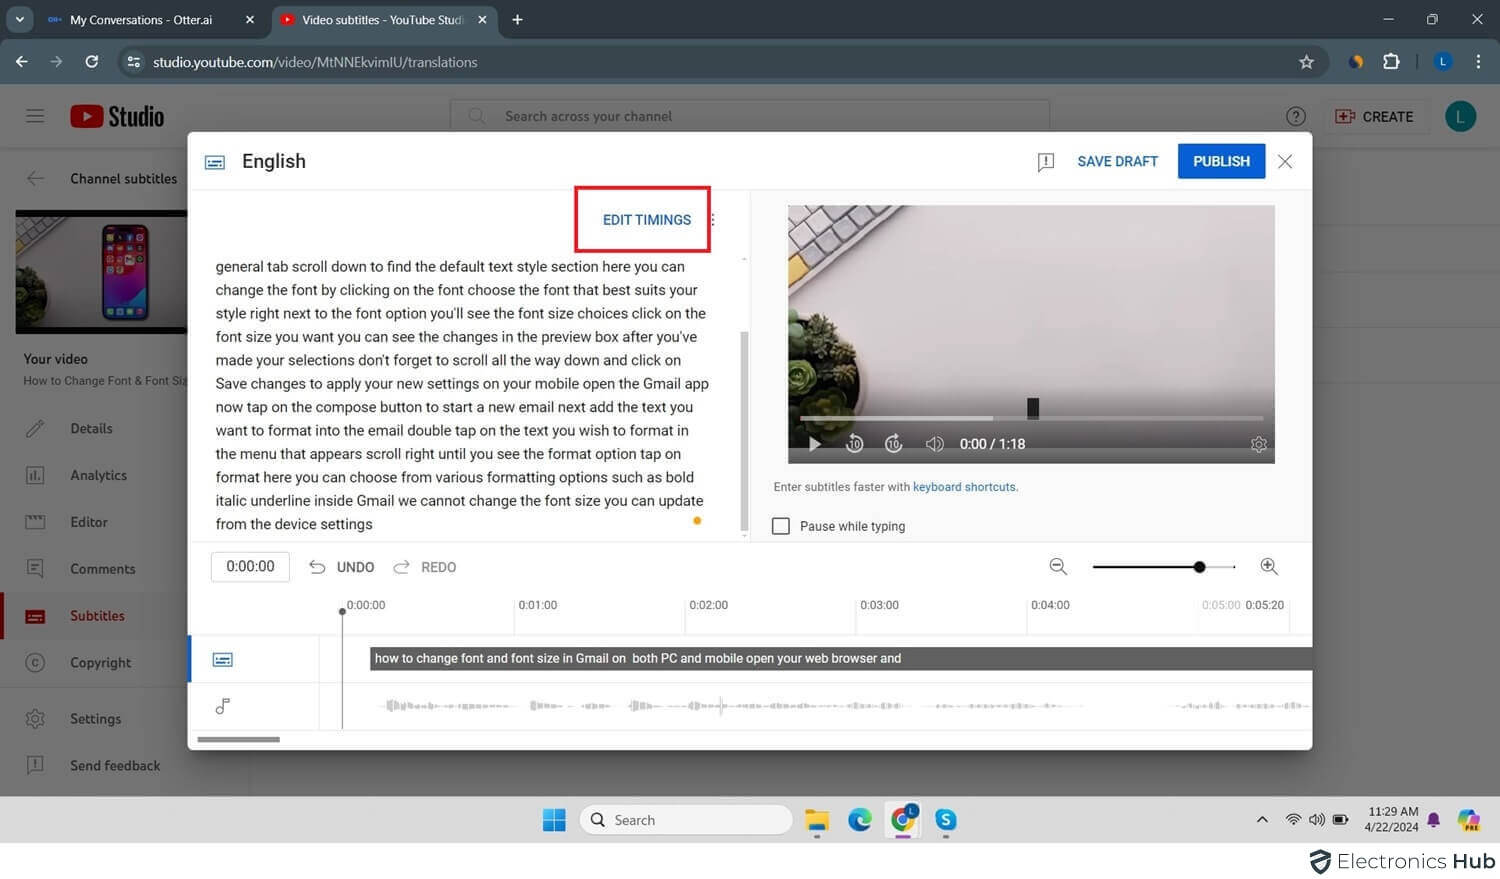
- To add missing captions, drag the previous caption’s end and click the ‘+ Sign’ and you can paste the content for further use.
Method #2: With Google Docs
For those seeking more control or a budget-friendly option, Google Docs voice typing offers a way to transcribe a YouTube video yourself. Here’s what you’ll need:
Steps to Transcribe:
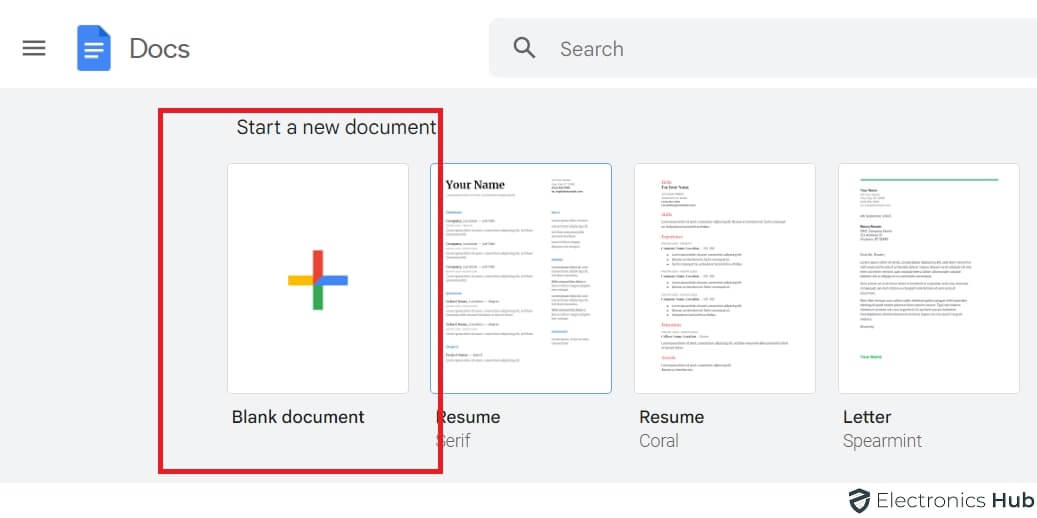
- Open a new Google Doc.
- Go to “Tools” and select “Voice typing.”
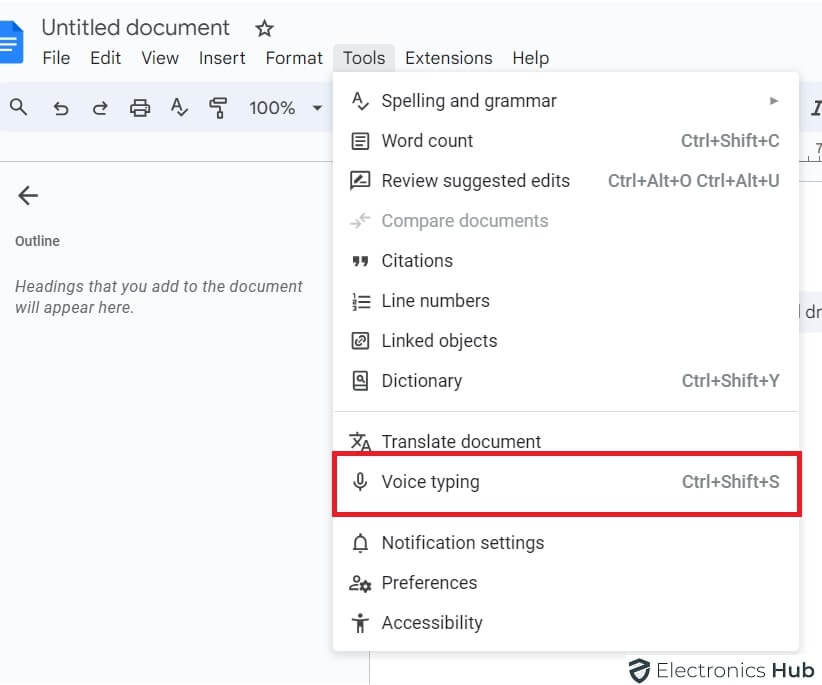
- Click the microphone icon to activate voice typing.
![]()
- Open the YouTube video you want to transcribe in a separate browser window.
- Play the video and start speaking clearly, ensuring the microphone picks up the audio.
- Google Docs will attempt to convert the spoken words to text in real time.
- Pause and replay the video as needed for clarity.
- Once finished, click the microphone icon again to stop voice typing.
Method #3: With Android Live Translate
While Android doesn’t offer direct YouTube video transcription, the Live Translate app can be a helpful tool. Here’s how to leverage it (Keep in mind, accuracy might vary):
Steps to Transcribe:
- Go to the Google Play Store and install the app.

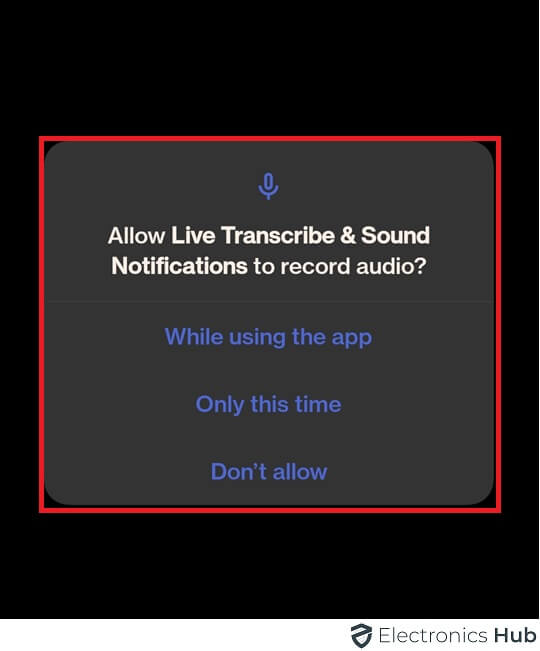
- Open the app and grant permission to record.
- Enable the transcription feature.
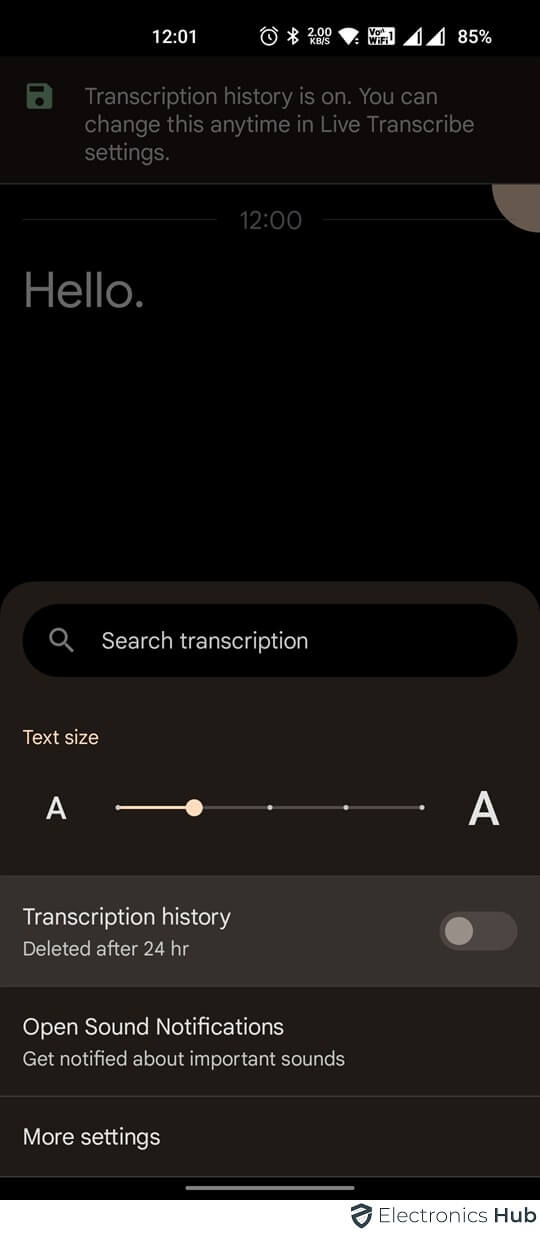
- Play the YouTube video on the speaker, and the app will transcribe it.
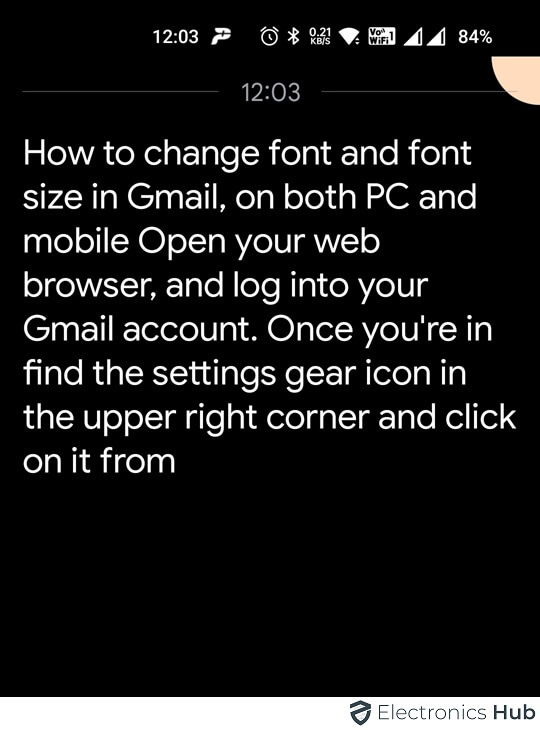
- For easier editing, transfer the transcript to your computer.
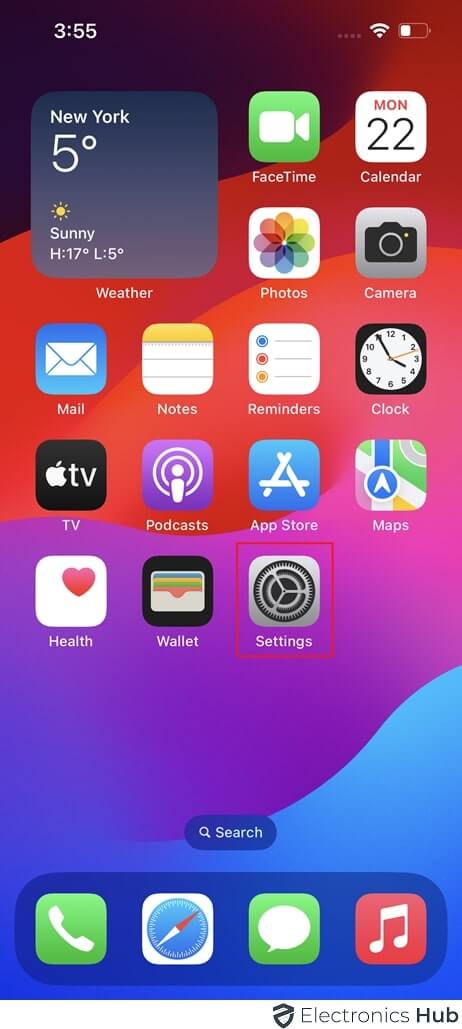
Method #4: On Apple Devices
Similar to Android, Apple devices lack built-in YouTube video transcription.
Here’s a step-by-step guide to transcribing a YouTube video using your iPhone:
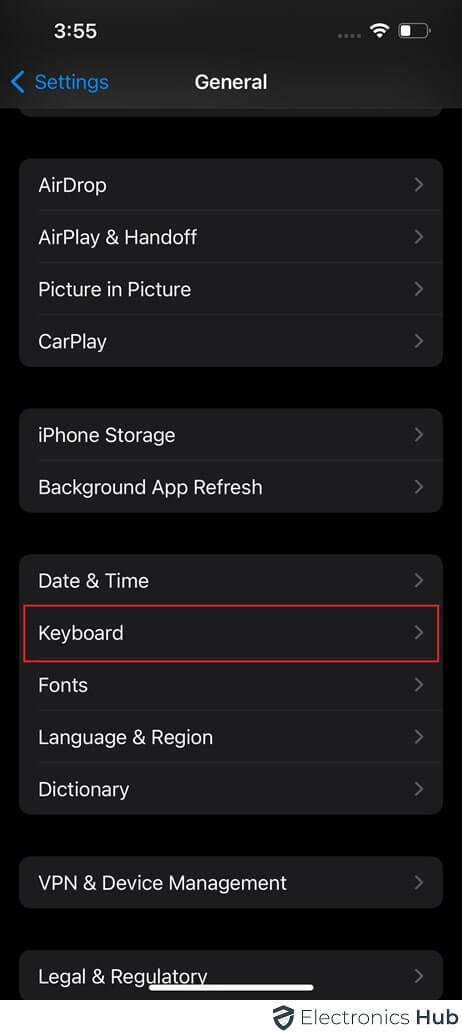
- Open your iPhone’s settings.
- Tap on ‘General’.
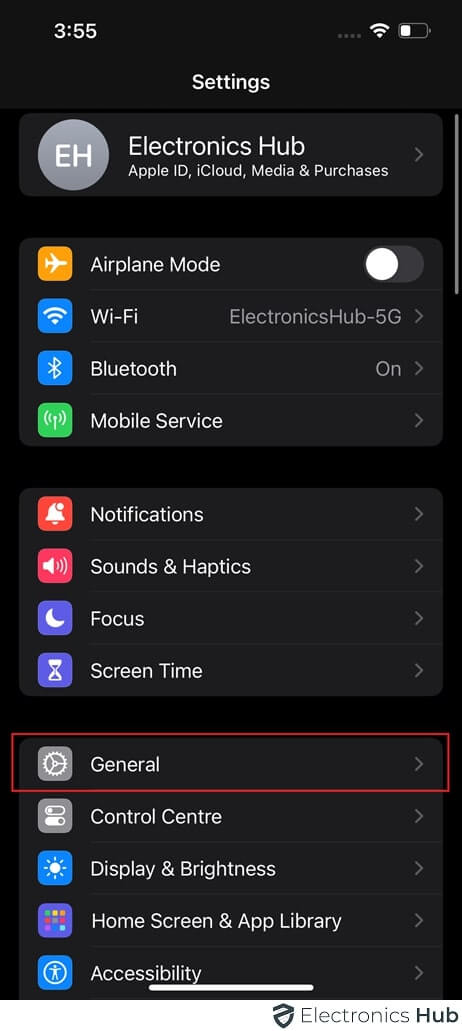
- Then select ‘Keyboard’.
- Turn on ‘Enable Dictation’.
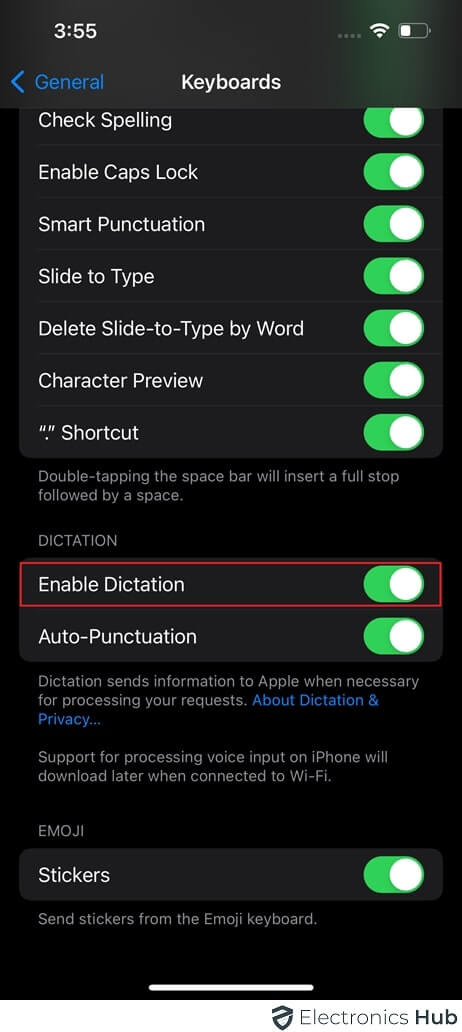
- Open the Notes app or any text input field.
- Tap on the microphone icon on your iPhone keyboard.
- Begin playing the video on the speaker and hold the audio source near your iPhone’s microphone. Text will automatically appear on the screen.
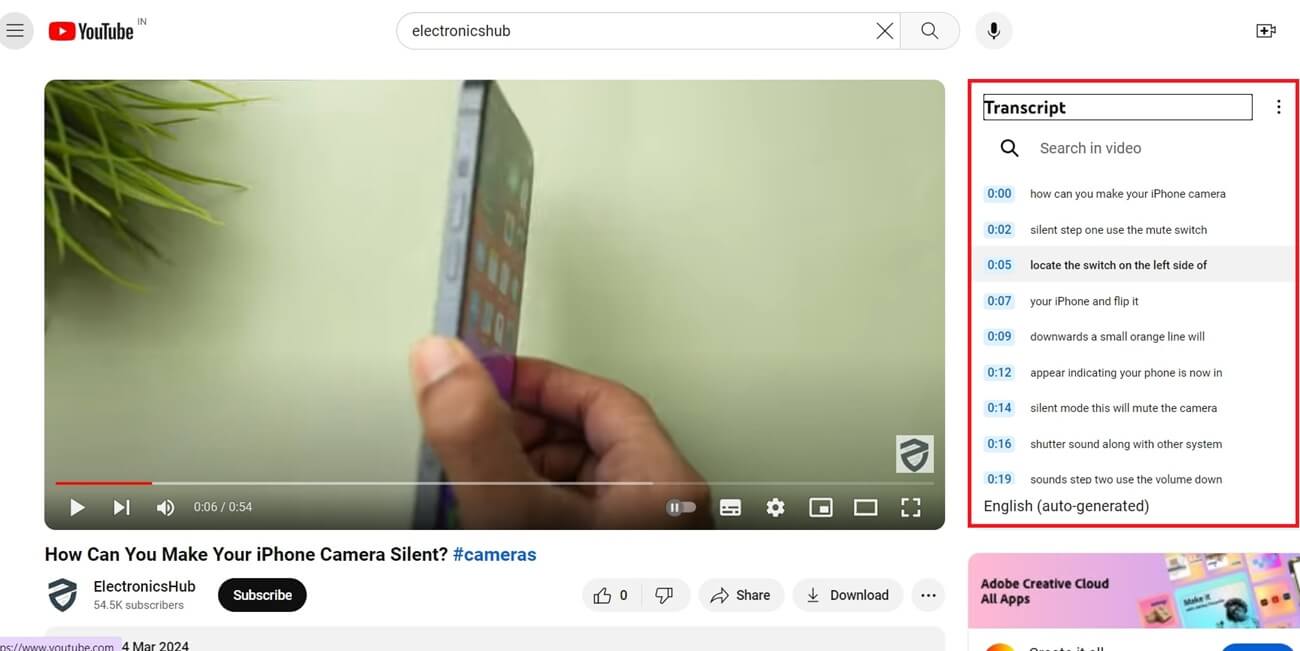
Method #5: Using Auto-generated YouTube Transcripts
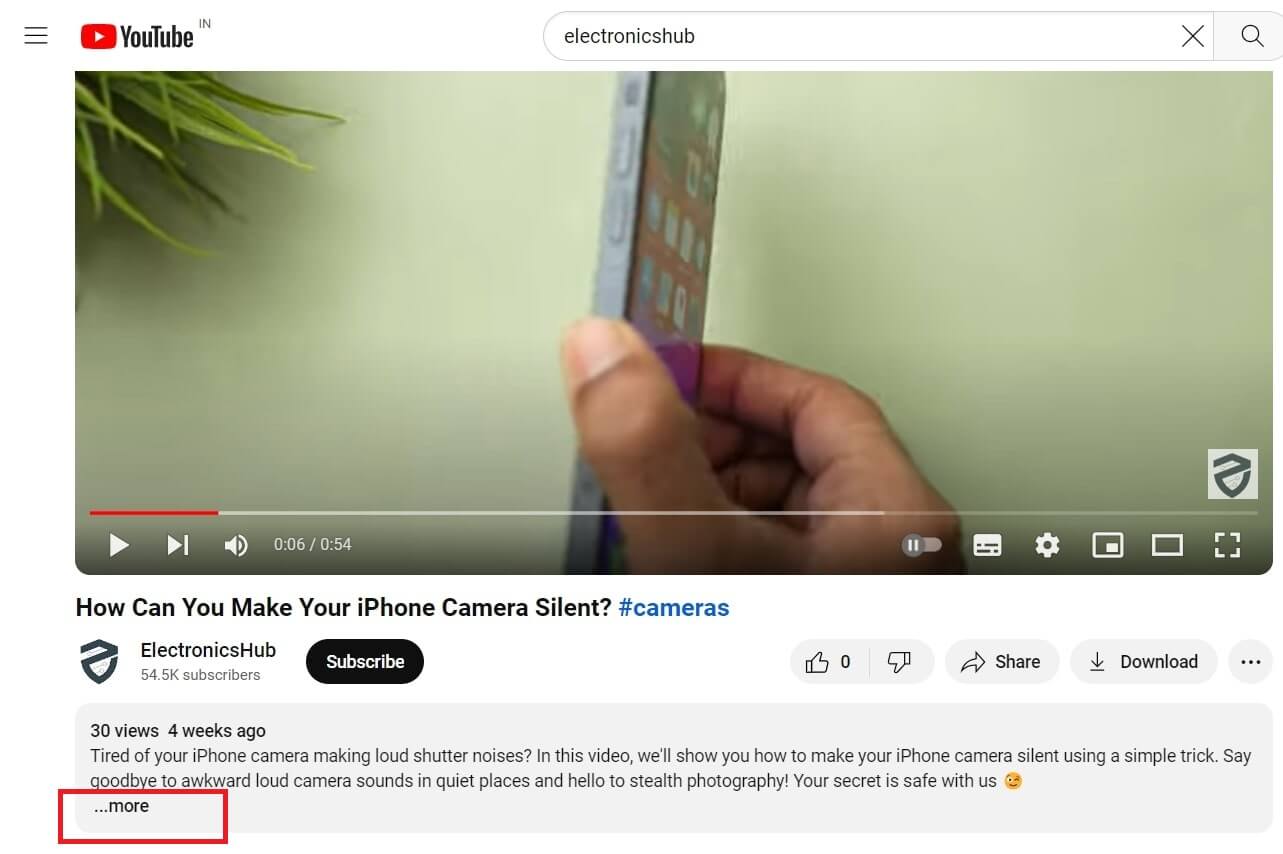
- Open the YouTube video you want to transcribe.
- Look below the video player and there you see “more”.
- Click on “more” and see if there’s an option for “Show Transcript.”
- If “Show Transcript” is available, click on it. YouTube will display the automatically generated transcript on the right side of the video player.
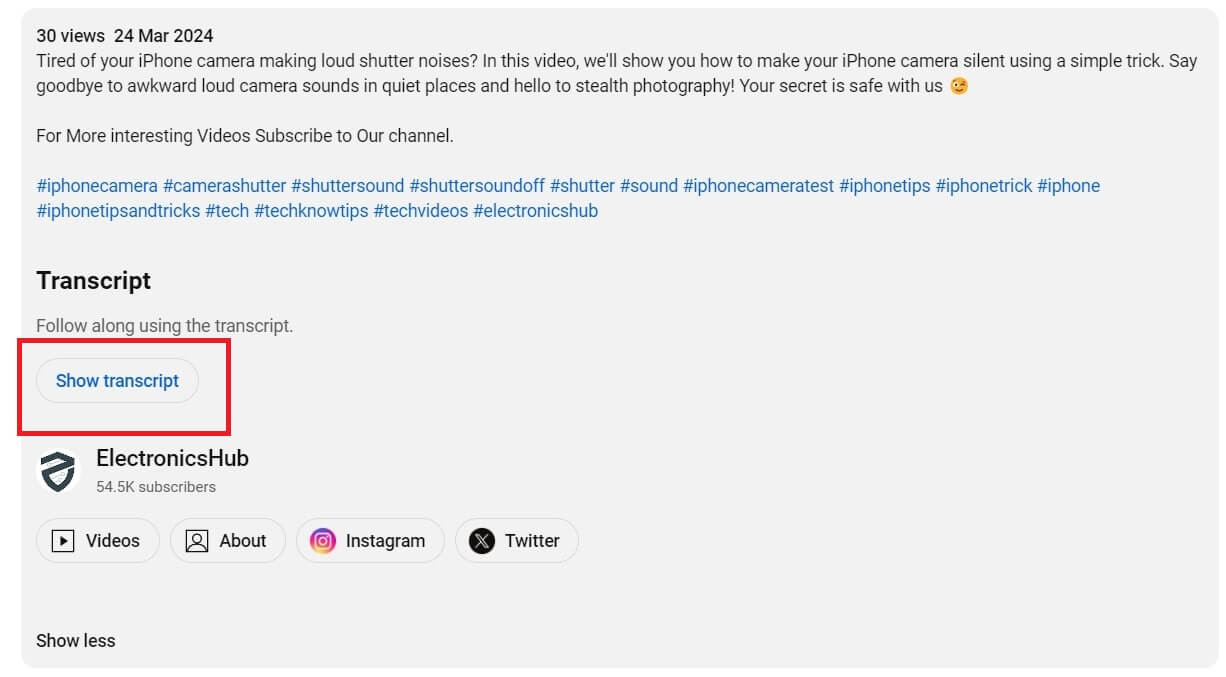
- You can then copy and paste the transcript into a document for editing (optional).
Note: Not all videos have auto-generated transcripts. This feature depends on the video creator enabling captions and YouTube’s automatic speech recognition processing of the audio.
Method #6: Using Online Transcription Services
Online transcription services offer more accurate results than auto-generated transcripts, but some may require a paid subscription for advanced features. Here’s an example using Otter.ai:
Steps:
- Go to the Otter.ai website.
- Click “Start a recording” and choose “Upload audio/video.”
- Paste the URL of the YouTube video you want to transcribe in the designated field.
- Otter.ai will upload and transcribe the video. You can edit the transcript for accuracy while it’s processing.
- Once finished, Otter allows you to download the transcript in various formats (e.g., .txt, .docx).
Method #7: Transcribing A YouTube Video Yourself
- Open Microsoft Word and create a new blank document.
- Click the “Dictate” button on the Home tab (or press the Windows key + H).
- Choose “Transcribe” from the dropdown menu.
- Select “Upload audio” and choose the downloaded YouTube video file (ensure it’s an MP4 format compatible with Word).
- Listen to the video in short sections and type what you hear in the Word document.
- (Optional) Edit speaker names and add timestamps using the transcript pane options.
- Click “Add to document” and choose your desired format (with or without timestamps) to insert the transcript into your Word document.
- Review and edit the transcript for accuracy.
Note: Please note that these steps are only applicable to Microsoft 365.
Tips For Transcribing YouTube Videos
Creating a high-quality YouTube video transcript goes beyond simply converting audio to text. Here are some key tips to ensure your transcript is accurate, informative, and user-friendly:
- Accuracy is Paramount: Double-check the transcript for any errors in grammar, punctuation, spelling, and factual information. Ensure it faithfully reflects the spoken content in the video.
- Sound Effects Aren’t Forgotten (Optional): While not essential for every transcript, consider including descriptions of sound effects like “[laughter]” or “[applause]” to enhance the reading experience and convey non-verbal cues.
- Formatting Matters: Use clear and consistent formatting to improve readability. This might include:
- Paragraph breaks to separate distinct sections of the video.
- Line breaks for changes in speakers or significant pauses.
- Bolding for emphasis or key points.
- Timestamps for Easy Navigation: Include timestamps throughout the transcript, marking specific moments in the video. This allows viewers to easily jump to relevant sections based on the text. Common formats include “[00:01:23]” for timecodes.
- Speaker Identification: If the video has multiple speakers, differentiate them by labeling their sections (e.g., “Speaker 1:”, “Speaker 2:”). This helps viewers follow the conversation flow.
- Readability Reigns Supreme: Choose a clear and easy-to-read font like Arial or Times New Roman. Avoid fancy fonts that might be difficult to decipher.
- Background Color Matters: Select a background color that provides good contrast with the chosen font color. Black text on a white background is a common and effective choice.
- The Right Tool for the Job: There are different types of transcripts. Choose the one that best suits the video’s purpose:
- Verbatim transcripts: Include every word spoken in the video, ideal for lectures or presentations.
- Edited transcripts: Capture the key points and main ideas, suitable for summarizing content.
- Closed captions: Designed for on-screen display, often concise and synchronized with the video’s audio.
FAQs:
Absolutely! Online services like some versions of Happy Scribe or Trint offer free trials or limited free minutes of transcription.
The time depends on the video length and the method you choose. Automated services can be very fast (minutes), while manual transcription or human-reviewed services might take longer (hours or days).
The essentials depend on your chosen method:
* Online services: Just a computer with internet access.
* Manual transcription: A computer, internet access, and ideally a good microphone.
* Mobile apps: Your smartphone and the downloaded app.
Generally, you’ll need permission from the copyright holder before transcribing someone else’s YouTube video publicly.
While large language models like ChatGPT have capabilities, they might not be specifically optimized for video transcription and might struggle with audio complexities. There are dedicated transcription tools that might be more accurate for this task.
Conclusion
There you have it! From YouTube’s built-in options to free tools and paid services, you’re now equipped to tackle transcribing any YouTube video. Remember, the best method depends on your needs – accuracy, budget, and time. No matter which approach you choose, prioritize a clear and well-formatted transcript for maximum benefits. Happy transcribing!
