Want to capture that perfect soundbite or song from a YouTube video? Whether it’s for a project, language learning, or just enjoying audio on the go, extracting audio from YouTube can be incredibly useful. But with so many methods and tools available, it can be confusing to know where to start.
This blog post is your one-stop guide! We’ll explore various techniques, introduce some popular tools, and even provide helpful tips to get the most out of your chosen method. From free and simple solutions to more advanced options, we’ll cover it all. So, get ready to transform your favorite YouTube audio into a standalone format!
How To Record Audio From A YouTube Video – Methods
To create high-quality audio or videos, one would need both software and hardware to get the job done. To help you with this, we’ve listed a few methods for each, and how different tools can aid you in this process.
To Record Audio From YouTube Using Software
Method 1: With Audio Recorder
In this method, we’ve considered three audio recording tools – EaseUS RecExperts, FonePaw Audio Recorder, and Audio Hijack, that are very popular in recording audio from YouTube. Each tool offers a compelling feature set but caters to slightly different needs.
Of these three, we would recommend using EaseUS RecExprerts for its versatility. Below is a review of the tools.
1. EaseUS RecExperts:
EaseUS RecExperts is primarily a screen recording software with built-in audio recording capabilities. It allows recording system sounds, microphone input, or both simultaneously. It boasts AI-powered noise cancellation and the ability to mute the recording process without affecting the final file.
Audio Formats: Supports various formats including MP3, AAC, FLAC, WMA, WAV.
Steps To Record Audio Using EaseUS RecExperts:
- Download and install EaseUS RecExperts.
- Click the red “REC” button to start recording.
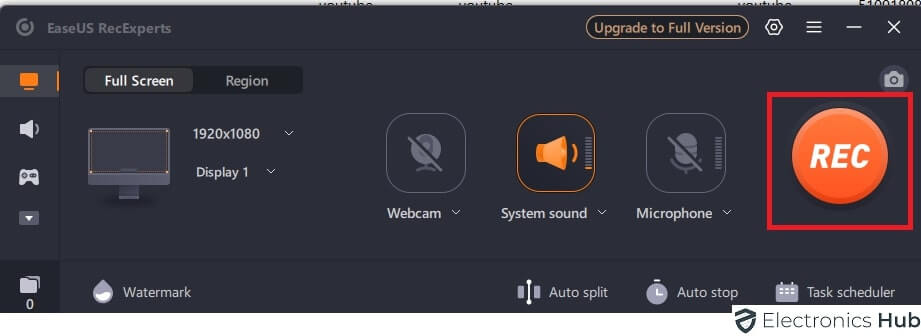
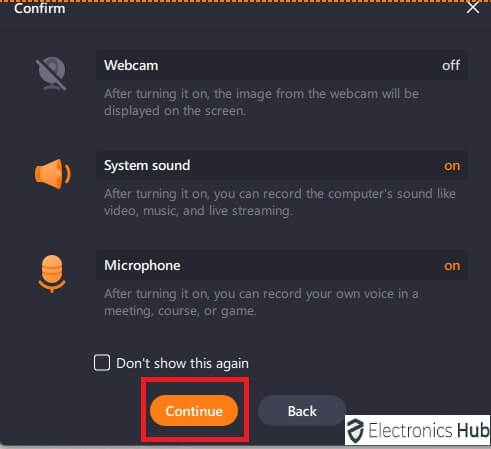
- Select the audio source (System Sound, Microphone, or both) from the settings.
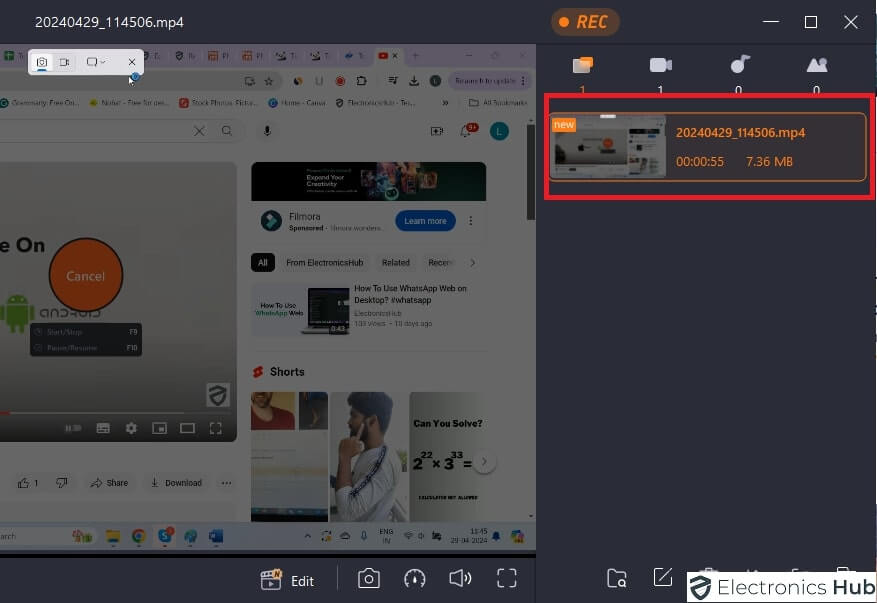
- Click “Stop” when finished.
- Edit and save the recording (optional).
2. Audio Hijack:
When compared to EaseUS RecExperts, Audio Hijack too is quite a good option, but this is designed specifically for Mac users. It offers a high degree of customization, allowing you to record audio from various sources like applications, web browsers, and even external devices connected to your Mac. This advanced functionality makes it a popular choice for professional audio recording and editing workflows.
Audio Formats: Audio Hijack supports a wide range of audio formats, including MP3, AAC, FLAC, M4A, AIFF, WAV, and more.
3. FonePaw Audio Recorder:
FonePaw Audio Recorder can be a handy tool for capturing audio from YouTube videos, but it’s important to consider the limitations. While it offers a user-friendly interface and good audio quality, FonePaw doesn’t directly record YouTube audio. Instead, it captures all system sounds playing at the time. This means any background noise on your computer will also be included in the recording. If you need a simple solution and can manage some background noise editing, FonePaw might work.
Audio Formats: When it comes to the audio formats it supports, you can find a range of them including MP3, AAC, FLAC, M4A, WMA, WAV, OGG, AMR, etc.
Method 2: Free Sound Recorder
When it comes to sound recorders and audio recorders, there’s not much difference between the two when it comes to capturing audio from YouTube videos. The key thing to understand is that these recorders aren’t directly grabbing audio from YouTube itself. Instead, they capture whatever audio your computer is currently playing, which includes the YouTube video but also any other sounds like notifications or music from other programs.
So, which of them are good? We’ve listed two free sound recorders that will help you record audio or sound from a TY video.
1. Free Sound Recorder:
Free Sound Recorder is a basic audio recording application typically pre-installed on some Windows computers. It offers a straightforward interface with minimal features. While it may lack advanced functionalities, it’s a convenient option for simple audio capturing needs, like recording voice memos or short lectures.
Steps to Record Audio with Free Sound Recorder (Windows):
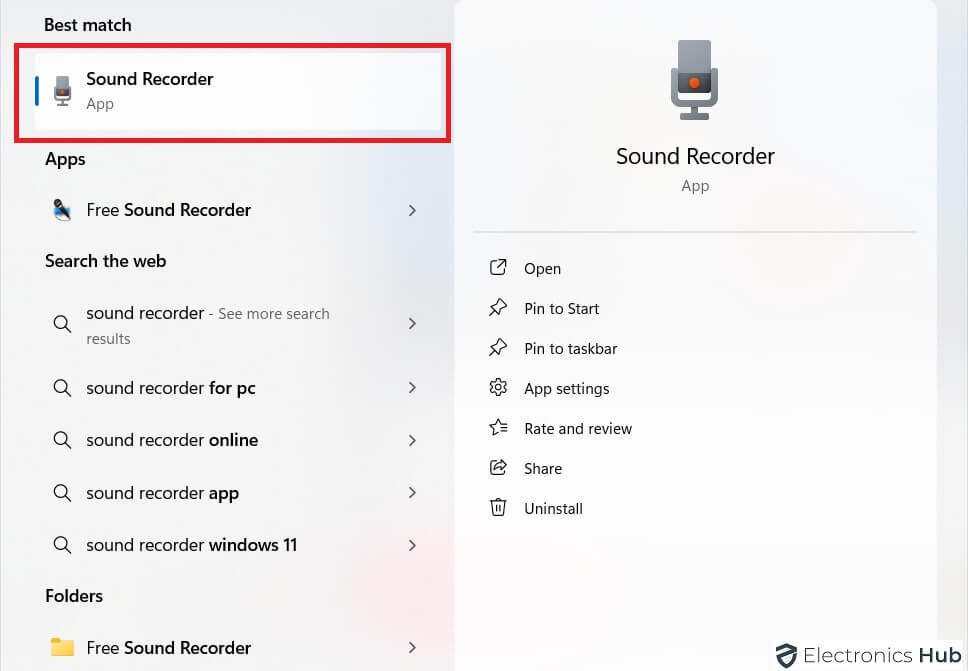
- Search for “Sound Recorder” in the Windows Start menu.
- Click on the microphone icon to select the recording source (default microphone).
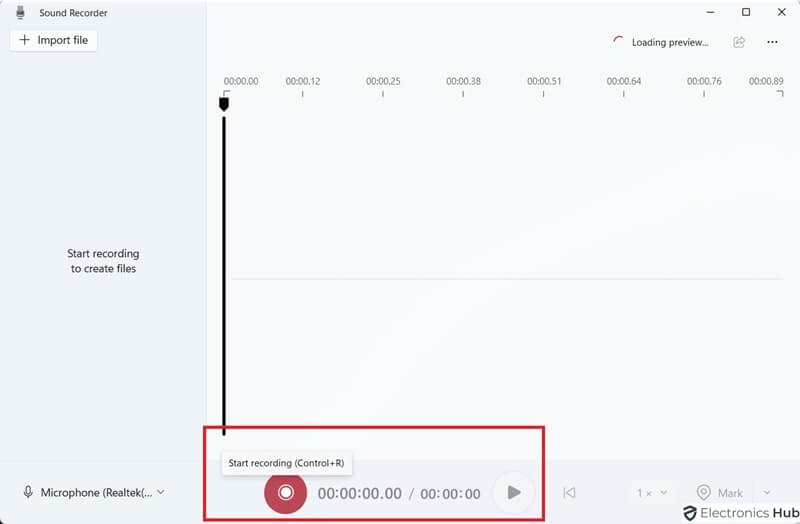
- Click the “Start Recording” button to start recording.
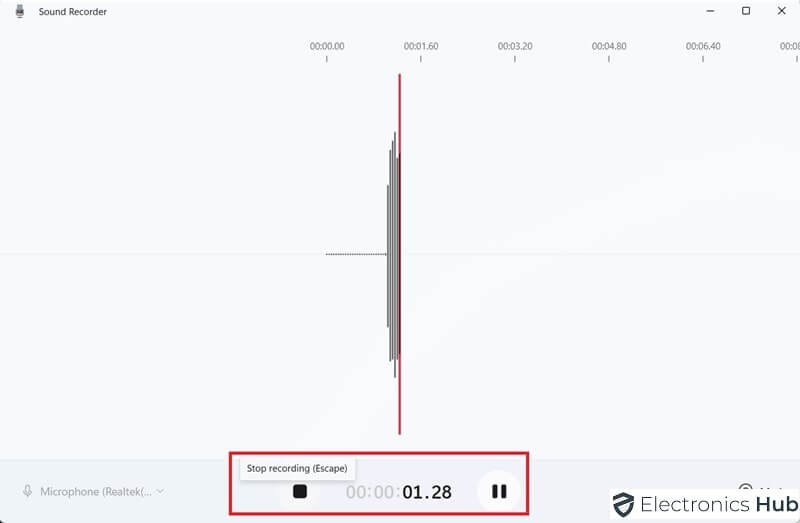
- Click the “Stop Recording” button when finished.
- Your recording will be saved in a .WAV format by default. You can’t change the format within the app.
2. Apple GarageBand:
Pre-installed on all Macs, GarageBand is a free and versatile music creation application. It offers a surprisingly robust audio recording functionality alongside its instrument and editing features. You can record audio using your Mac’s microphone or an external microphone for higher quality. GarageBand also provides basic editing tools to trim, split, and add simple effects to your recordings.
Audio Formats: GarageBand allows recording and exporting audio in various formats, including the compressed AAC (m4a) format for easy sharing and the lossless WAV format for preserving maximum audio quality.
Method 3: Download YouTube Video And Convert It To MP3
This method is one of the most used online. However, when you download videos and extract or record audio from any videos, make sure you check the copyright status of a video.
When it comes to using this method, there are a few popular tools that you can do the job for you, including VLC Media Player, which is a popular option.
- VLC Media Player:
VLC is a free and open-source media player known for its versatility. While primarily a video player, it also offers a hidden feature for extracting audio from videos.
Steps To Extract Audio With VLC (Windows & Mac):
- Open VLC Media Player.
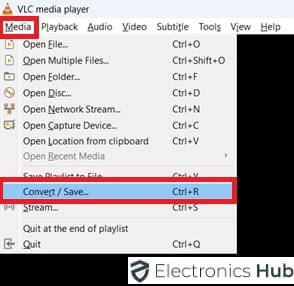
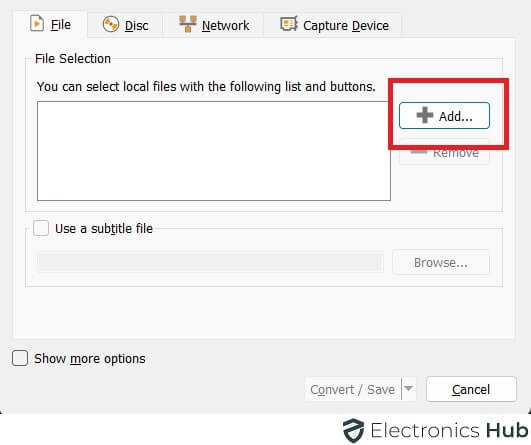
- Go to the “Media” menu and select “Convert/Save.”
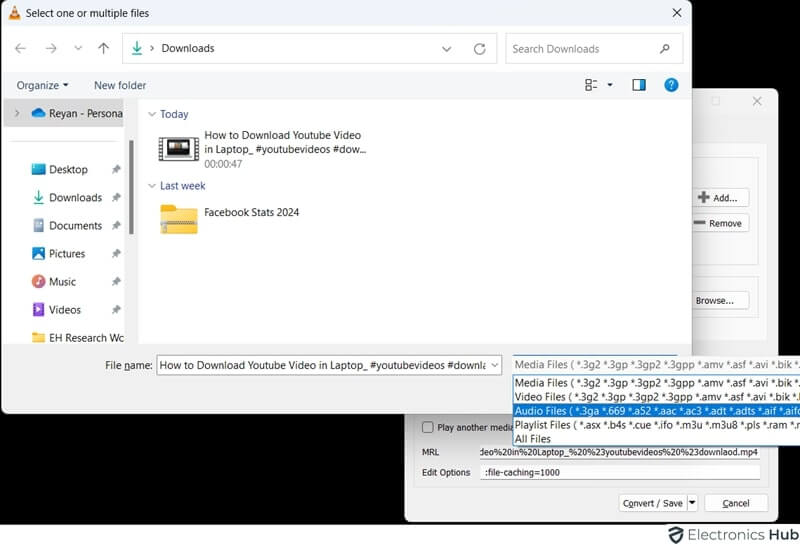
- Click the “+Add” button and choose your video file.
- In the “Profile” dropdown, select “Audio – MP3” (or your preferred format) from the list.
- Click the “Browse” button next to “Destination” to choose the location for your extracted audio file.

- Click “Start” to begin the conversion process.
Audio Formats Supported by VLC: Limited formats for audio extraction, typically including MP3, AAC, and WAV.
- Descript:
Descript is a cloud-based audio and video editing platform with a user-friendly interface. It offers a dedicated feature for extracting audio from uploaded videos. Descript goes beyond basic conversion, allowing you to edit the extracted audio within its platform. You can trim unwanted parts, add effects, and even transcribe the audio to text (paid plans).
Audio Formats: Descript supports exporting extracted audio in various formats, including MP3, AAC, FLAC, and WAV.
Method 4: Dedicated Audio Recording Extensions
While there used to be extensions that allowed recording audio directly from YouTube, it’s become less common due to copyright restrictions and changes in browser functionality. Here are a few options to consider:
- Chrome Audio Capture:
This free Chrome extension focuses solely on capturing audio playing on the current browser tab. It allows recording from a single tab or even multiple tabs simultaneously. You can choose to mute the tabs you’re recording to avoid audio loops.
Steps to Capture Audio with Chrome Audio Capture:
- Install the Chrome Audio Capture extension from the Chrome Web Store.
- Click the extension icon in your Chrome toolbar.
- (Optional) Use the settings to choose the recording format (MP3 or WAV) and adjust other options.
- Click the “Start Capture” button to start capturing audio.
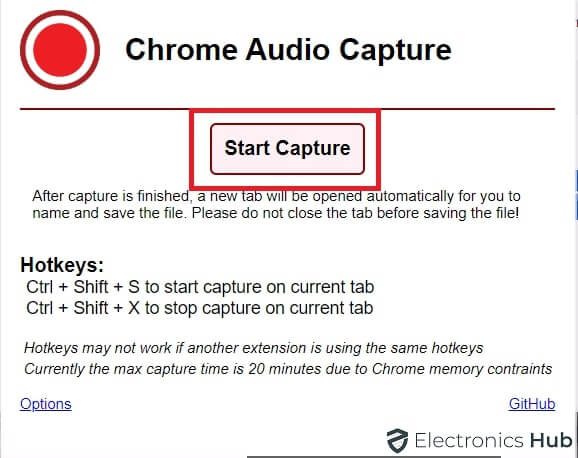
- Click the “Save Capture” button or wait for the time limit to finish recording.
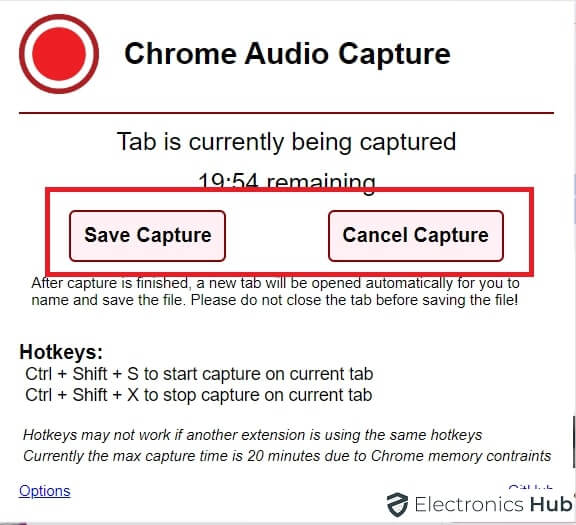
- A new tab will open where you can save and name your audio file.
Audio Formats: Supports MP3 and WAV formats for captured audio.
- Screencastify Audio Extension:
Screencastify offers a free Chrome extension alongside its paid plans. While primarily a screen recording tool, the Screencastify extension allows you to record audio from your computer’s system audio or microphone alongside screen capture. This makes it a versatile option for recording audio from Chrome tabs with narration or capturing online presentations with sound.
Audio Formats: Screencastify supports exporting recordings in various formats, including MP3 for audio-only captures and MP4 for combined screen and audio recordings.
| Expert Recommendation ✅
Some speech-to-text extensions, like Notta, offer audio recording functionalities alongside transcription. This can be a good option if you also want text along with the audio. |
Method 5: With Web Tools
Many people turn to web-based tools to record YouTube audio because they are typically user-friendly, do not require the installation of any software, and can be accessed from virtually any device with an internet connection. These tools are especially popular among content creators, educators, and students who need quick and efficient ways to extract audio from videos without compromising on quality. Below are a few web apps you can take advantage of.
1. OnlyMP3:
This is a popular online tool specifically designed for converting YouTube videos to MP3 audio files. It offers a user-friendly interface with a simple search bar where you can paste the YouTube video URL.
Steps to Download Audio with OnlyMP3:
- Go to the OnlyMP3 website (use a search engine as I can’t provide links).
- Paste the YouTube video URL into the search bar.
- Click the “Convert” button.
- Choose your preferred audio quality (usually different bitrates for MP3).
- Click the “Download” button to save the extracted MP3 file.
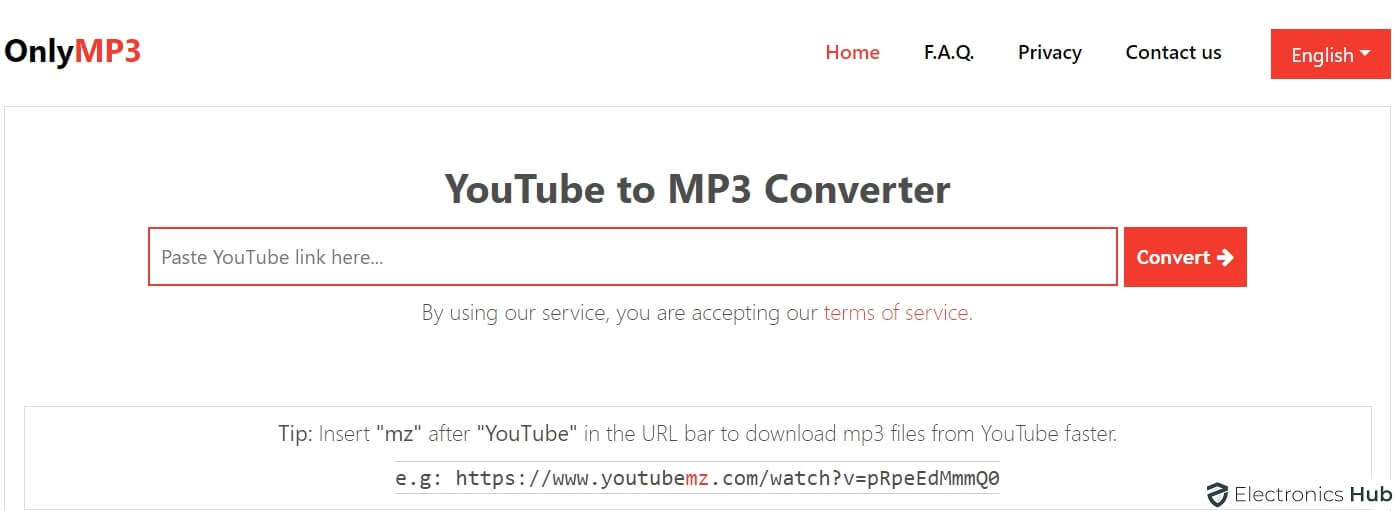
Audio Formats: Primarily focuses on MP3 downloads, although some versions might offer limited additional formats.
2. Y2Mate:

Similar to OnlyMP3, Y2Mate is another online tool for converting YouTube videos to audio files. It also offers video downloads in various formats. Y2Mate might contain advertisements, so be cautious while navigating the website.
Audio Formats: Y2Mate typically supports MP3 downloads in different bitrates, with some versions offering additional formats like M4A or WAV.
3. KAPWING:
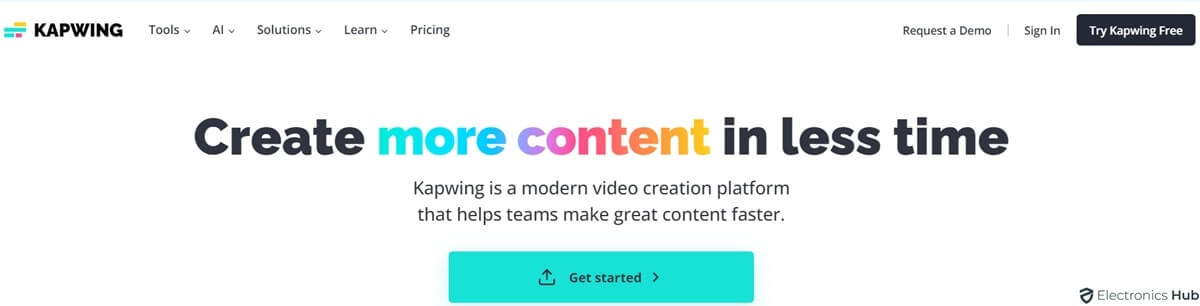
While not specifically designed for YouTube audio extraction, KAPWING is a free, cloud-based video editing platform. It offers a unique approach – you can upload your YouTube video to KAPWING’s editor, extract the audio track using its editing tools, and then download the audio file in various formats. This method gives you more control over the editing process if you need to trim or adjust the audio before downloading.
Audio Formats: KAPWING allows exporting of extracted audio in various formats, including MP3, AAC, FLAC, and WAV.
Method 6: Using Built-in Recorders
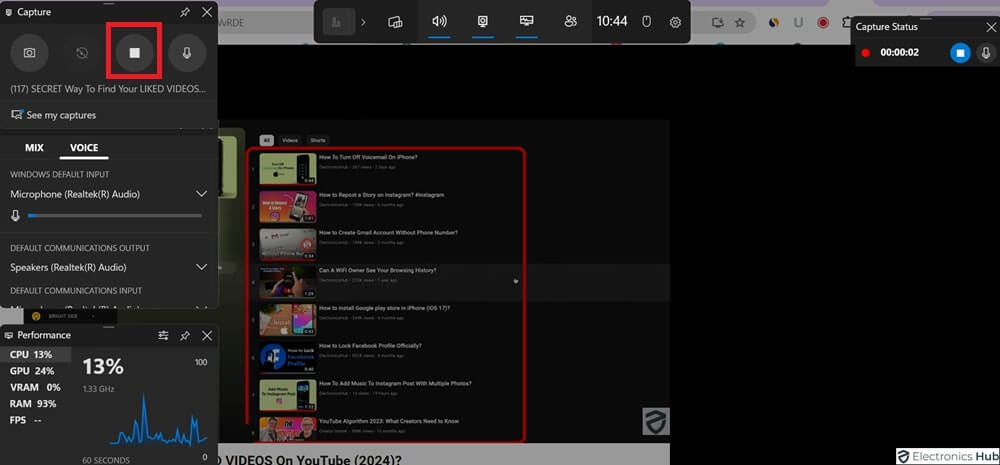
1. Windows 11 Voice Recorder (Win+ G)
This pre-installed app on Windows 11 offers a simple and convenient way to record audio on your PC. It’s particularly useful for capturing quick voice memos, lectures, or online conversations. While basic, it provides essential recording functionality.
Steps to Record Audio with Windows 11 Voice Recorder:
- Press the Windows Key + G shortcut to open the Game Bar overlay (works even outside games).
- Click on the microphone icon in the top bar to launch the Voice Recorder.
- Click the red “Record” button to begin recording.
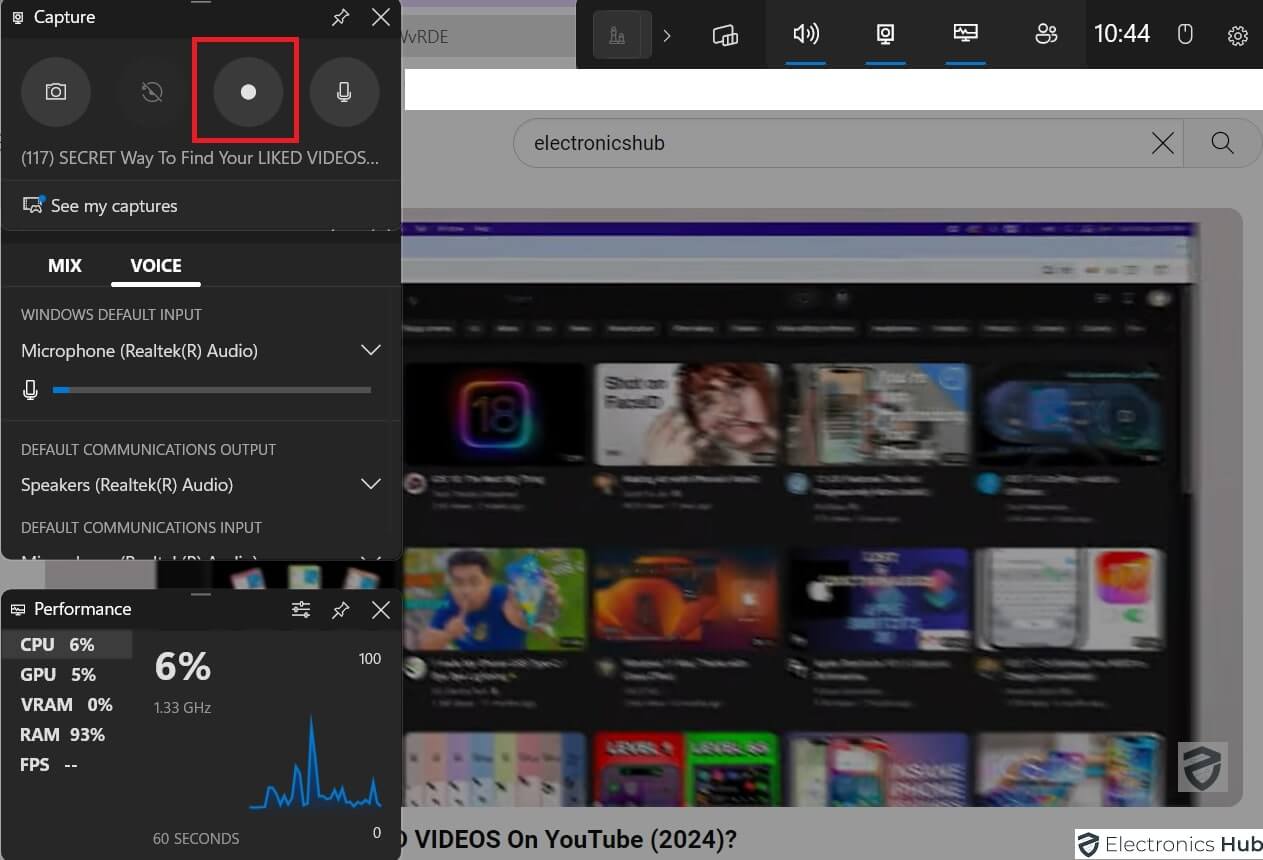
- Click the “Stop” button when finished.
- Your recording will be saved as an M4A file and accessible through the “See Captures” folder in File Explorer.
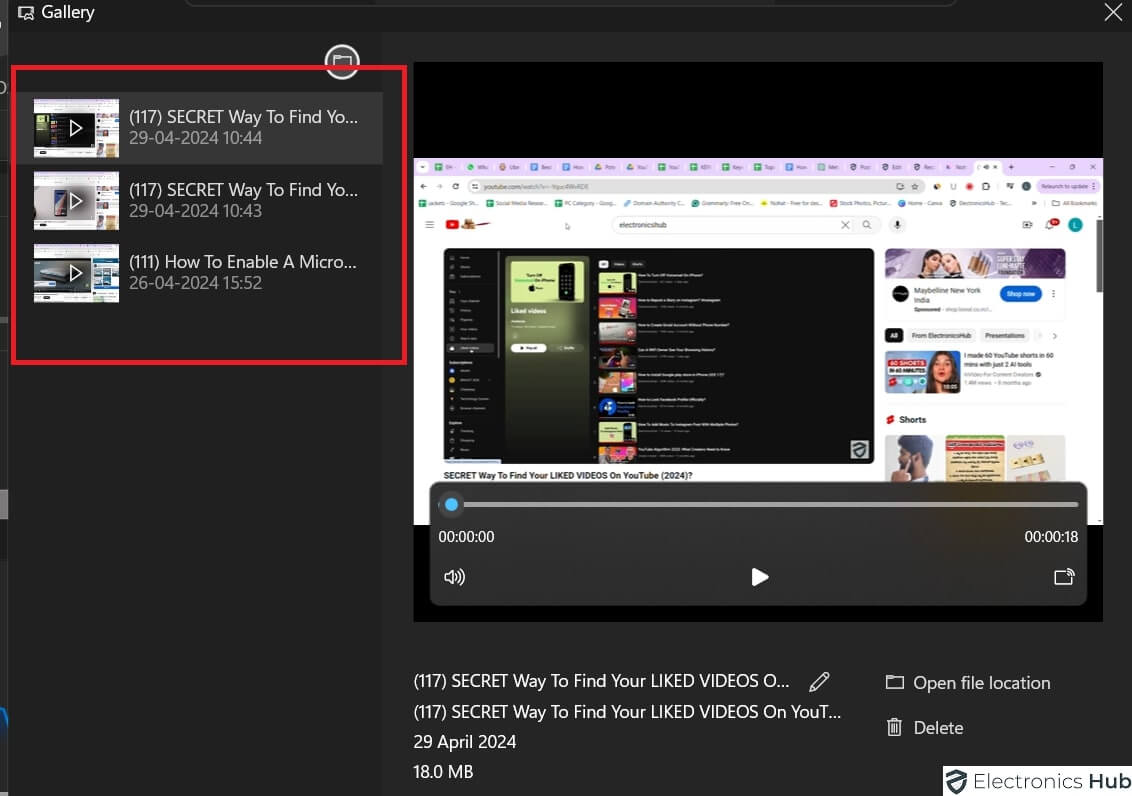
Audio Formats: Saves recordings in M4A format, a compressed format suitable for sharing.
2. Record Audio In QuickTime Player On Mac
Mac users have QuickTime Player pre-installed, which doubles as a basic audio recording tool. It allows capturing audio from your microphone or computer sound card.
Steps to Record Audio with QuickTime Player (Mac):
- Open QuickTime Player.
- Go to File > New Audio Recording.
- (Optional) Click the down arrow next to the record button to choose the recording source (microphone or internal microphone).
- Click the red record button to start capturing audio.
- Click the red record button again or press “Esc” to stop recording.
- Choose a name and save the location for your recording file.
- By default, QuickTime saves recordings in the .M4A format. You can choose a different format (like AAC or WAV) from the “Save As” dropdown menu before saving.
Audio Formats: Supports saving recordings in various formats, including M4A (default), AAC, and WAV.
Method 7: Using Notta For Both Android & iOS
While the above methods covered a range of tools, software, or web apps for that matter, when it comes to mobile-exclusive apps, there are quite a few to mention, with Notta taking centre stage for both Android and iOS.
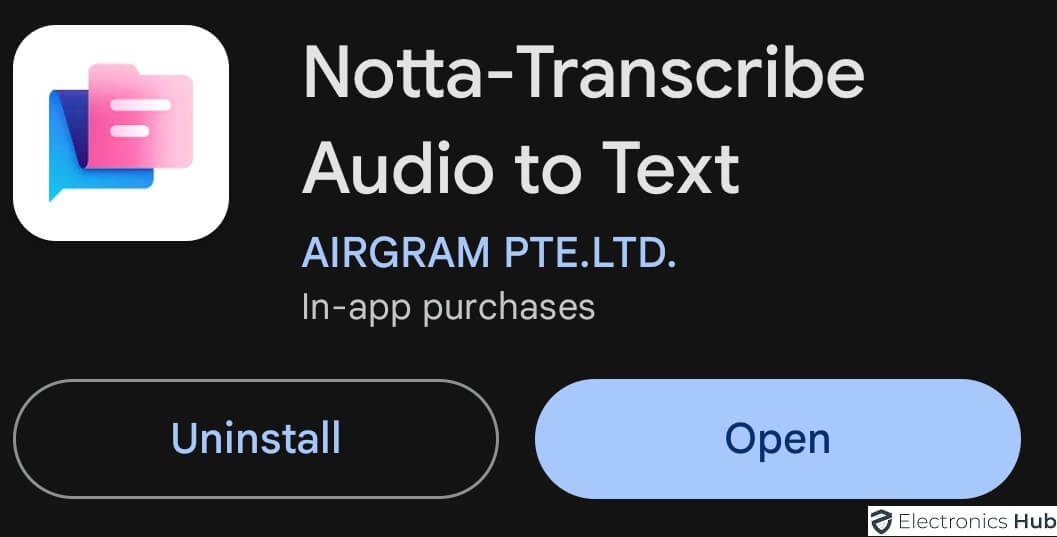
- Notta (Android & iOS)
Notta is a versatile mobile app available for both Android and iOS. It offers a user-friendly interface specifically designed for voice recording and transcription. Beyond simply capturing audio, Notta allows you to add notes, categorize recordings, and even transcribe the audio to text, making it a great choice for interviews, lectures, or meetings.
Steps to Record Audio with Notta:
- Download and install the Notta app on your Android or iPhone device.
- Tap the “+” button to show options.
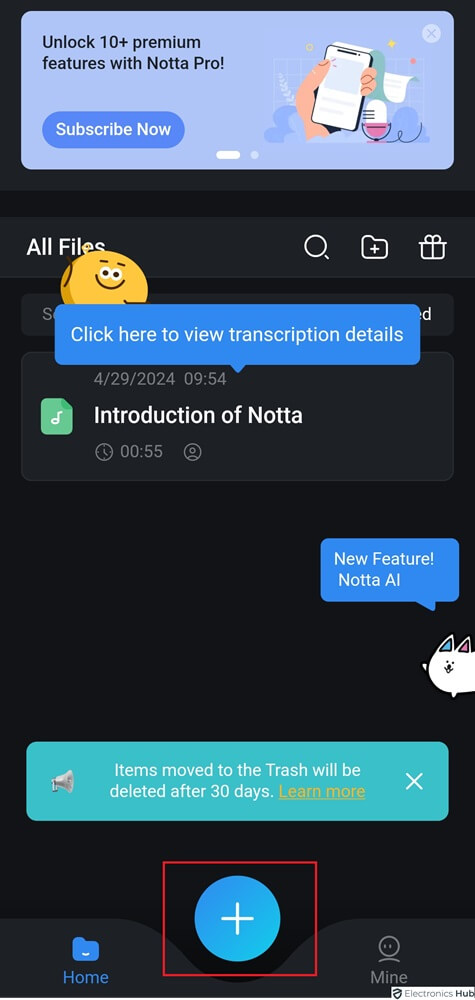
- Open the app and tap the record button to begin recording.
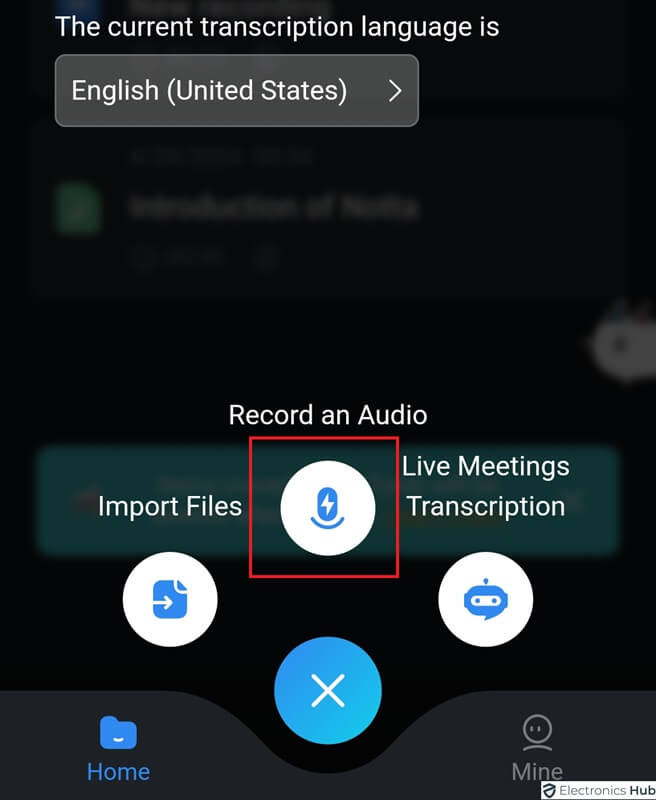
- Tap the stop button to finish recording.
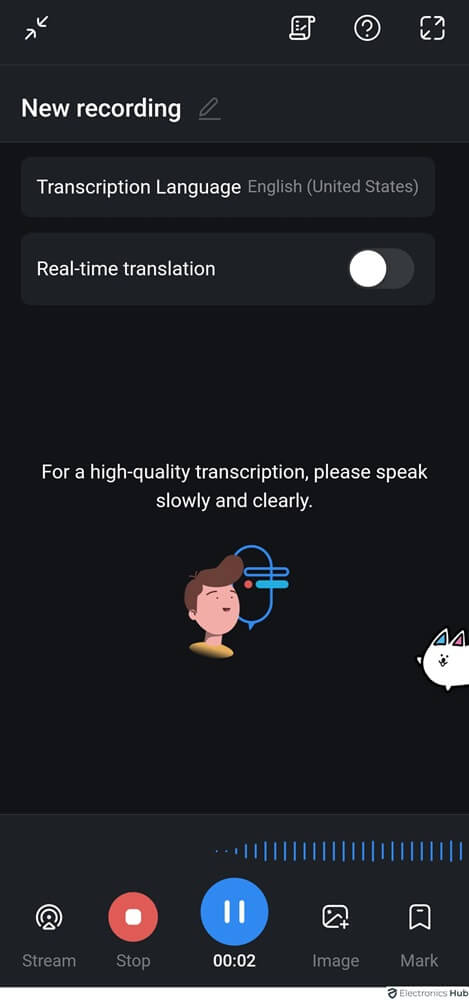
- Notta automatically saves your recording and allows you to edit the title, add further notes, or access the transcript (if enabled).
Android-Specific Options:
While there are numerous audio recording apps available for Android, some may have complex interfaces, limited features, or produce unsatisfactory audio quality. It’s essential to research and choose a reputable app that suits your needs. Popular options include:
- Speech Recorder: A simple and free app for basic voice memo recording.
- Easy Voice Recorder: Offers features like noise reduction and various audio formats.
- ai: Another transcription-focused app similar to Notta, but with a free tier that has recording limitations.
iPhone-Specific Options:
Apple enforces stricter policies on audio recording apps compared to Android. This can limit the availability of third-party recording apps, especially those with advanced features.
For reliable and user-friendly audio recording on iPhone, Notta (mentioned earlier) is a great option. Its intuitive interface and focus on both audio capture and transcription make it a valuable tool for iPhone users.
Hardware For Recording YouTube Audio – Guide
While downloading YouTube audio directly might be tempting, using hardware offers more control and better quality. Here’s what you’ll need:
Essential Hardware for Upgraded YouTube Audio:
1. Microphone: The heart of your audio setup. Here are some popular options:
-
- Condenser Microphone: Ideal for capturing detailed, studio-quality audio. Popular choices include Rode NT-USB Mini, Audio-Technica AT2020USB+, Blue Yeti.
- Shotgun Microphone: Focused directionality reduces background noise, perfect for on-location recording or isolating specific audio sources like interviews. Options include Rode VideoMic NTG, Sennheiser MKE 600.
- Lavalier Microphone (Lav Mic): A tiny microphone clipped onto your clothing for hands-free recording, ideal for vloggers or mobile journalists. Popular choices include Rode Lavalier II, and Sennheiser MKE 2-PC.
2. XLR Cable (for Condenser Mics): Carries audio signal from the microphone to an audio interface (explained below).
3. Audio Interface (Optional): An external sound card that connects your microphone (usually via XLR cable) to your computer, improving audio quality and providing more control over recording levels and microphone settings. Popular options include Focusrite Scarlett Solo, and PreSonus AudioBox USB.
4. Microphone Stand: Improves mic placement and reduces desk noise for clearer recordings. Boom arms are a good option for added flexibility.
5. Pop Filter: Minimizes plosive sounds like “p”s and “b”s that can create unwanted pops in the recording.
Examples of Popular Hardware:
- Microphones: Shure SM58 (Dynamic), Audio-Technica AT2020 (Condenser), Blue Yeti (USB)
- Audio Interfaces: Focusrite Scarlett 2i2, PreSonus AudioBox USB
Recommendations:
- Microphone Choice: Consider a cardioid or shotgun microphone for speech recordings, as they minimize background noise.
- Software: Free options like Audacity allow recording and basic editing. Paid options offer more features.
- Recording Space: Choose a quiet location to minimize background noise.
Steps to Record:
- Connect your microphone: For USB mics, simply plug them into your computer. XLR mics require connection to the audio interface first, then to the computer.
- Set up recording software: Open your recording software and choose the appropriate microphone as the recording device.
- Configure sound settings: On your computer, ensure the chosen microphone is set as the default recording device.
- Start recording: Play the YouTube video you want to capture audio from and hit record in your software.
- Stop recording: Once done, stop recording in the software.
- Edit your recording (optional): You can edit your recording in your software to remove unwanted noise or silence.
How To Record Audio For YouTube: 5 Steps For High-quality Audio
1. Gear Up:
- Microphone: Choose a good directional microphone, like a shotgun mic, to capture clear audio and minimize background noise. A Lavalier mic can also be used for mobility during recording.
- Headphones: Use headphones to monitor your audio in real time, allowing you to make necessary adjustments.
2. Tame the Environment:
Location: Select a quiet space to record, free from disruptive noises such as traffic or echoes. Use sound-absorbing materials, like rugs or blankets, to reduce unwanted sound reflections.
3 Capture the Audio:
- Recording Software: Use reliable audio recording options like your camera’s built-in microphone, an audio recorder, or computer software.
- Microphone Levels: Adjust the mic level to avoid distortion or overly quiet audio. Aim to maintain the levels in the yellow range of your recording meter.
4. Editing Magic:
Editing Software: Utilize video editing software to refine your audio. This includes removing background noise, adjusting volumes, and applying effect s.
5. Export and Upload:
Export your video in high-quality audio settings and upload it to platforms like YouTube, checking their audio format recommendations.
Frequently Asked Questions
Yes! There are several options. Some free screen recording apps for phones allow audio capture alongside the screen recording. Additionally, some browser extensions with audio recording functionality have mobile versions.
Most screen recording and audio recording software allows you to set a start and stop time for recording. This way, you can capture only the portion of the audio you need.
Explore royalty-free music libraries. These platforms offer extensive collections of legal-to-use music for a fee or subscription. Other than this, you can opt for a text-to-speech software.
Some screen recording software allows for adjusting audio sync after recording. Experiment with small delays in milliseconds to achieve perfect alignment. Free audio editing software like Audacity also offers sync features.
Conclusion
As discussed, there are several methods available to record audio from YouTube videos, each with varying degrees of ease and technical requirements. Whether you prefer a free, downloadable program like Audacity, a browser extension, or an online converter, there’s a solution to fit your needs. So, give these methods a try, and let us know in the comments below if they were helpful!
