In this tutorial, we will see how to create a new Raspberry Pi Pico Project from scratch. In all the previous tutorials on Raspberry Pi Pico till now, we used the projects in the ‘pico-examples’ directory which we downloaded from the official Raspberry Pi Pico github repository. But now, we will learn how to create a new Raspberry Pi Pico Project, what are the necessary files we have to include in our project folder and also how to program and debug our project both from terminal as well as Visual Studio Code.
Create the Project Folder
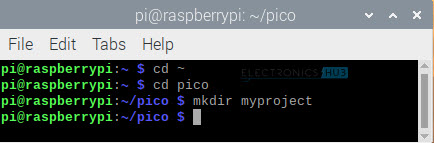
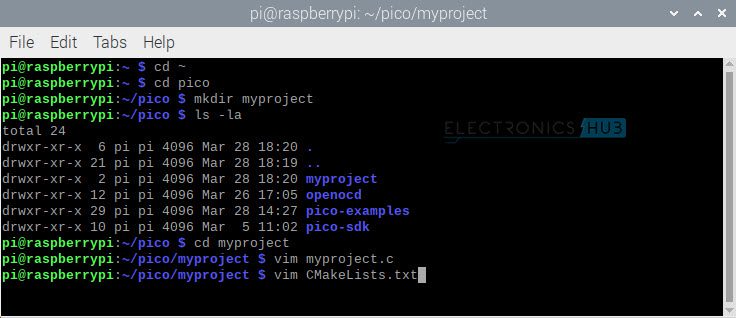
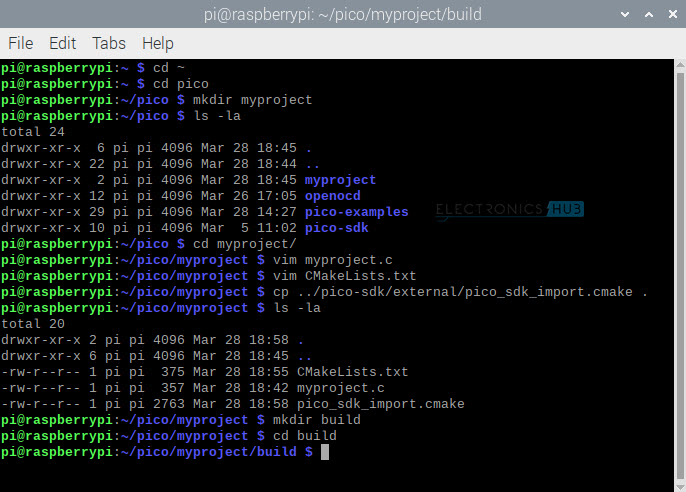
First, we will create a new directory which will contain all our project related files. To do that, change directory to /home/pi/pico and create a new project folder. The new project folder must be alongside the ‘pico-sdk’ directory. Let us name this folder as ‘myproject’, to keep it simple.
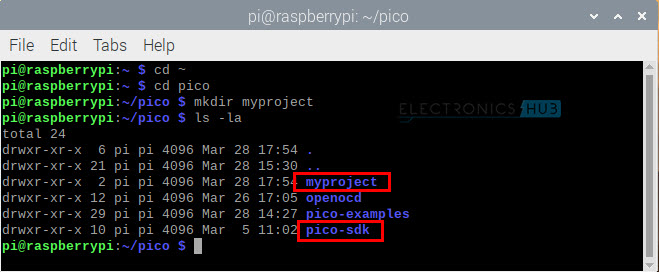
If you take a look at the contents of /pico directory, it should contain ‘pico-sdk’ and ‘myproject’ directories and other directories (pico-examples is also in the same path).
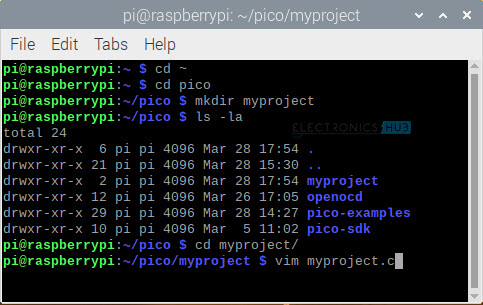
After creating the project directory, open the directory.
Create the Project Source File
Every project must contain at least two files: one is the main project source file with an extension of .c, which contains the ‘main’ function and all the project related code and the other file is associated with CMake (we will see more about this file in the next section).
In the myproject folder, create a new file called myproject.c. You can give any name to the source file. I used vim to create and edit the .c file.
This will open a blank .c file. You can add your program here. To start typing in vim, press ‘i’ and start typing the code. I made a small code (which is also in the getting Started with raspberry Pi Pico Guide) which will blink the on-board LED and also print ‘Hello, World!’ text on the Serial Output every second.
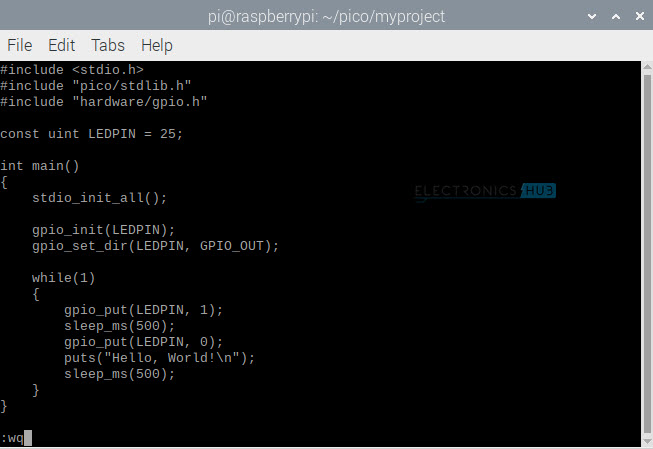
After typing the code, press ‘Esc’ key and then type ‘:wq’ in vim to write to the file and quit vim. This is not a tutorial on how to use vim. I suggest you to make use of other tutorials if you are not familiar with vim and its commands.
Create CMakeLists File
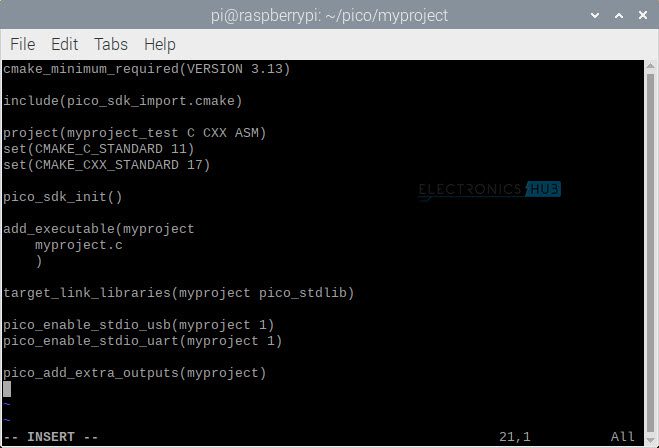
If you remember in the ‘Raspberry Pi Pico Serial Programming’ tutorial, we have seen this CMakeLists.txt file. This is a configuration file for CMake, where you can set different parameters for the CMake tool.
So, in the ‘myproject’ directory, create a new file called CmakeLists.txt using vim.
If you observe the commands in CMakeLists.txt file, it is pretty straight forward. Also, I am enabling the stdio output on both the UART as well as USB so that you can view the “Hello, World!” text printed on both the ports.
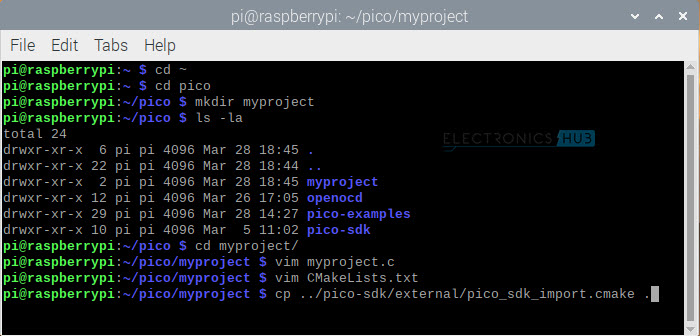
Now, we have to copy ‘pico_sdk_import.cmake’ file from the /pico-sdk/external directory into our ‘myproject’ directory. Use the following command to copy the same.
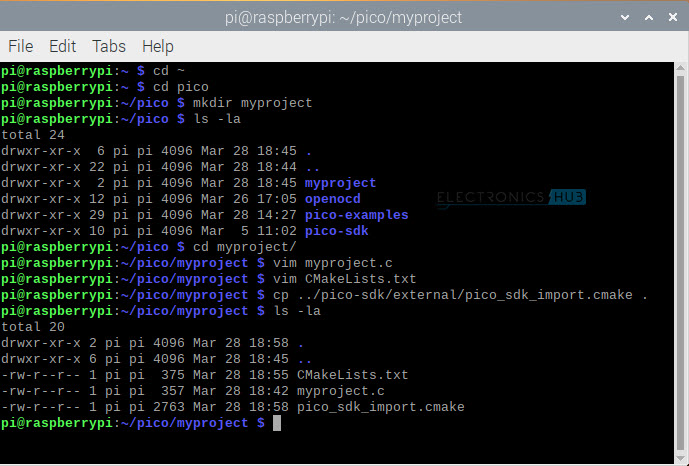
Finally, the contents of ‘myproject’ should look something like this. It should contain three files:
- myproject.c
- CMakeLists.txt
- pico_sdk_import.cmake
Build the Project
After this, we are now ready to build the project. If you remember in the previous tutorial, we created a build directory and this directory contains all the executables for a project. We will do the same here. First create a ‘build’ directory in ‘myproject’ directory.
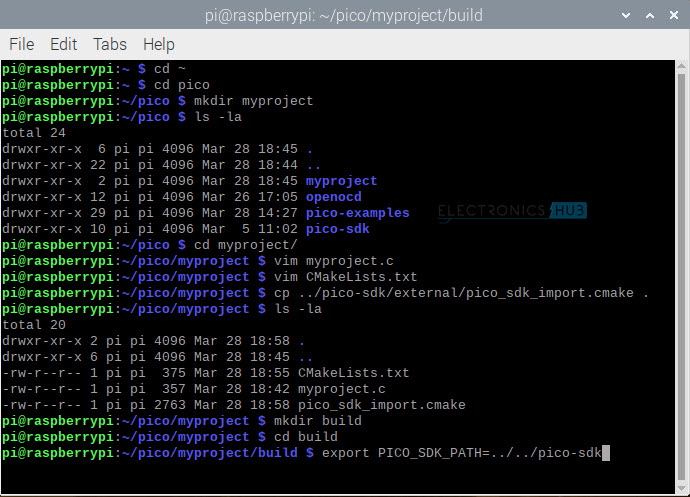
Next, we have to set the path for SDK folder. We can do this using the export command.
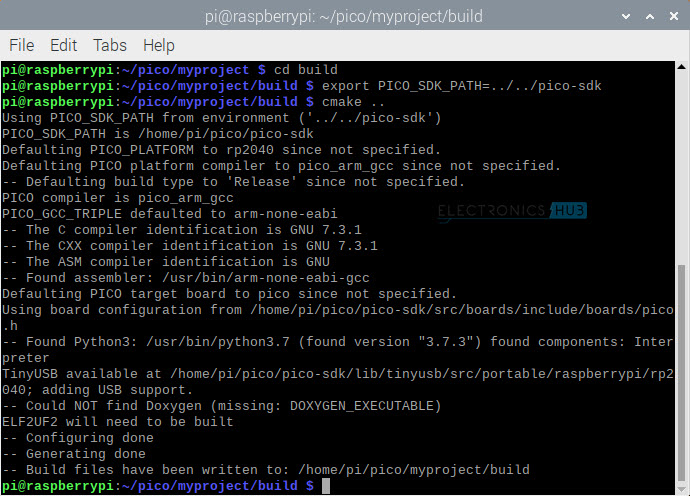
Using cmake command, we can now create the makefiles of the project.
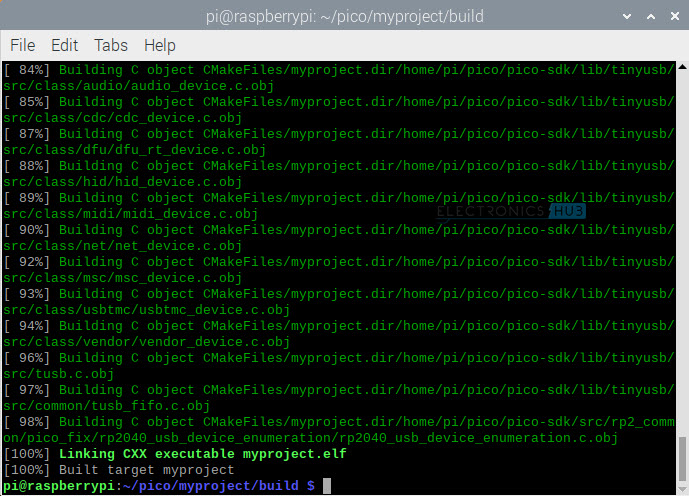
Finally, we can build the project using make command.
Contents of Build Folder
If you list out the contents of the build folder, you can see that it contains several files and some of them are executable files. Of all these files, we are interested in two files with extensions .elf and .uf2.
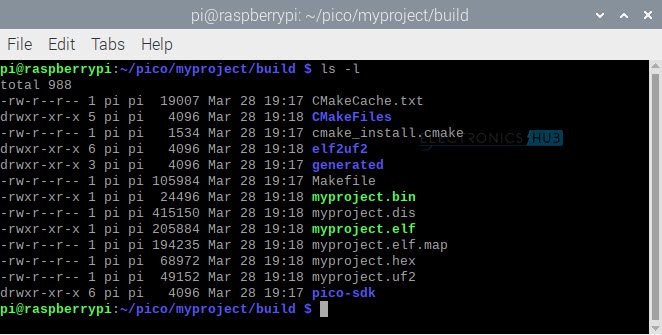
In the previous tutorials, if you remember them, we used .uf2 file to drap-and-drop the executable into Raspberry Pi Pico, when it is emulated as a removable storage device (plugging in Raspberry Pi Pico while holding the BOOTSEL button).
In the SWD tutorial, we used the SWD interface to program Raspberry Pi Pico but this time we used the .elf file. In this tutorial, we will use the SWD interface to upload the program to Raspberry Pi Pico.
Program Raspberry Pi Pico using SWD
Shutdown the Raspberry Pi and make the connections between Raspberry Pi Pico’s SWD interface and Raspberry Pi. The following table will remind you the connections between them.
|
Raspberry Pi Pico |
Raspberry Pi |
| SWDIO |
GPIO 24 (PIN 18) |
|
SWD GND |
GND (PIN 20) |
| SWCLK |
GPIO 25 (PIN 18) |
After making the connections, power on the Raspberry Pi and plug-in Raspberry Pi Pico into one of the USB Ports of Raspberry Pi. This will act as a power supply to Pico as well as a serial port.
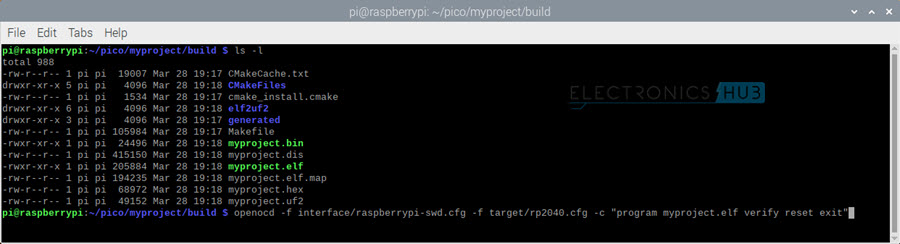
Open the terminal and browse to build directory in myproject directory. Here, use the following command to upload the code to Raspberry Pi Pico.
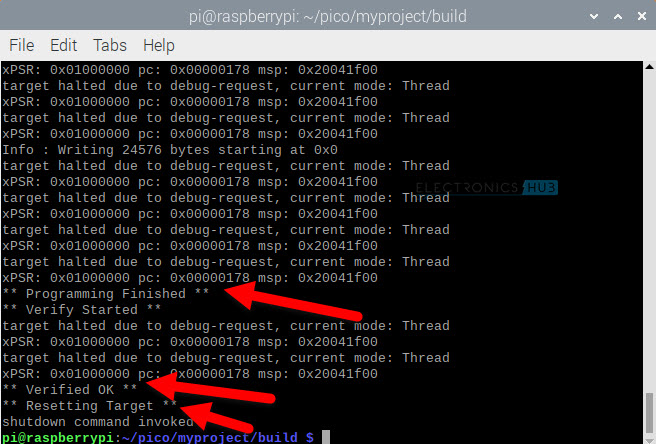
Once the program is uploaded, you will get a confirmation as ‘Programming Finished’, ‘Verified OK’ and ‘Resetting Target’.
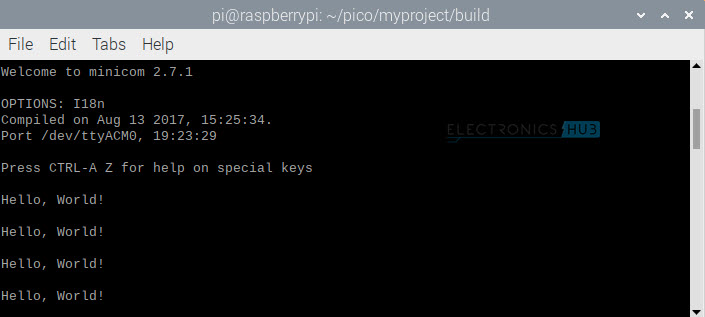
You can see the LED blinking. Since we are also printing “Hello, World!” on the serial output, we will use the USB Port to view this. You can use Minicom to view the output of the USB Port using the following command.
IMPORTANT NOTE: I skipped the debugging and programming Raspberry Pi Pico using VS Code as I already discussed them in the previous tutorials. You can refer to those tutorials and apply the same methods to your own project for programming through VS Code as well as debugging.
Conclusion
A complete step-by-step tutorial for beginners on creating a new project for Raspberry Pi Pico. You learned how to create a new Raspberry Pi Pico project, what are the essential files to have in the project folder, build the newly created project and upload the program using SWD interface.

2 Responses
Excellent. A small addition: Under “build the project”, although the screen shot shows “cd build” before doing the “cmake ..” there is no yellow highlighted instruction to do so.
project(myproject_test C CXX ASM)
Should the myproject_test be written as myproject ?