In this tutorial, we will learn how to Program Raspberry Pi Pico using C. We will see all the steps required for Programming Raspberry Pi Pico in C Programming Language like downloading Raspberry Pi Pico’s C SDK and examples from github, installing all the necessary tools, building the Blinky C Program and finally loading the UF2 file to Pico and running the Blinky example.
Have You Read These?
Before proceeding further, you need to go through two previous tutorials that I made for Raspberry Pi Pico called ‘Getting Started with Raspberry Pi Pico’ and ‘Programming Raspberry Pi Pico with MicroPython’.
These tutorials include some basics about Raspberry Pi Pico, the RP2040 Microcontroller, Pinout of Pico, programming environment, MicroPython and many other important topics.
I strongly recommend you to complete those two tutorials to get familiar with Raspberry Pi Pico.
Getting Started with Raspberry Pi Pico C SDK
If you are an old school hardware engineer (like I am) and has experience in writing firmware, then you will probably be more comfortable in C Programming Language rather than Python or MicroPython for writing applications / firmware. Ironically, MicroPython is written in C.
Even though the Raspberry Pi Foundation promotes Python as the primary programming language for all the Raspberry Pi SBCs, things are quire different when it comes to Microcontrollers.
I consider C as the low-level programming among all the high-level programming languages. If you want complete control of the hardware right down to the individual bit of a register, then C is ultimate choice. Hence, C is the preferred choice of programming for many microcontrollers and embedded systems.
The RP2040 Microcontroller based Raspberry Pi Pico is no exception to this. While investing and promoting MicroPython, the Raspberry Pi Foundation also released SDK (Software Development Kit) for C / C++ programming languages to develop applications for RP2040 based boards.
Let us see how to Program Raspberry Pi Pico using C Programming Language.
What Computer to use?
I already discussed this in the ‘Programming Pico with MicroPython’ tutorial. You can use any of the Linux, Windows or Mac based systems as the host computer. But the official documentation of Raspberry Pi Pico focuses on Raspberry Pi Computer running Raspberry Pi OS as the main host system (even though it mentions procedures for other systems).
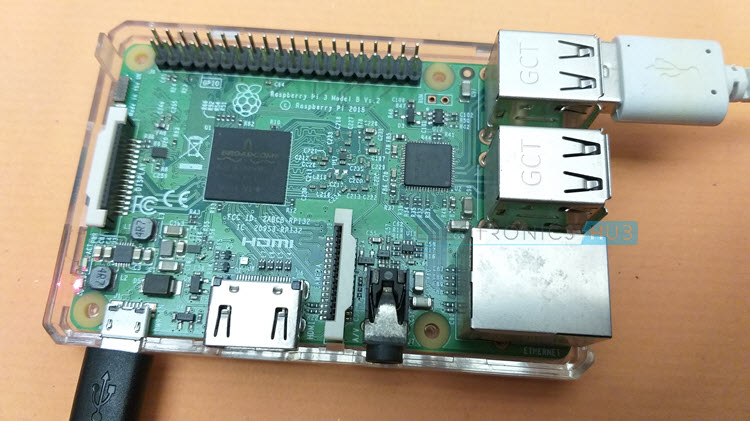
I do not have the latest Raspberry Pi 4 SBC but have an older Raspberry Pi 3 Model B. So, when working with C SDK, I generally use Raspberry Pi to develop applications for Pico. In the future tutorials, I will explain how to work with other systems and environments like Windows, Visual Studio Code and others.
Get Pico’s C SDK and Examples
Assuming you are also using a Raspberry Pi computer, login to Pi using either SSH or VNC (if you connect Pi to a monitor, then well and good). I will be using the VNC viewer to open the desktop of Raspberry Pi.
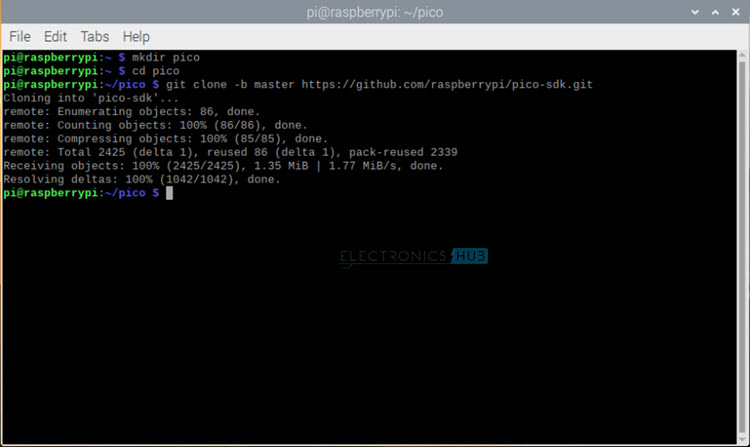
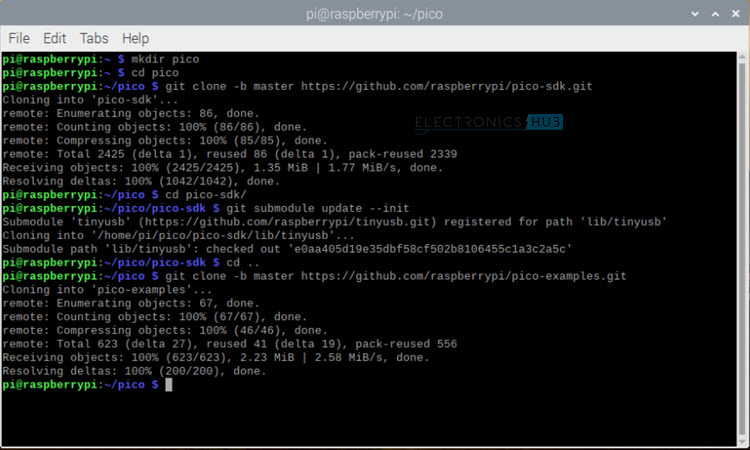
Open the terminal and create a directory called ‘pico’ at /home/pi/pico. Enter the following commands one after the other.

Download C SDK
The official repository for Pico’s C SDK is https://github.com/raspberrypi/pico-sdk. Let us clone this repo into our newly created ‘pico’ directory using the following command.
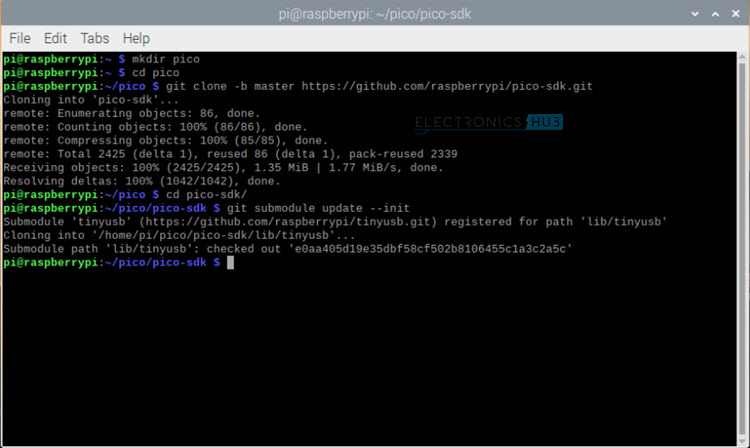
This will create a directory called ‘pico-sdk’ inside the ‘pico’ directory. Before proceeding with downloading the examples, you have to initialize the ‘tinyusb’ submodule in the ‘pico-sdk’ for USB related functions like USB CDC Serial to work.
So, open ‘pico-sdk’ directory and initialize the USB submodule using the following commands.
Download Examples
Raspberry Pi Foundation created a bunch of examples for different peripherals like GPIO, ADC, PWM, I2C, SPI etc. of Pico. Instead of writing C programs from scratch, we can make use of these examples to get familiar with different functions and APIs. The official repo of Pico examples is https://github.com/raspberrypi/pico-examples.
We will clone this repo into the ‘pico’ directory. So, go back to the ‘pico’ directory and clone the git using the following commands.
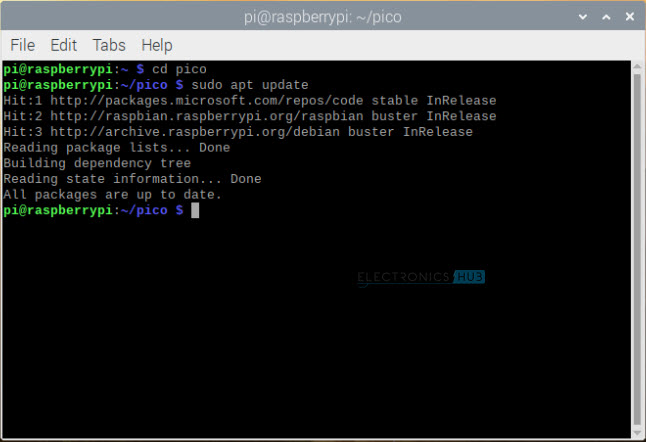
Installing the Toolchain
You just downloaded the C source files for Pico. To compile and build these files, you need additional tools like ARM GCC Compiler, ARM Cortex libraries, CMake build tool etc. We can install all these tools using ‘apt’. First, update the package index using ‘update’ command.
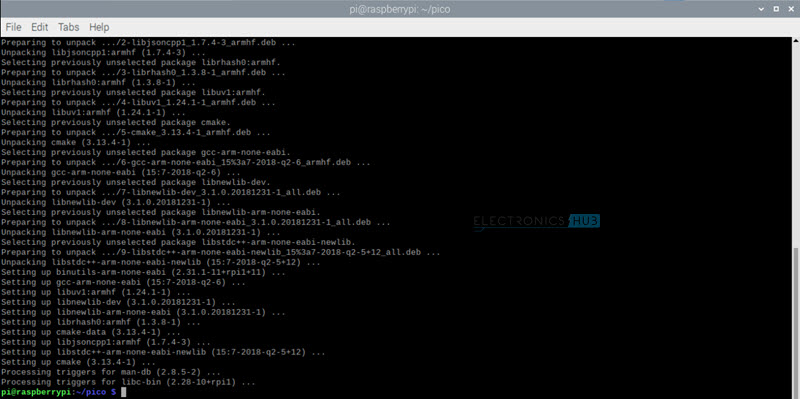
Now, you can install the necessary tools using the following command. If you already have any of these tools installed, ‘apt’ will not install them again.
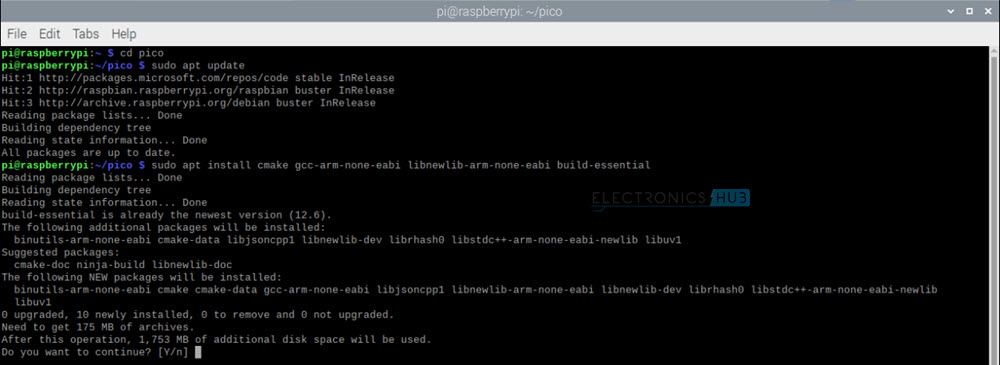
WARNING: This is a very large installation which occupies approximately 1800 MB of disk space. Make sure you have enough space on the SD Card in which you installed the Raspberry Pi OS. I used a 16 GB card.
Also, it will take quite a bit of time for complete installation. Grab a cup of coffee and relax.
Exploring Blink Example
Let us now see the first C example program, which is nothing but the ‘Blink’ program, as expected. Assuming you are still in ‘pico’ directory, open the ‘pico-examples’ directory. This directory contains example for different peripherals and modules. Open ‘blink’ directory.
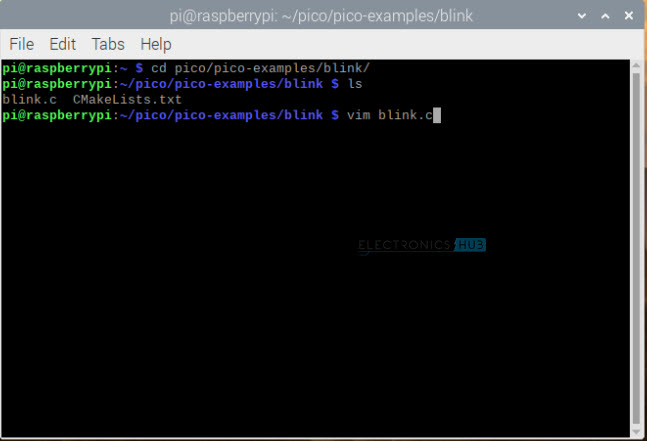
Here, you can see the ‘blink.c’ source code for blinking the on-board LED. If you want to open it, use any editor like ‘vim’. If you don’t have ‘vim’, install it using sudo apt install vim command.
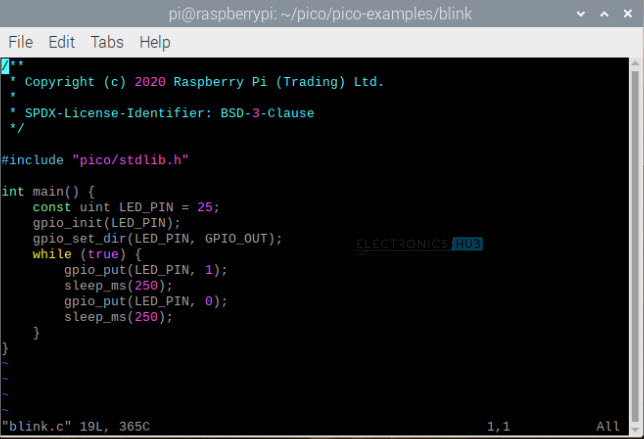
I made a copy of the code and added comments for easy understanding.
We have to now build this source code and generate a binary file.
Build the Blink
Go back to ‘pico-examples’ directory and create a new directory called ‘build’. This directory contains all the CMake build files for all the example projects. Open the newly created ‘build’ directory.
Also, export the path for pico-sdk using the following command.
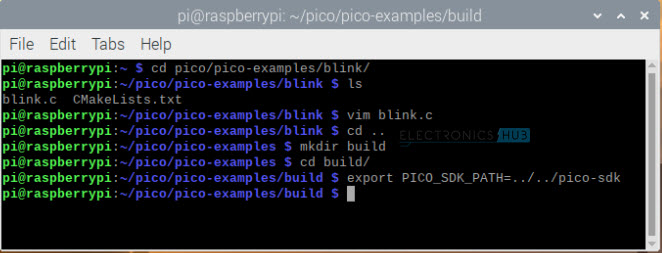
You are now ready to run CMake command to prepare the build directory.
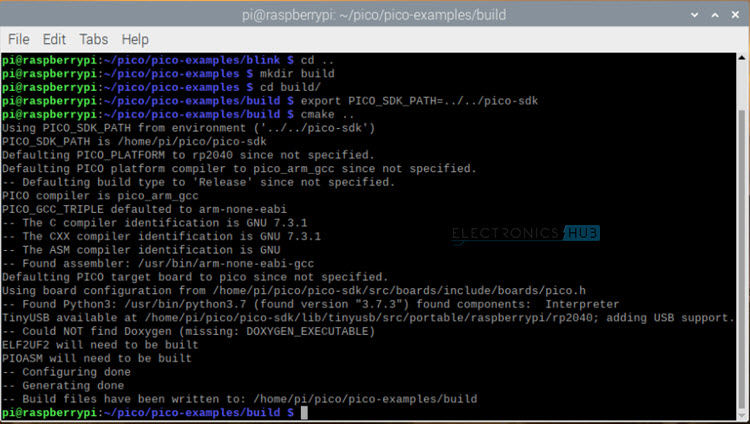
The ‘build’ directory is now populated with all the build related files for all the examples. But as we are interested only in the blink example, let us build that example using the make command. First, open the ‘blink’ directory in the ‘build’ directory and make the files.
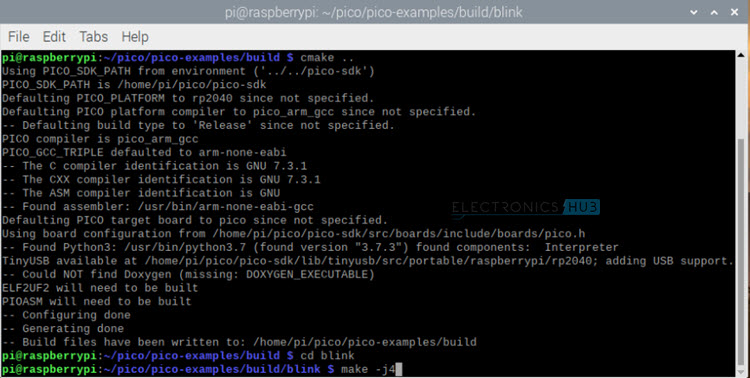
NOTE: The ‘-j’ option lets you specify the number of simultaneous jobs to run. Since, my Raspberry Pi 3 has a quad core CPU, I chose 4 simultaneous jobs.
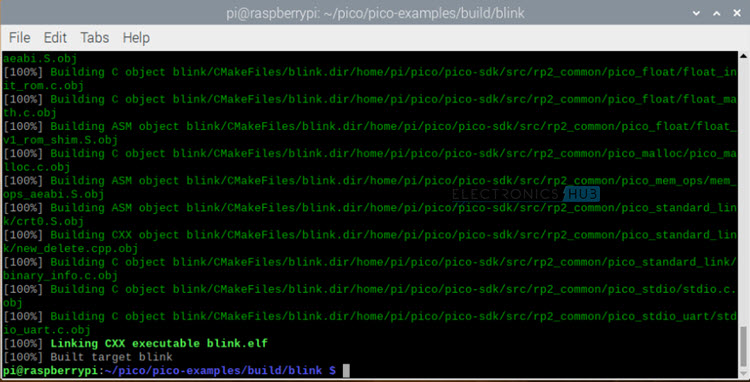
The ‘make’ command will compile all the source files and generates a bunch of binary files.
If you list out the contents of the ‘blink’ directory in the ‘build’ directory, you can see the list of generated files.
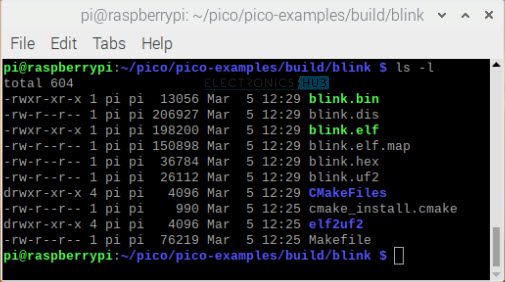
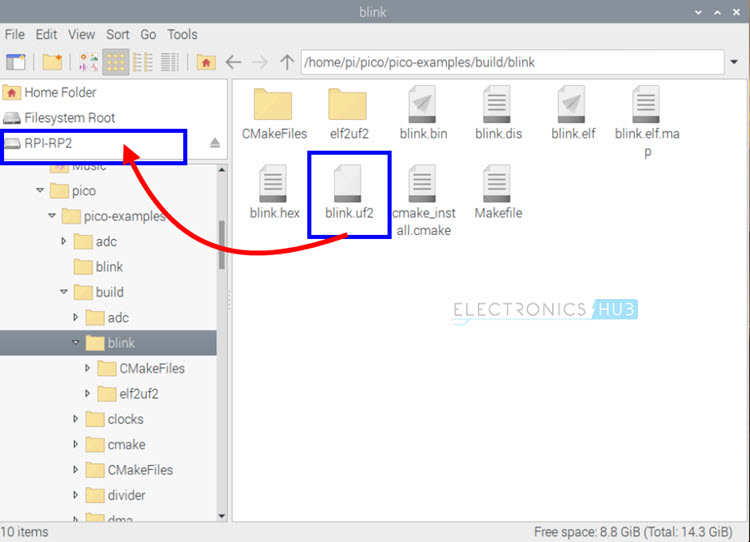
Of all these files, we are interested in the ‘.uf2’ file named ‘blink.uf2’. If you remember the MicroPython tutorial, this is file format of the MicroPython binary which can be easily uploaded in to Raspberry Pi Pico simply by dragging and dropping (after setting the Pico in bootloader mode).
Load the Blink and Run it
The simplest way to upload the program to Raspberry Pi Pico is to put it in Bootloader mode, which will mount the Pico as an USB Mass Storage Device. Then we can simply drag-and-drop the blink.uf2 file.
To put the Pico in Bootloader mode first plug-in the micro USB cable to Raspberry Pi Pico and hold the ‘BOOTSEL’ button while plugging in the USB cable to Raspberry Pi (or the host computer). The Pico will mount as a mass storage device.
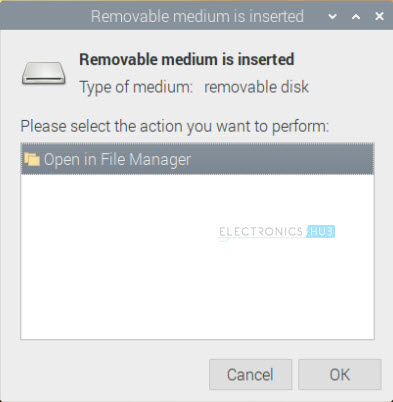
Open the file manages, browse to the pico/pico-examples/build/blink directory. Simply drag and drop the ‘blink.uf2’ file onto Pico. The Pico will reset (and gets disconnected from the computer) and the LED starts blinking.
Bonus: Alternative to Unplugging and Plugging USB Cable
Are you tired of unplugging and plugging the Raspberry Pi Pico to put into bootloader mode? Then I will show you a work around so that you don’t have to do that every time you want upload a program to Pico.
What we are actually doing when unplugging and plugging Pico is resetting it. So, if we can find another way to reset Pico, then we can keep the Pico plugged in to the computer. As it turns out, there is rather a simple way to reset Pico.
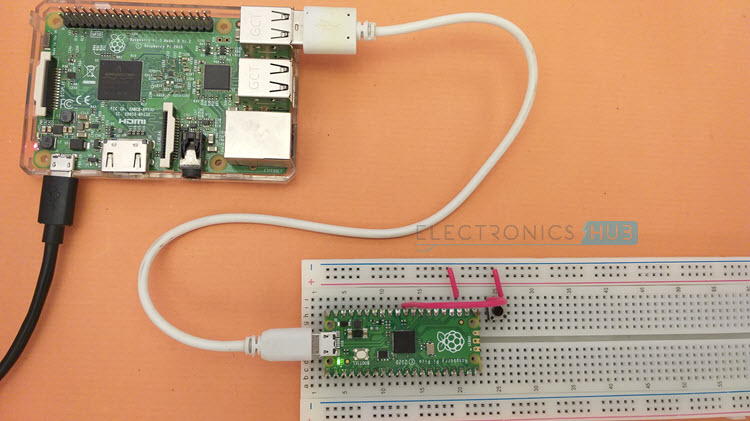
If you remember the Pinout of Raspberry Pi Pico, there is a pin called ‘RUN’. This is pin number 30 on Raspberry Pi Pico.
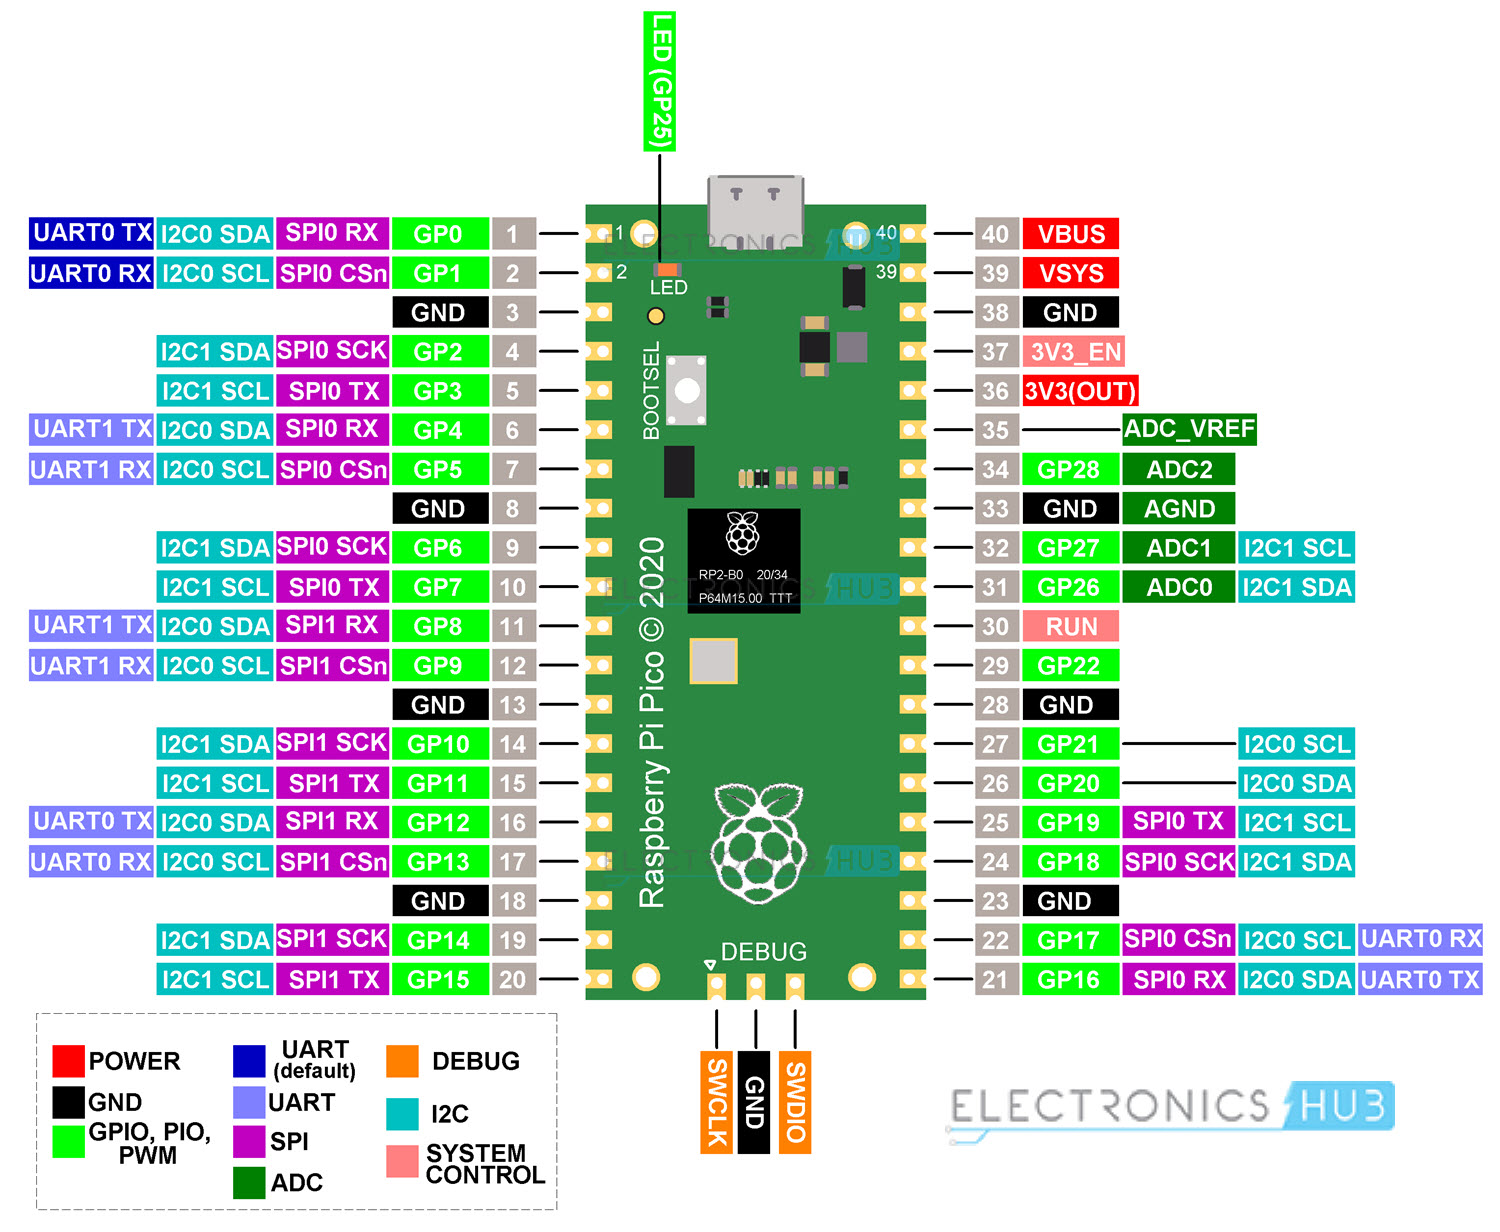
This is actually the global reset pin of RP2040 Microcontroller. When this pin is pulled LOW, the RP2040 microcontroller will reset.
So, I connected a push button between RUN pin and GND. Whenever I push the button, it will reset the microcontroller. Let us call this button as Reset Button.
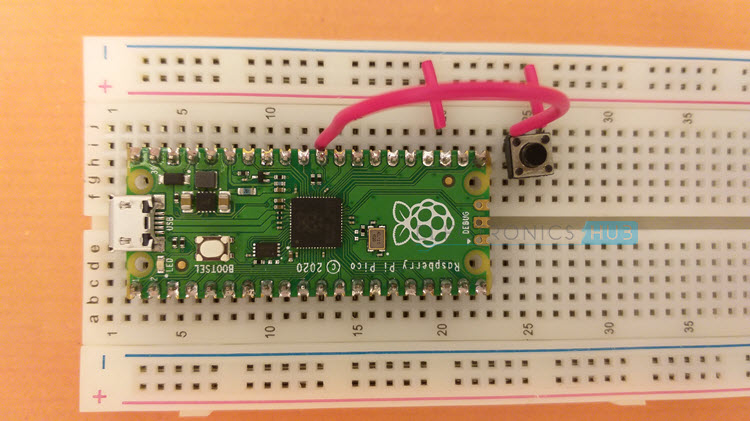
Now, to put the Raspberry Pi Pico in Bootloader Mode, first push and hold the Reset Button. Then, push and hold the BOOTSEL button. Now, first release the Reset button and then after a second, release the BOOTSEL button.
That’s it. Your Pico is now in Bootloader Mode. You can keep the USB cable connected to Pico and the host computer (Raspberry Pi) but you can easily reset or select bootloader mode.
If you just want to reset the Pico, simply push the Reset Button once and release it.
Conclusion
A complete beginner’s guide to Getting Started with C SDK for Pico. You learned how to Program Raspberry Pi Pico using C Programming Language by understanding how to download the Pico C SDK, install all the necessary tools, build the source code and upload the binary to Raspberry Pi Pico.

8 Responses
Hello, I can follow this tutorial until “git submodule update –init”. With this command I get only some git help, but no command execution.
What can be wrong?
It should be git submodule update ‘doubledash’init
git submodule update (-)(-)init without paranthesis.
There is problem with text editor.
Take a look at the image next to the command.
There is an error in https://devconnected.com/how-to-add-and-update-git-submodules/ git submodule update –init should read git submodule update –init –recursive. Otherwise thank you for a great article.
I was hoping to find out how to load the SDK on to a Linux Mint computer, any suggestions?
The installation on any Linux machine should be the same. You can follow the same steps for Linux Mint as well. Since Mint is based on Ubuntu, you might have to install an additional library “libstdc++-arm-none-eabi-newlib” (after installing the toolchain).
Thank you for a very well presented tutorial. Everything worked as you explained. Now I have to brush-up on my C programming and compiling.
Thank you for the tutorial. Easy to understand and everything worked first time.