In today’s fast-paced digital world, knowing how to capture what’s on your Dell laptop screen can be a valuable skill. Whether you want to preserve a memorable moment from a video call, document an important error message, or simply save a piece of online content for later, taking a screenshot is the way to go. The process might seem daunting at first, especially if you’re new to Dell laptops or computers in general.
However, fear not! In this guide, we will walk you through the steps of taking a screenshot on your Dell laptop. We’ll explore different methods, from using built-in tools to keyboard shortcuts, making it easy for you to select the one that suits your needs best. By the end of this tutorial, you’ll have the knowledge and confidence to capture your screen effortlessly, empowering you to save and share the information that matters most to you.
So, let’s dive in and discover the various ways you can capture those important moments on your Dell laptop’s screen.
Outline
ToggleHow to Take Screenshot on DELL Laptop?
1. Take a Screenshot with Windows Shortcuts
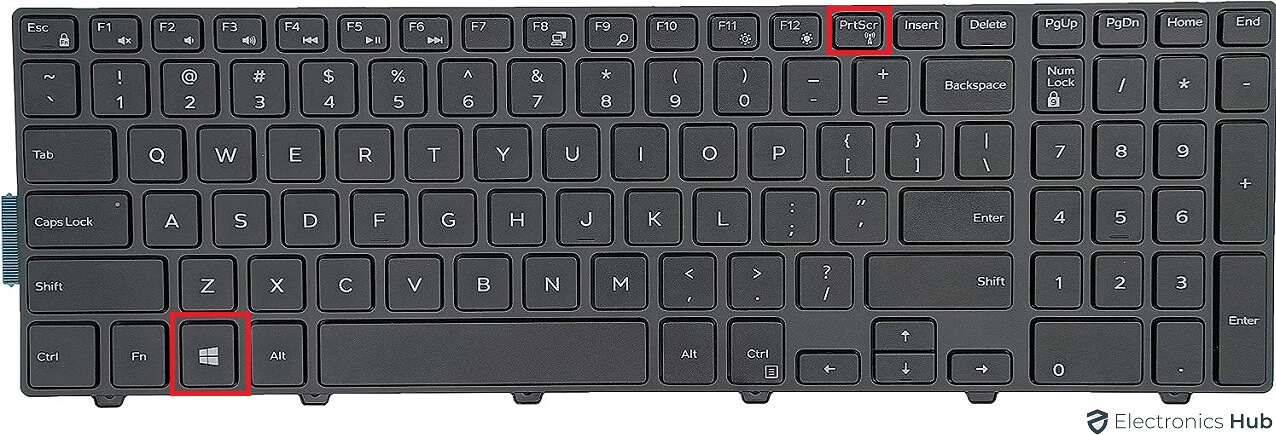
a. Capture the Whole Screen with “Win + Prt Scn”
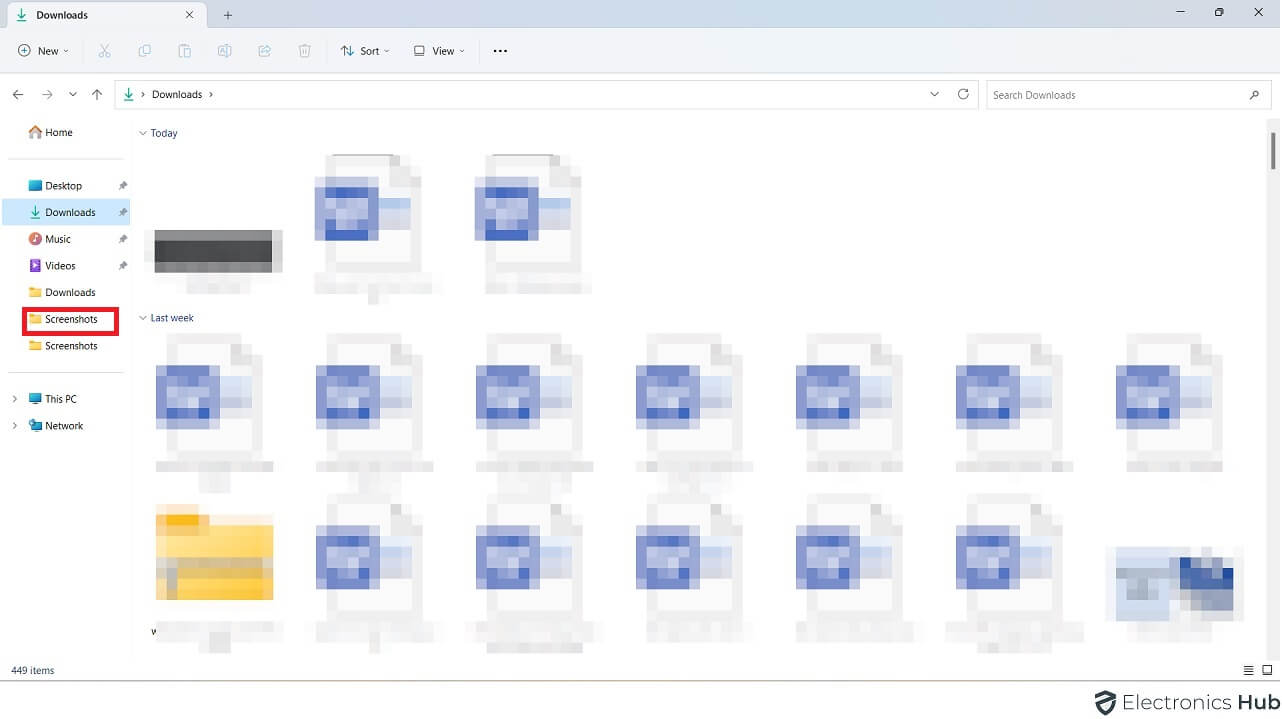
Capture your entire Dell laptop screen effortlessly by pressing the Windows logo key and Prt Scn simultaneously. The screenshot will be automatically saved in the “Screenshots” folder within your Pictures library.
Here’s a quick step-by-step guide:
- Press Windows logo key + PrtScn.
- Listen for the camera shutter sound and a brief screen flash.
- Open your Pictures library.
- Locate the “Screenshots”
- Your screenshot will be stored with the name “Screenshot (number).png.”
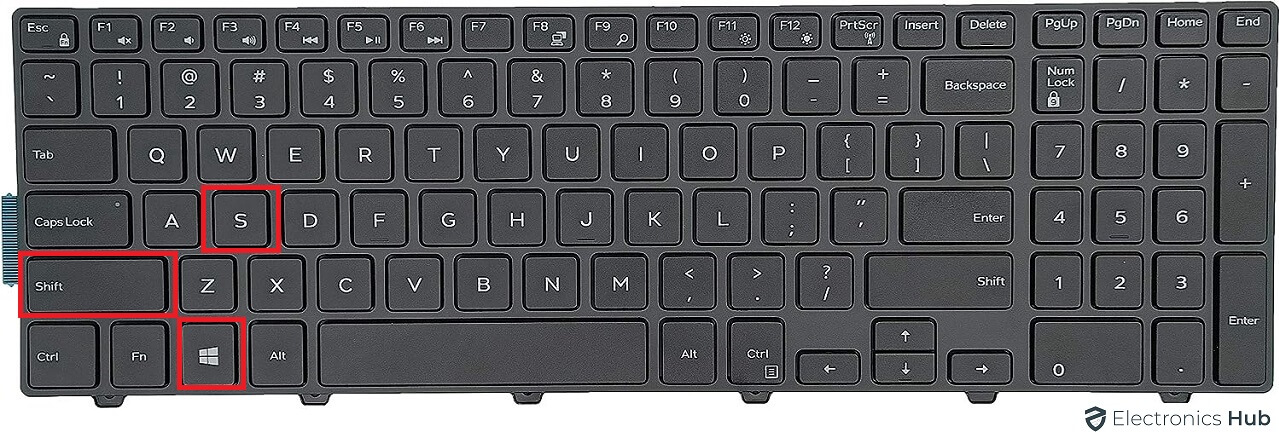
b. Capture Partial Screen with “Win + Shift + S”
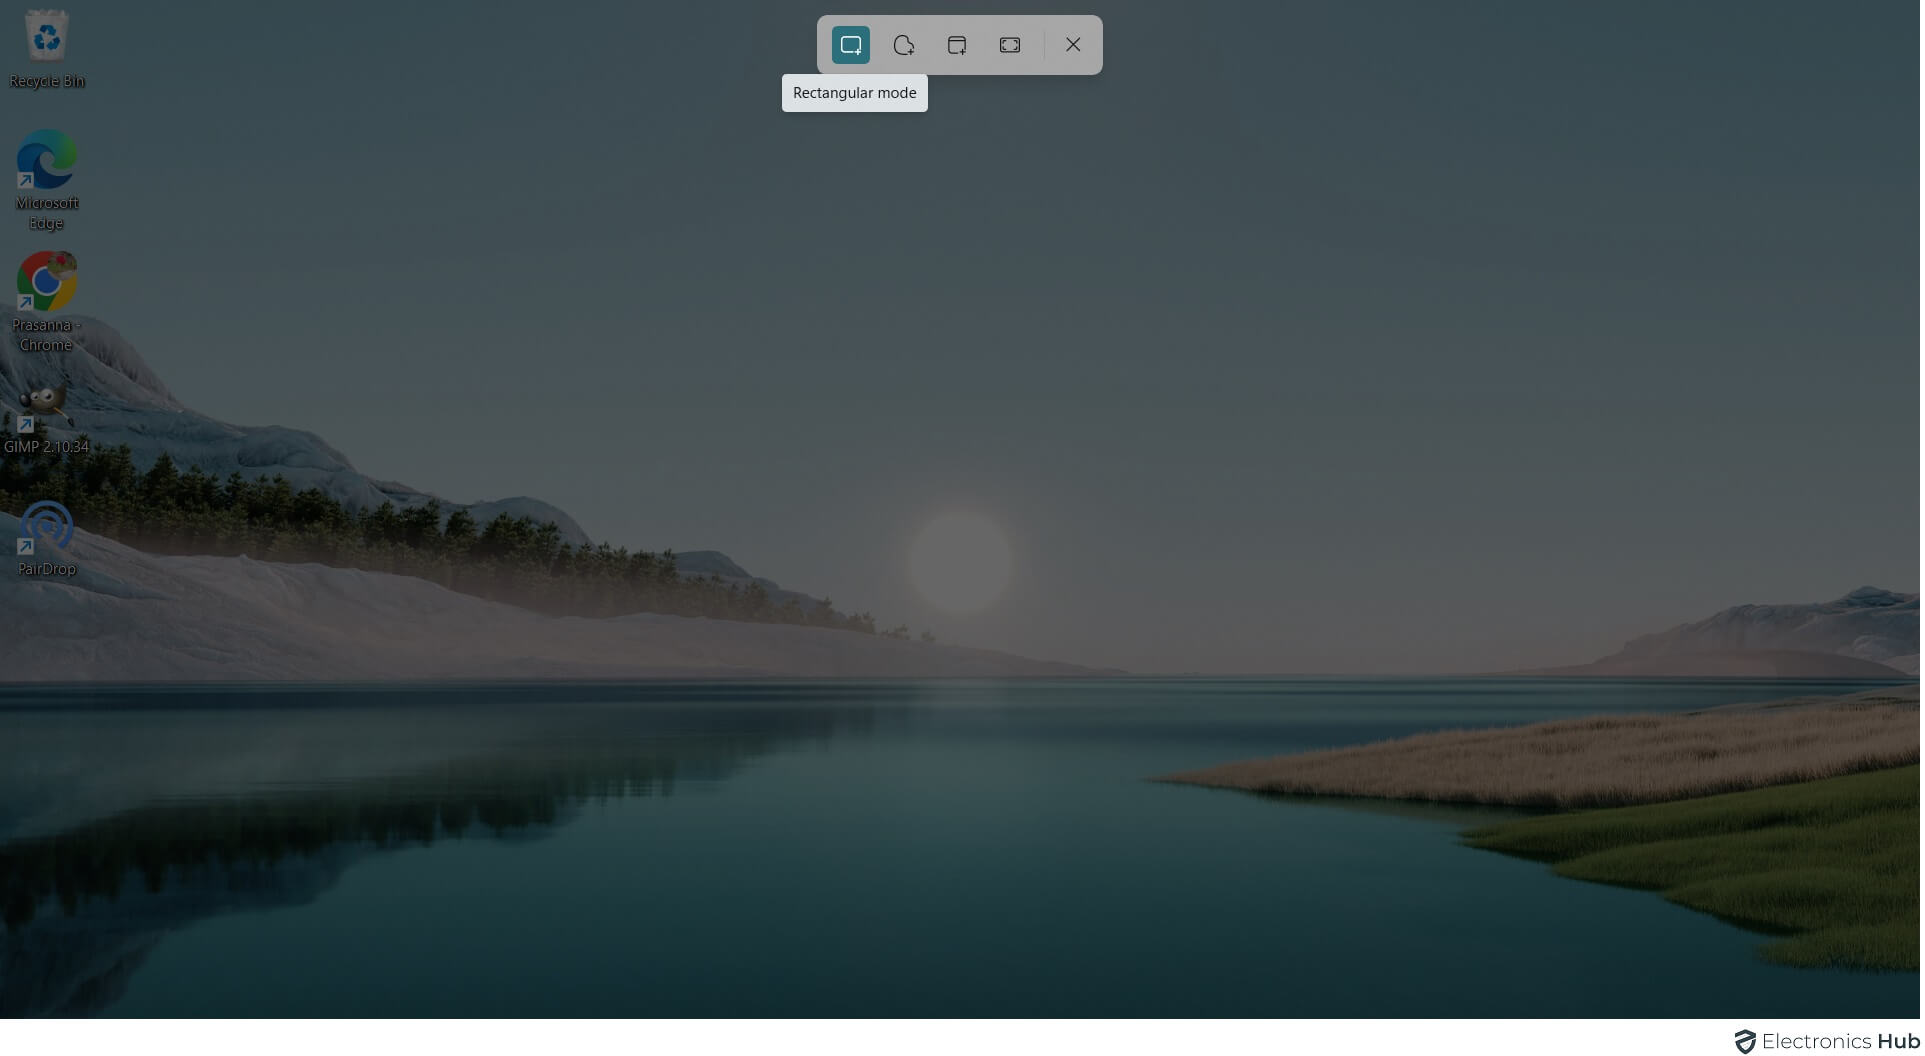
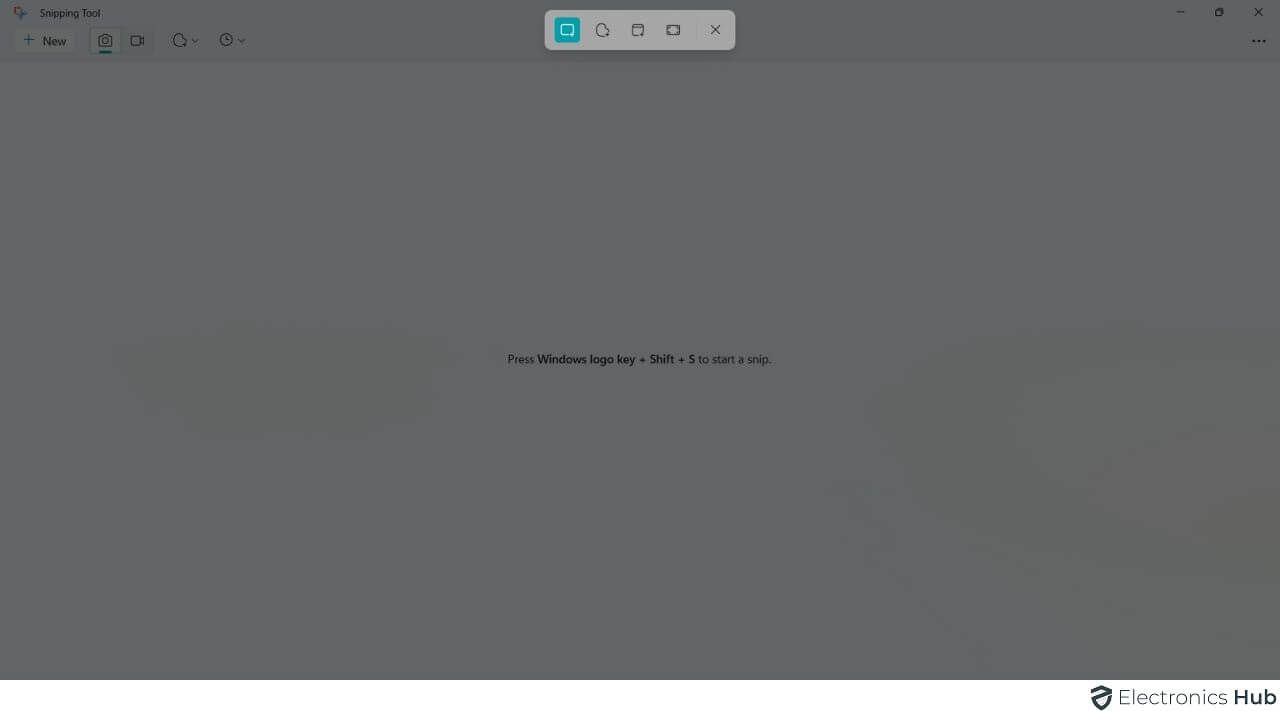
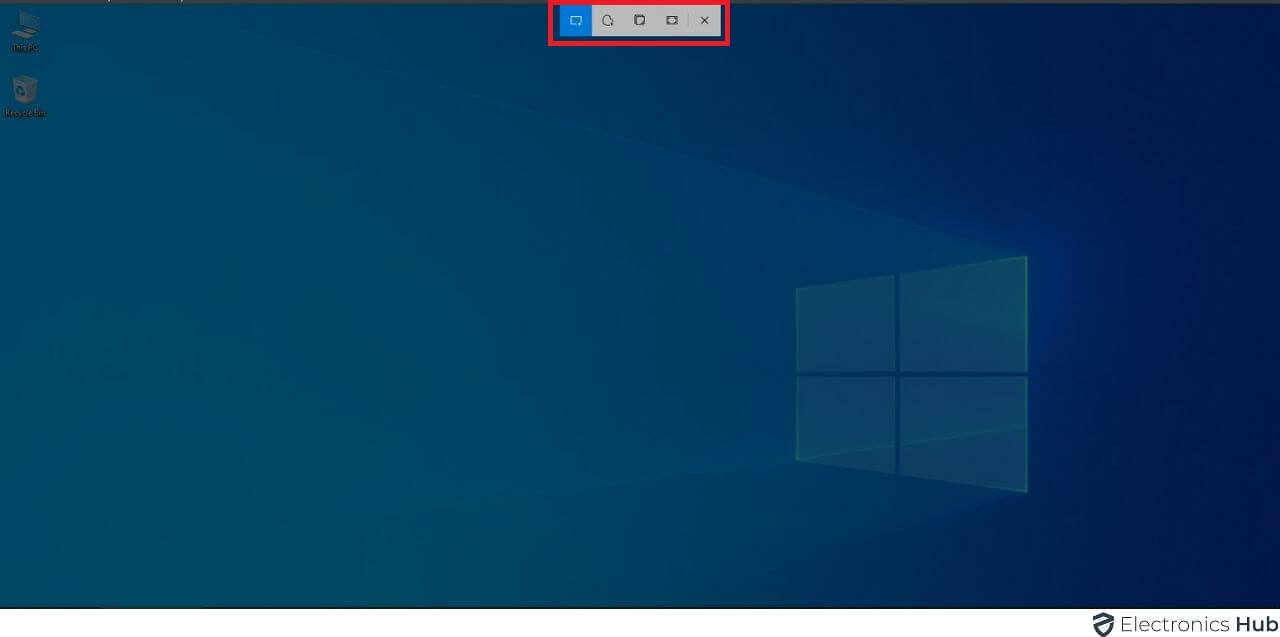
- Press Windows + Shift + S to open the Snipping Tool toolbar.
- Select the Rectangular Snip tool.
- Click and drag to choose your screen area.
- Release the cursor to capture.
- The screenshot is copied to your clipboard.
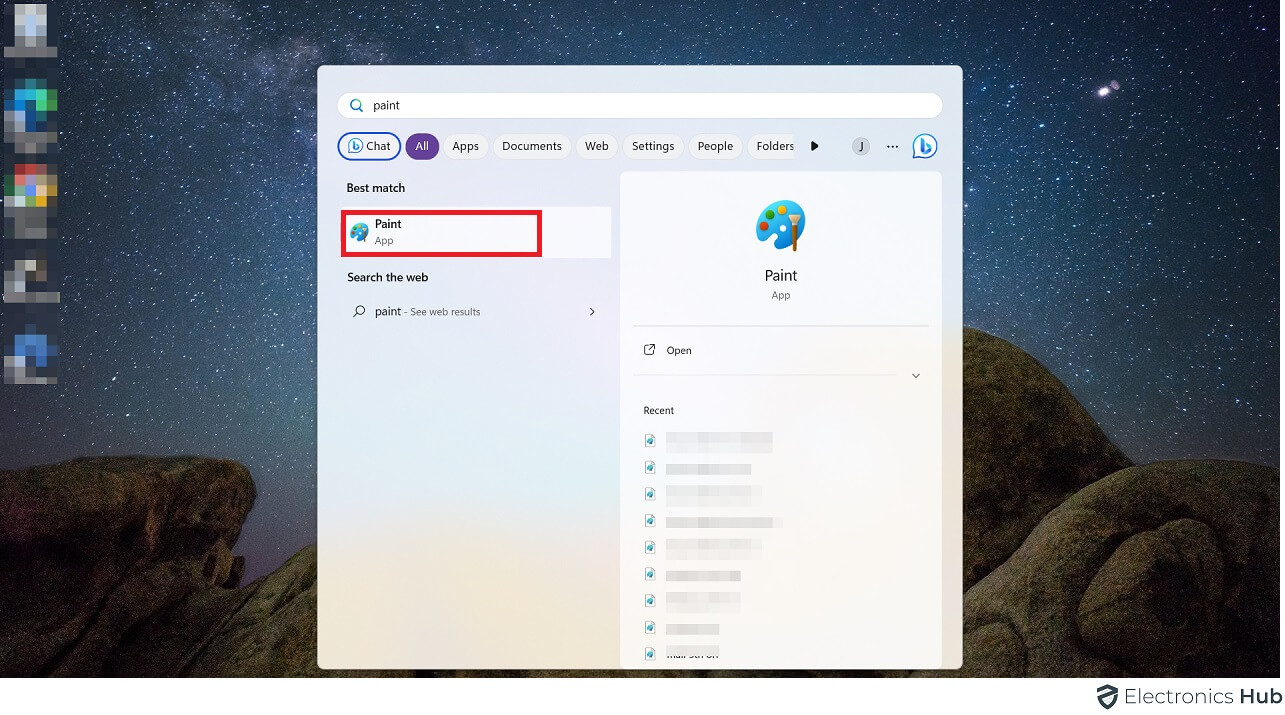
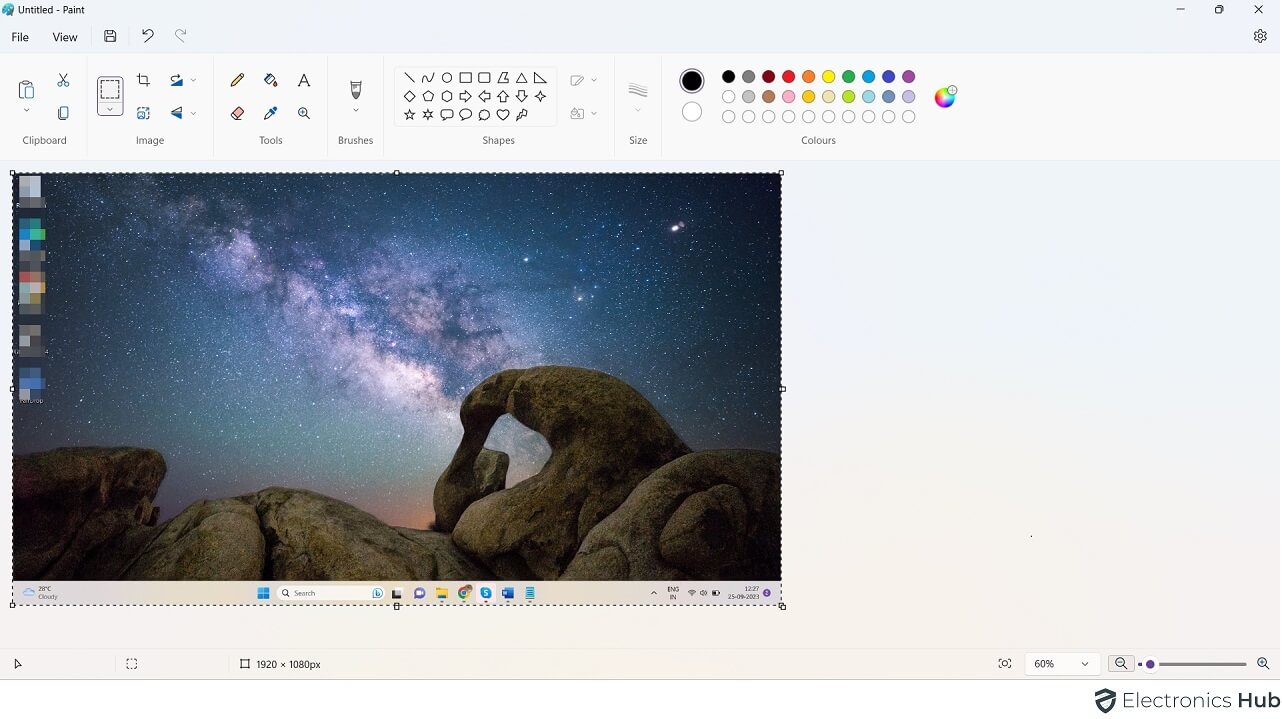
- Open an image editor like Paint or Photoshop.
- Paste the screenshot with Ctrl+V.
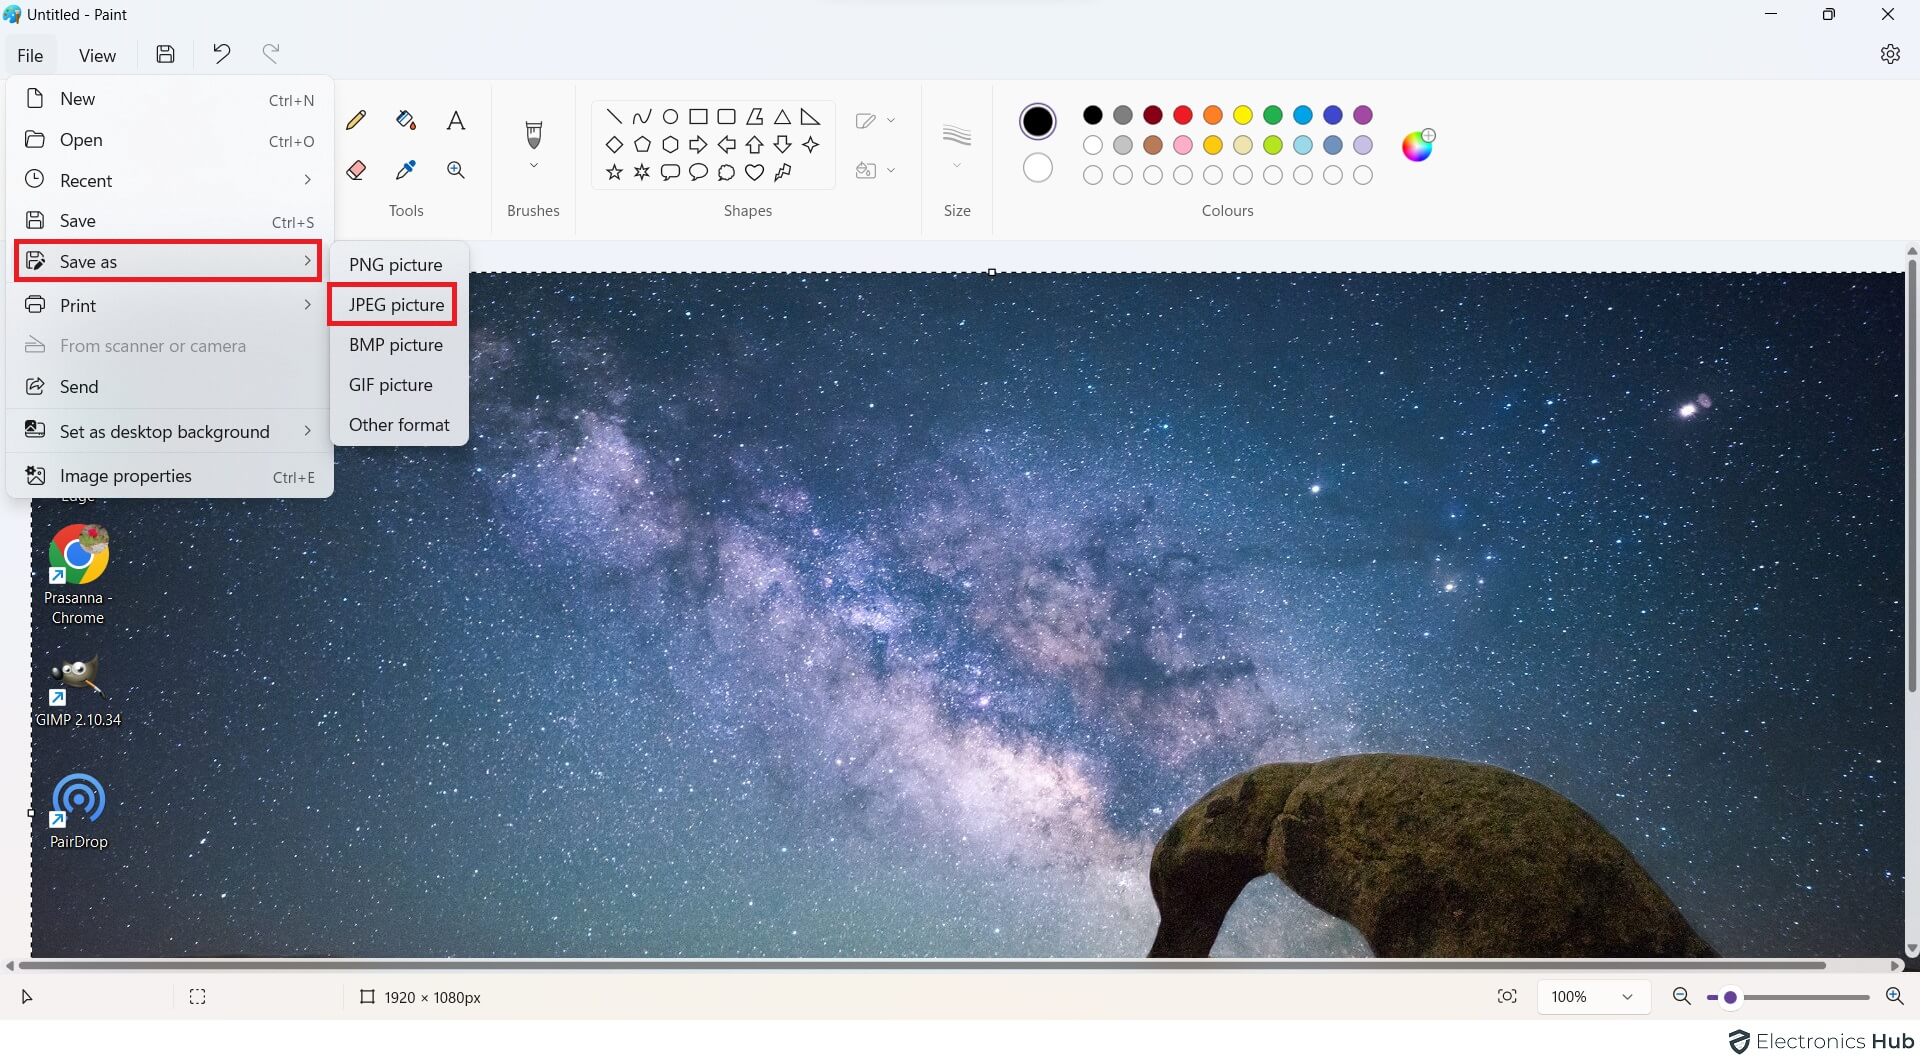
- Save it in your preferred format.
c. Capture an Active Window with “Alt + Prt Scn”
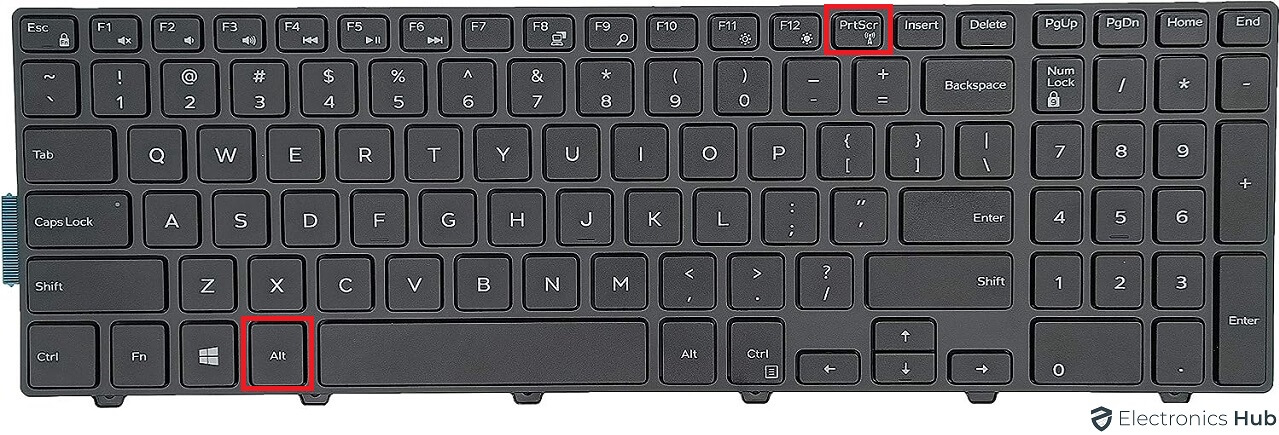
- Press Alt+Print Screen to copy the active window to your clipboard.
- Open an image editing program like Paint or Photoshop.
- Paste the screenshot with Ctrl+V.
- Save the screenshot to a file in your preferred format.
d. Capture the Whole Screen with “Win + G key”
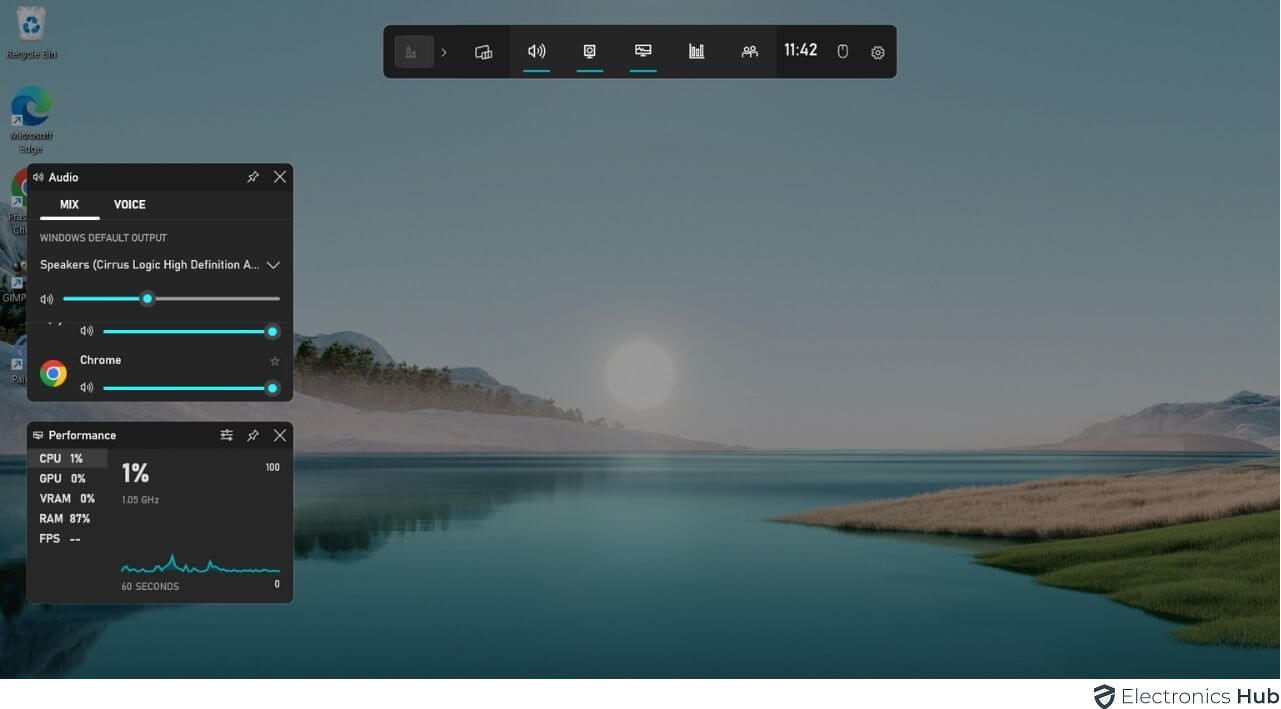
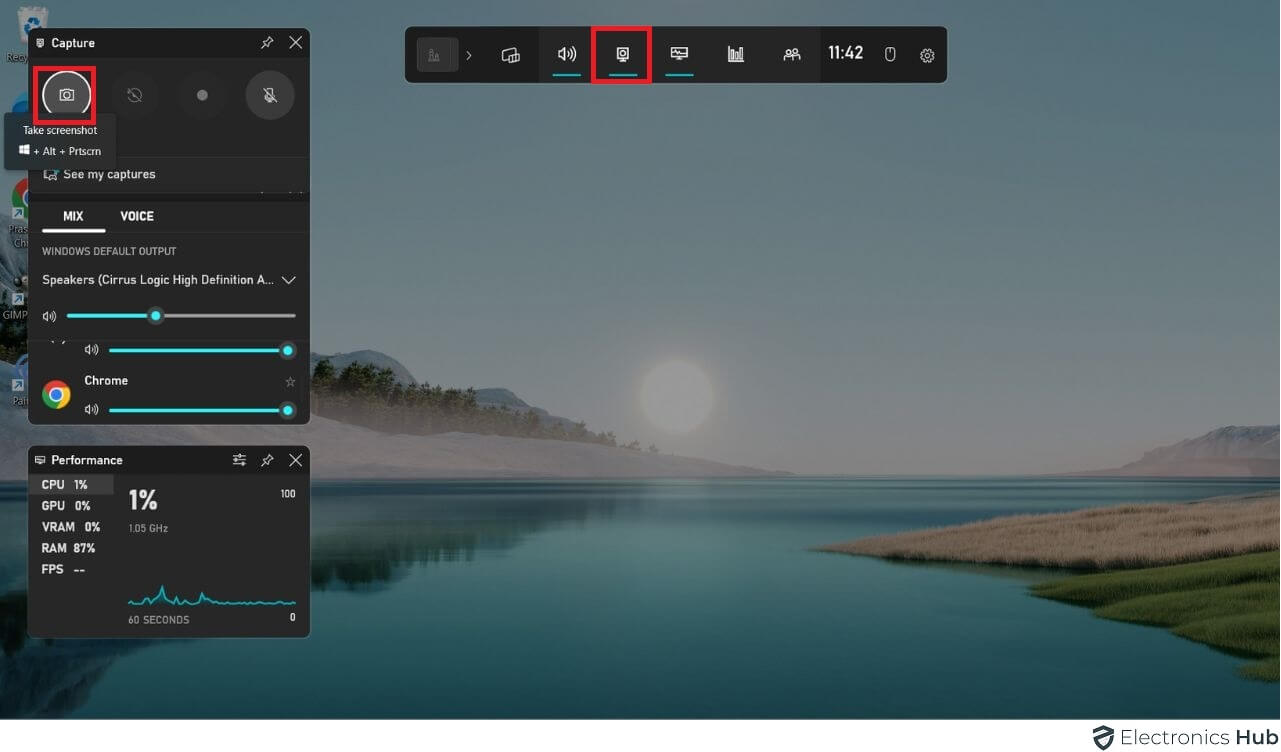
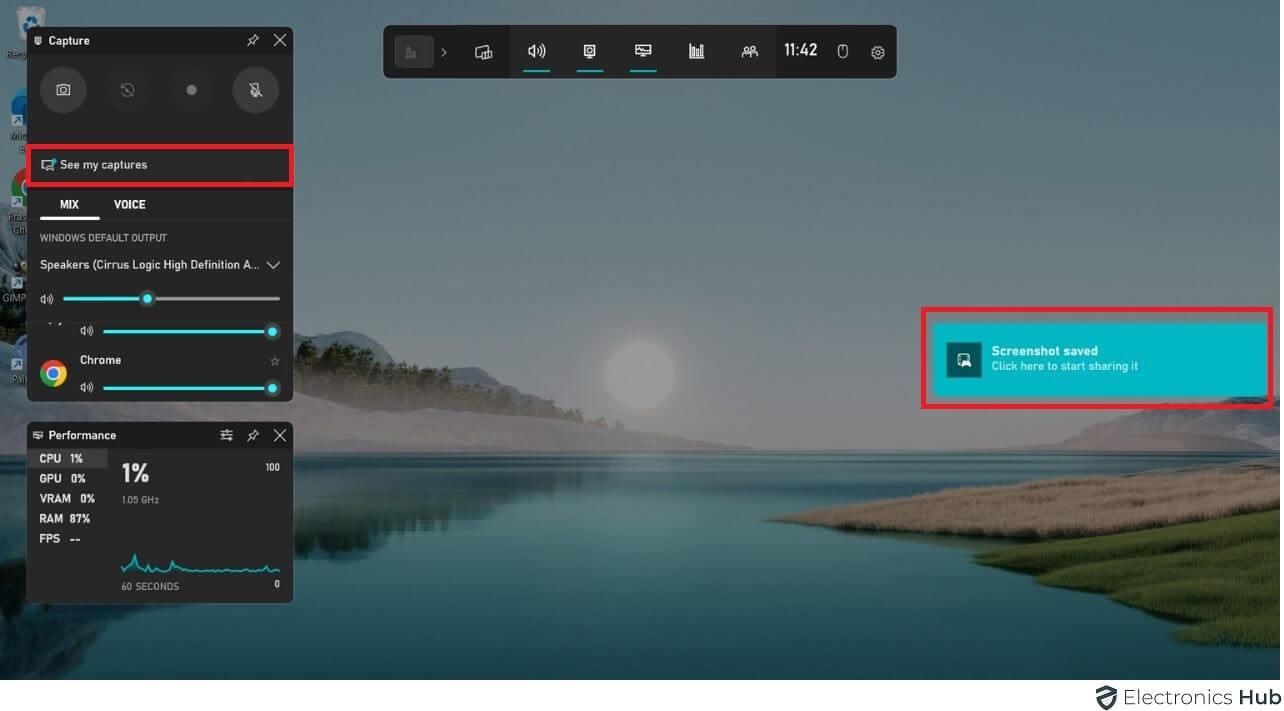
- Press Windows + G to open the Xbox Game Bar.
- Click on the Capture button to take a full-screen screenshot.
- The screenshot will be saved in the Captures folder within your Videos library.
2. Take a Screenshot with Built in Tools
a. Take Screenshot with “Snipping Tool”
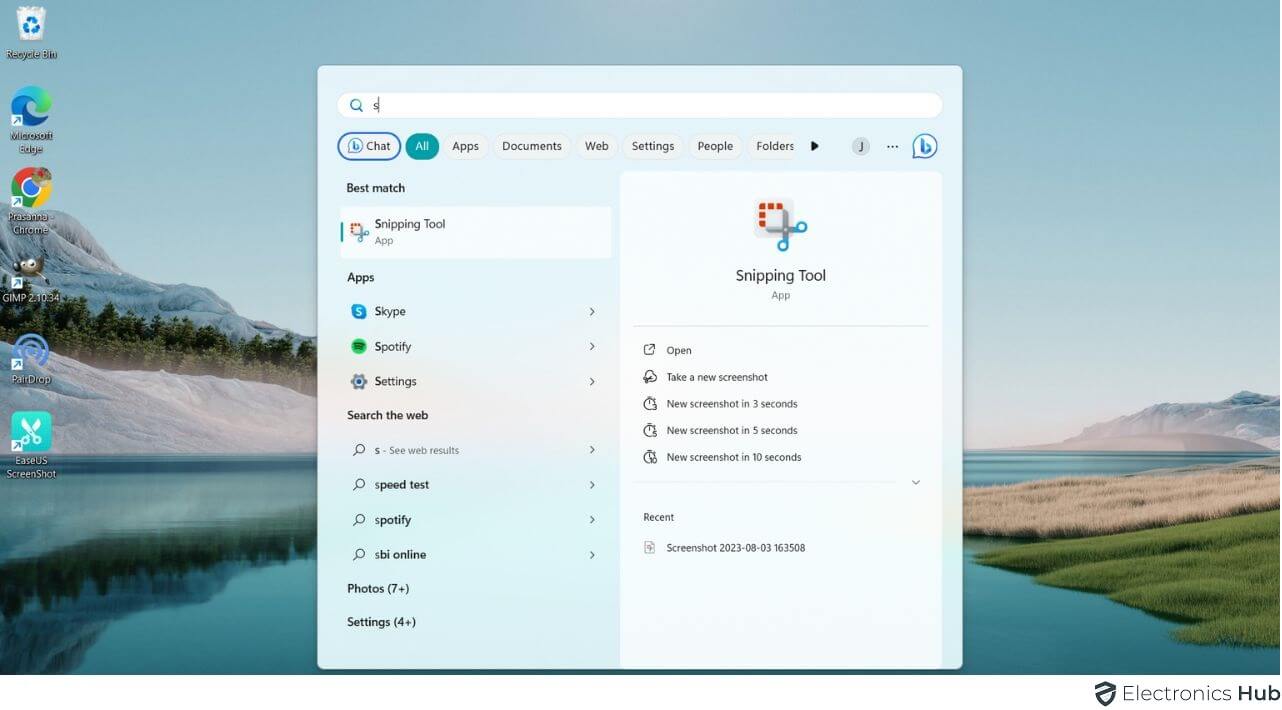
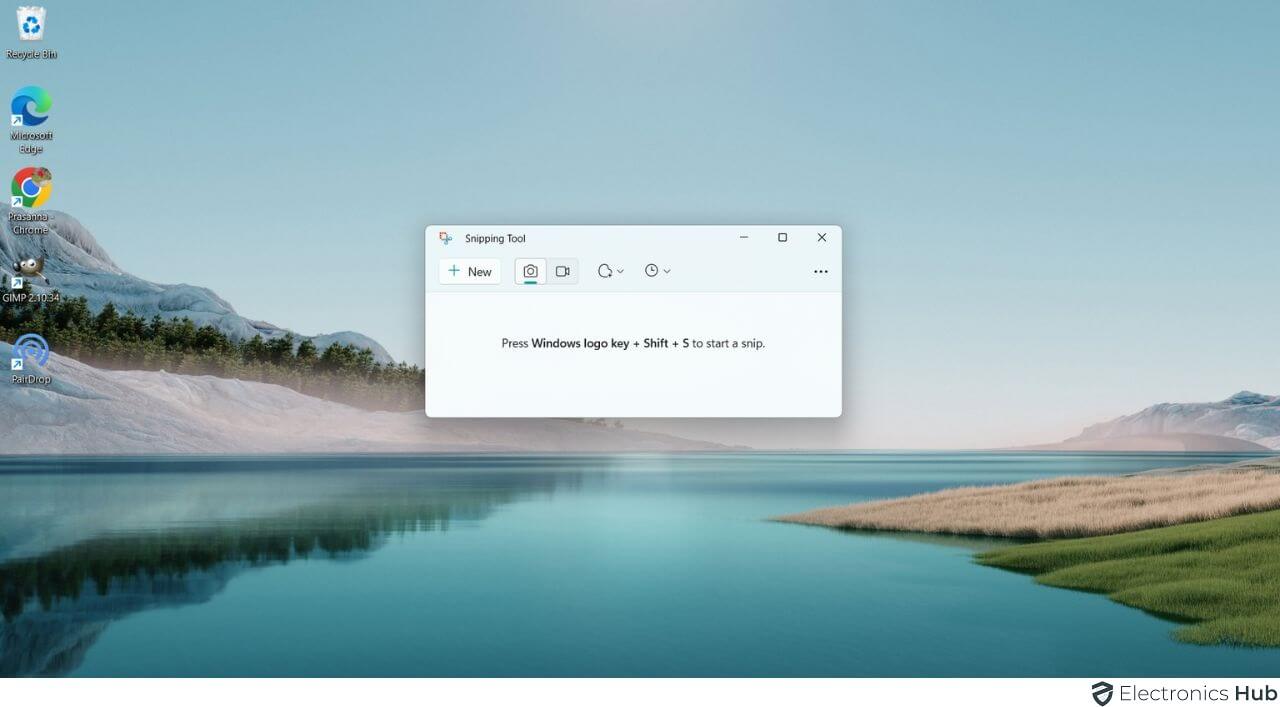
- Open the Snipping Tool by searching for it in the Start menu.
- Choose the Full Screen Snip tool from the toolbar.
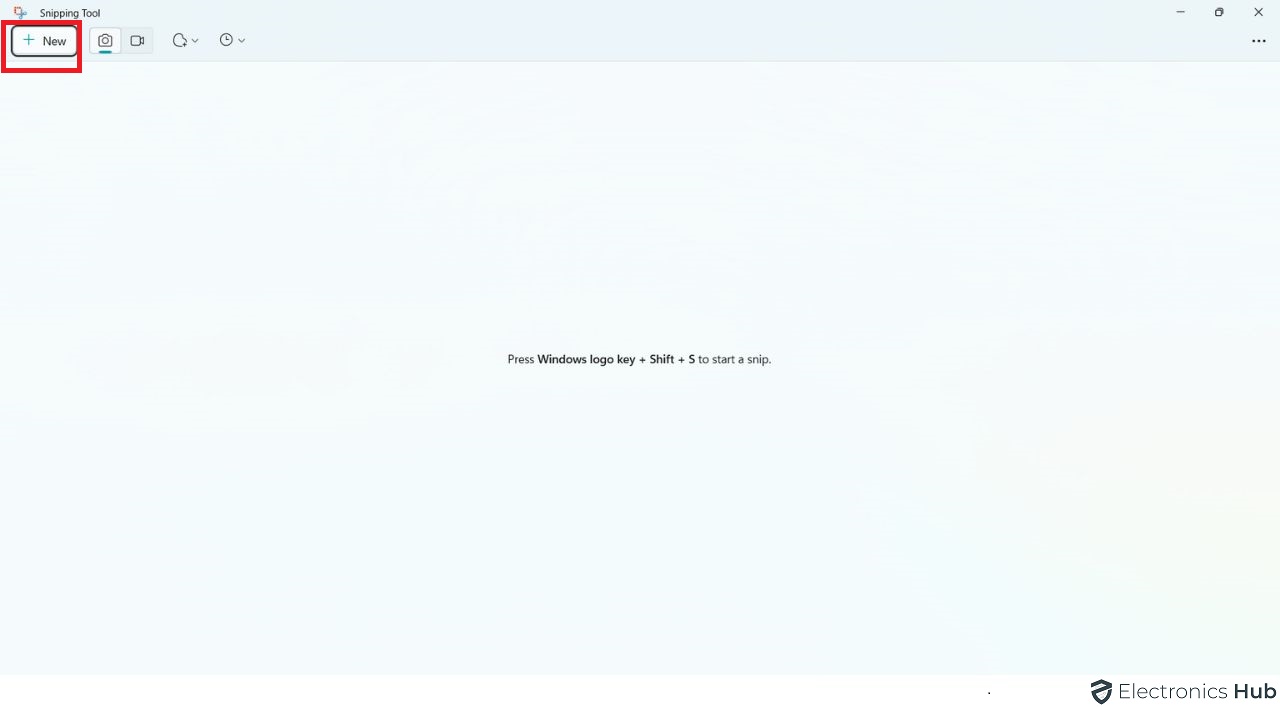
- Click New to begin a new snip.
- The Snipping Tool captures the entire screen.
- The screenshot is copied to your clipboard.
- Launch an image editing program like Paint or Photoshop.
- Paste the screenshot using Ctrl+V.
- Save the screenshot to a file.
NOTE: The snipping tool can be used for taking screenshots with different windows short cuts. They are “Windows + shift +s “and “Print screen”.
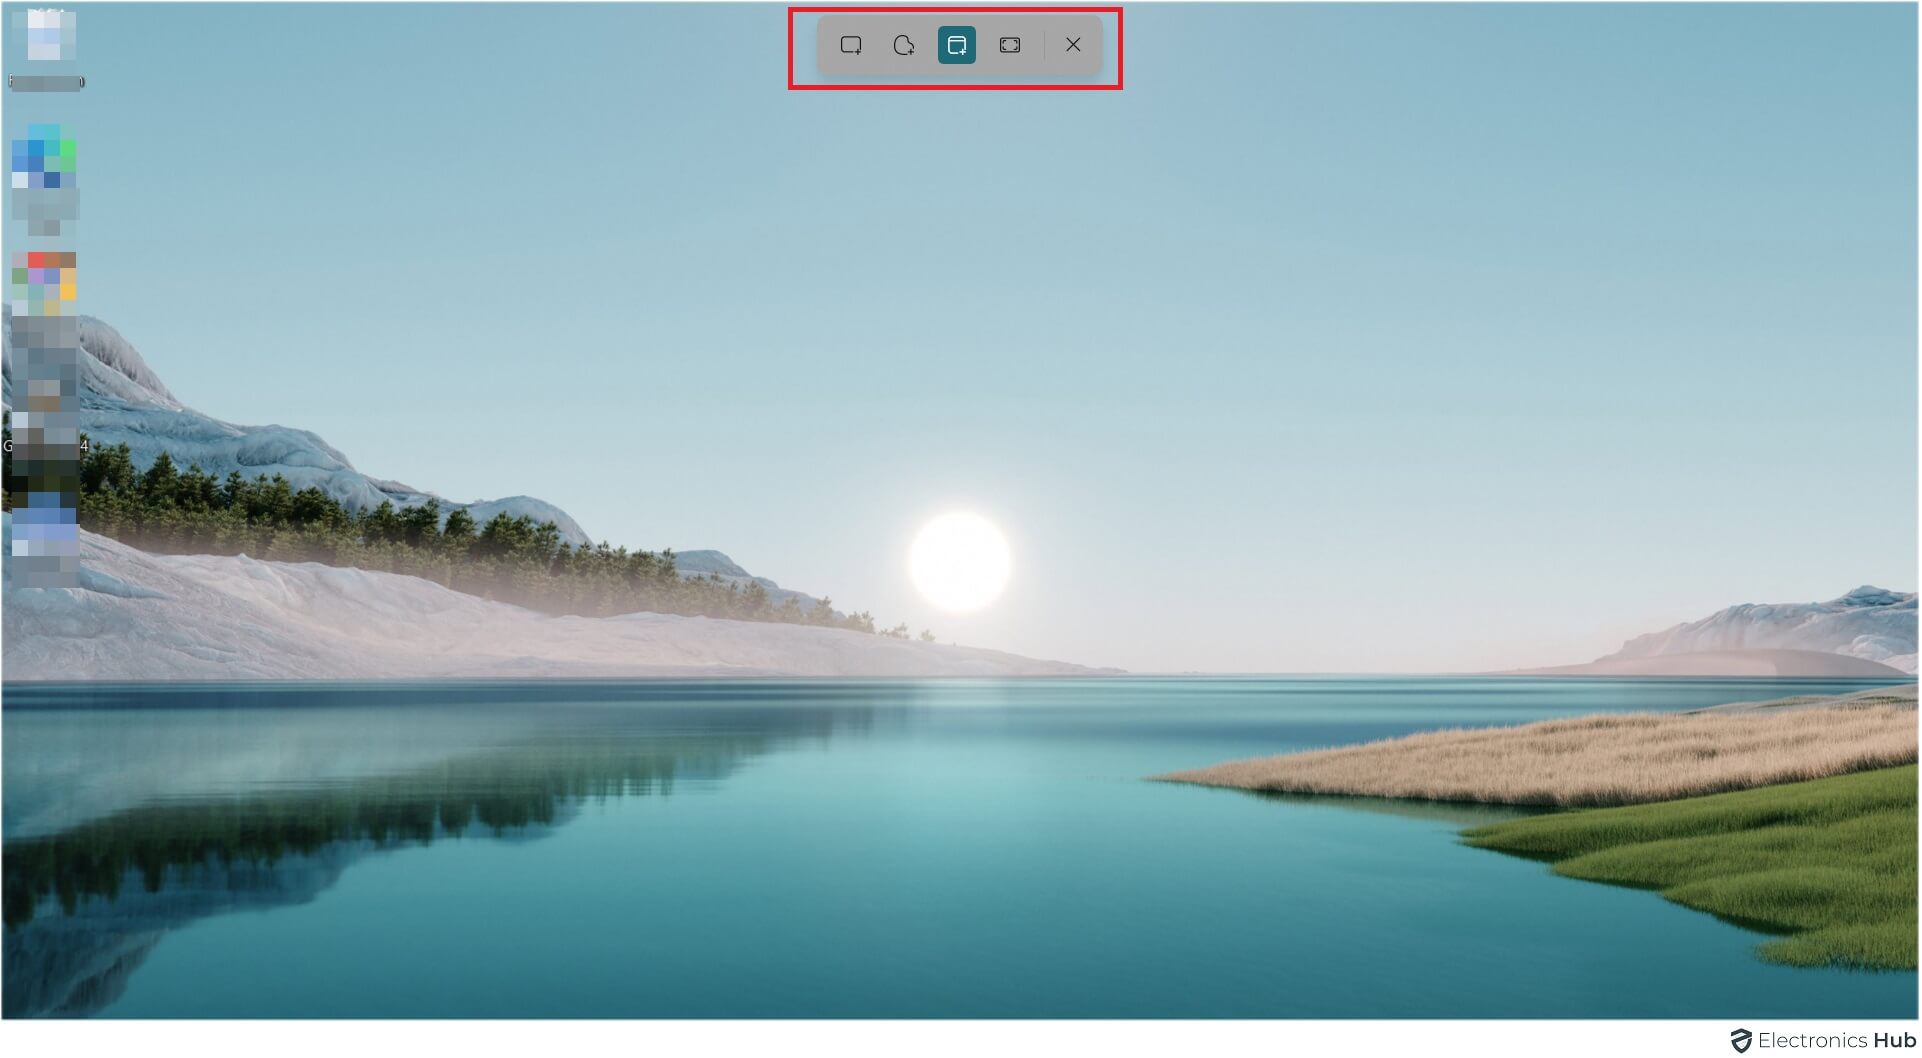
- The “Win + Shift +s” is will invoke the snipping tool. There we can different modes (rectangular, free form, window & full screen) for taking screenshot. So we can select the particular mode we want to use.
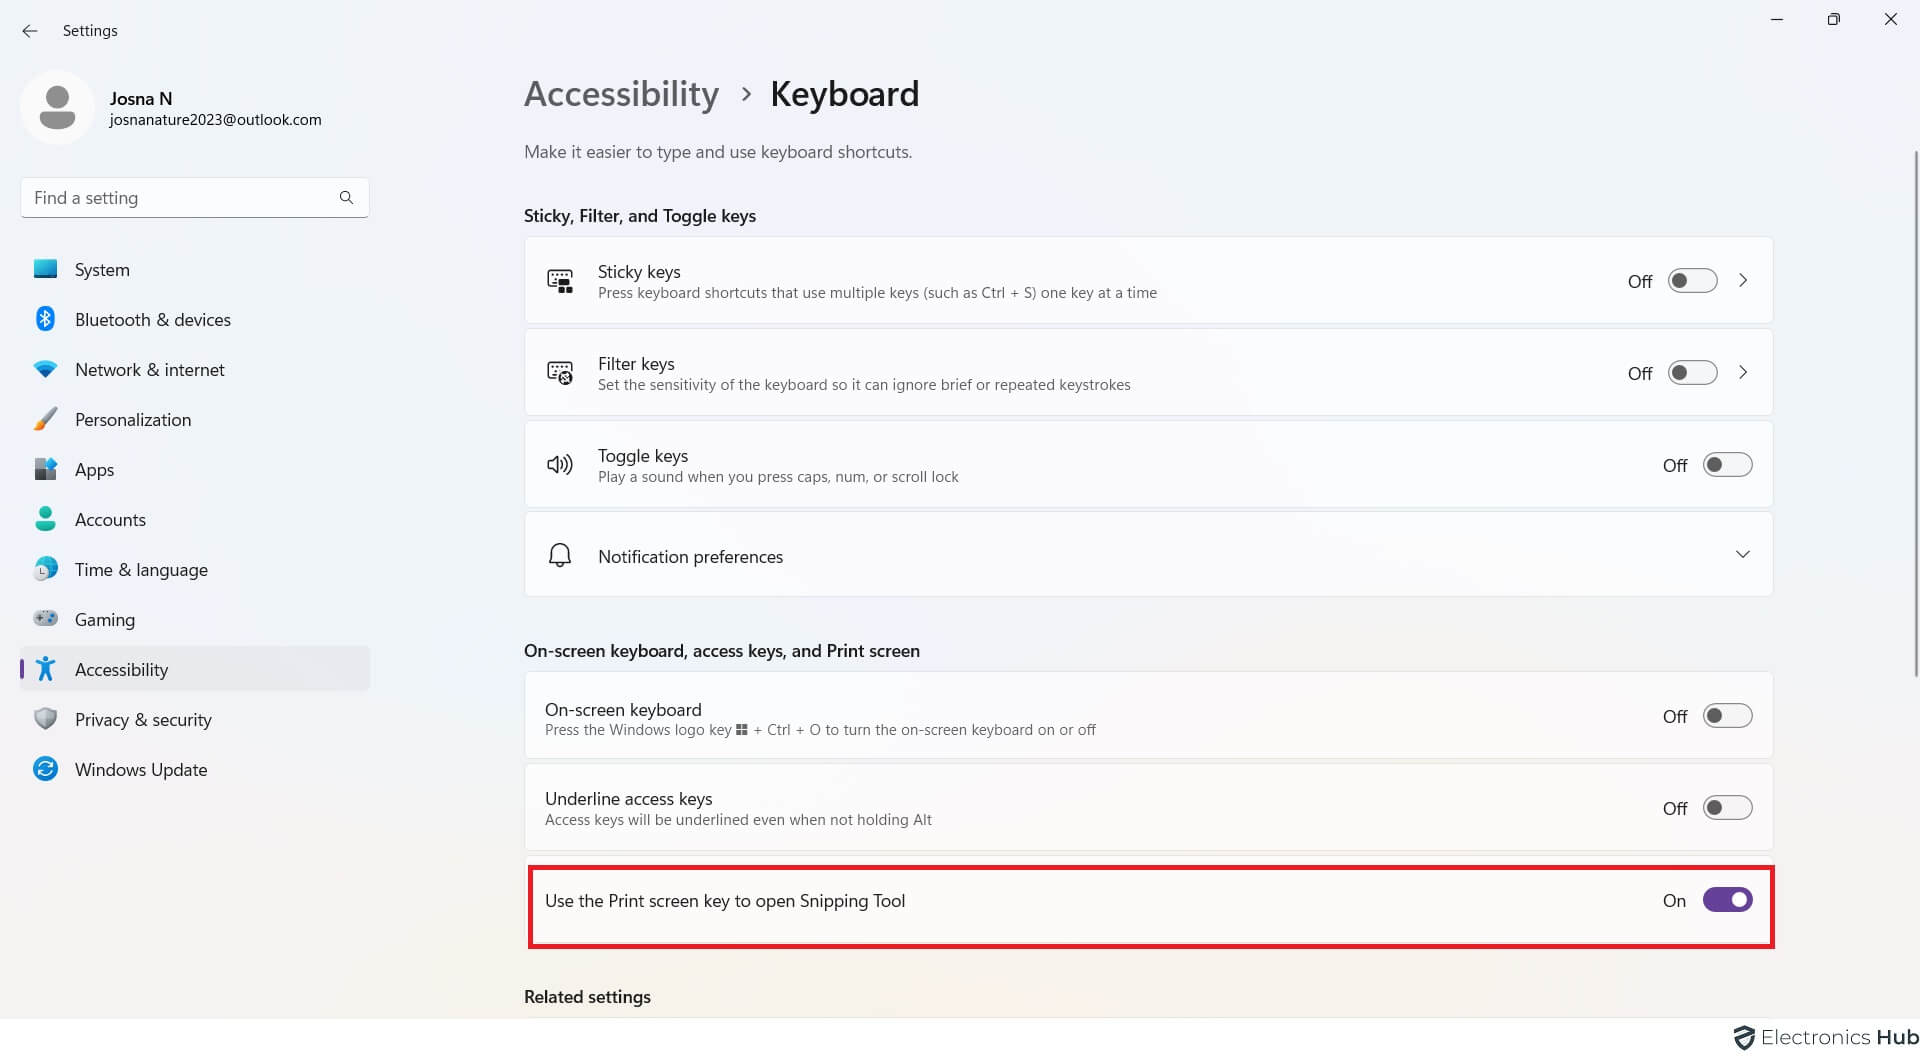
- The “Prt sc” is will also trigger the snipping tool modes page. But in default for windows 11 operating system, the prt scn is feature will perform as snipping tool.
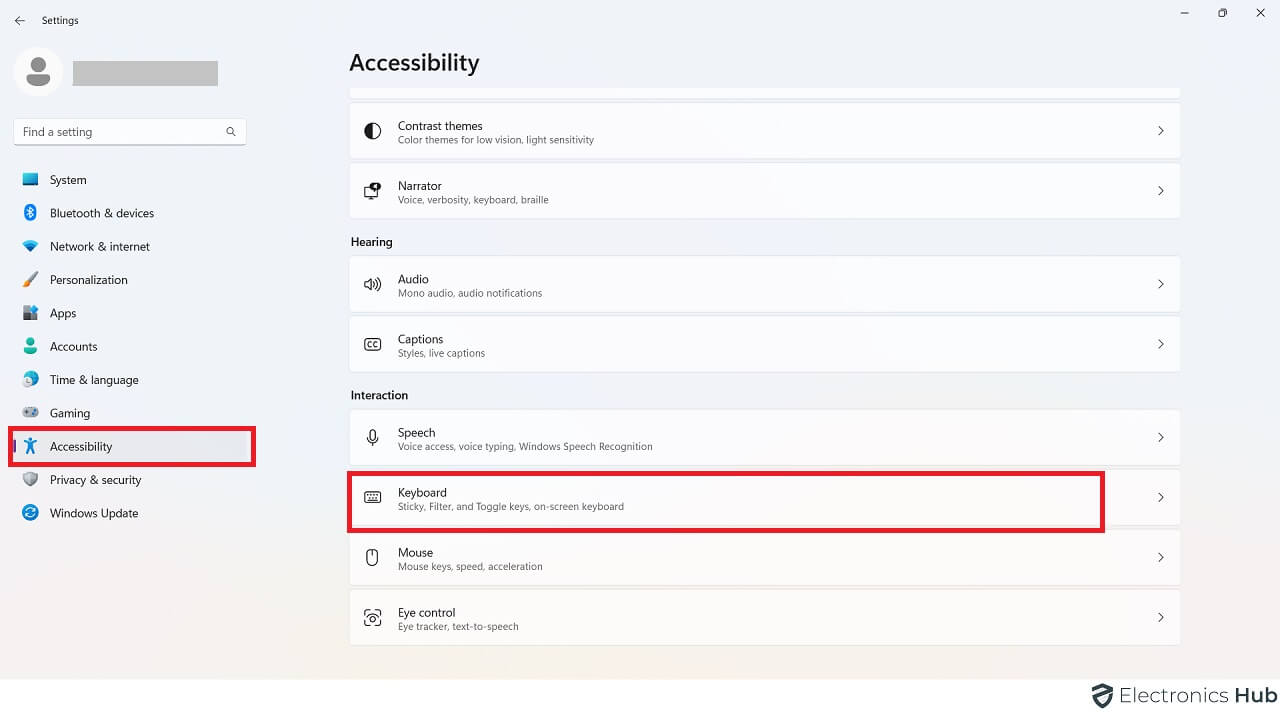
- If the option is not needed for you then you can change it from the Settings > Accessibility > Keyboard > Use print screen ON/OFF. If you change it to OFF then it works as the same operation done by “Alt + Pnt sc”.
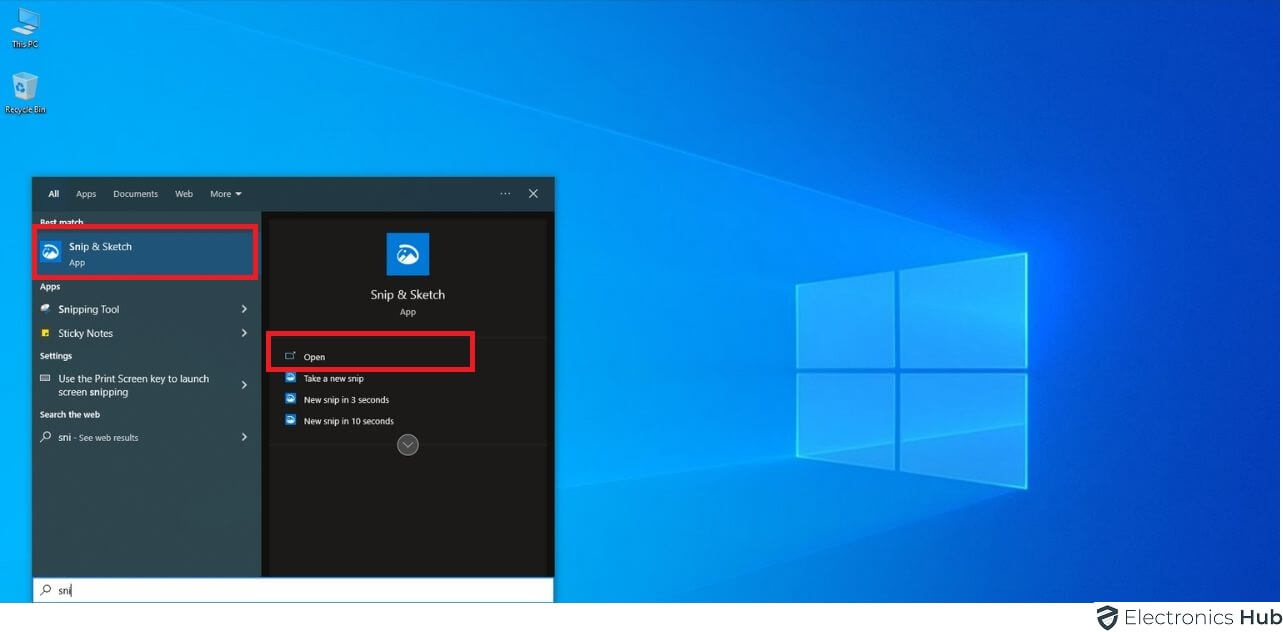
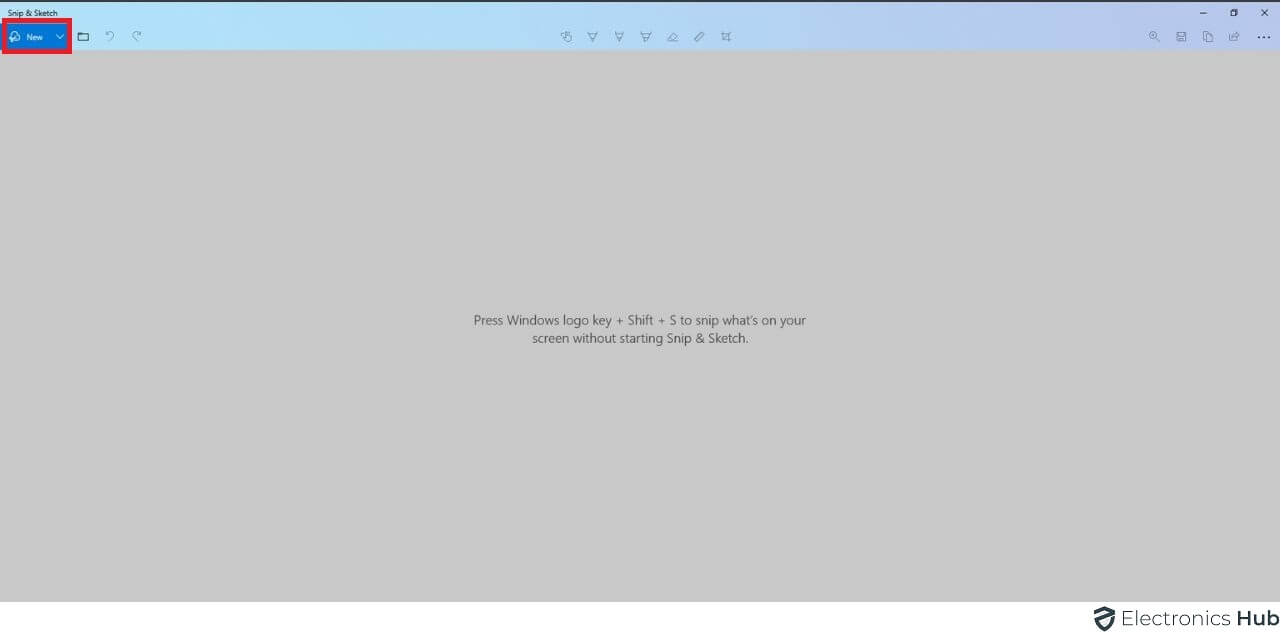
b. Capture a Screenshot Using “Snip & Sketch” (Windows 10)
- Press Windows key + Shift + S to open Snip & Sketch.
- Choose the Rectangular Snip tool (default).
- Click and drag to select your screen area.
- Release the cursor to capture.
- Screenshot is copied to your clipboard.
- Open an image editor like Paint or Photoshop.
- Paste the screenshot with Ctrl+V.
- Save the screenshot as a file.
3. Take a Screenshot with Third Party Apps
a. Take a screenshot with “Snagit”
- Open Snagit.
- Select Capture Type: Choose from Image, Video, or Scrolling Capture.
- Capture the Screen: Click and drag to select or capture the entire screen.
- Edit (Optional): Annotate, crop, or resize using Snagit’s editing tools.
- Save the Screenshot.
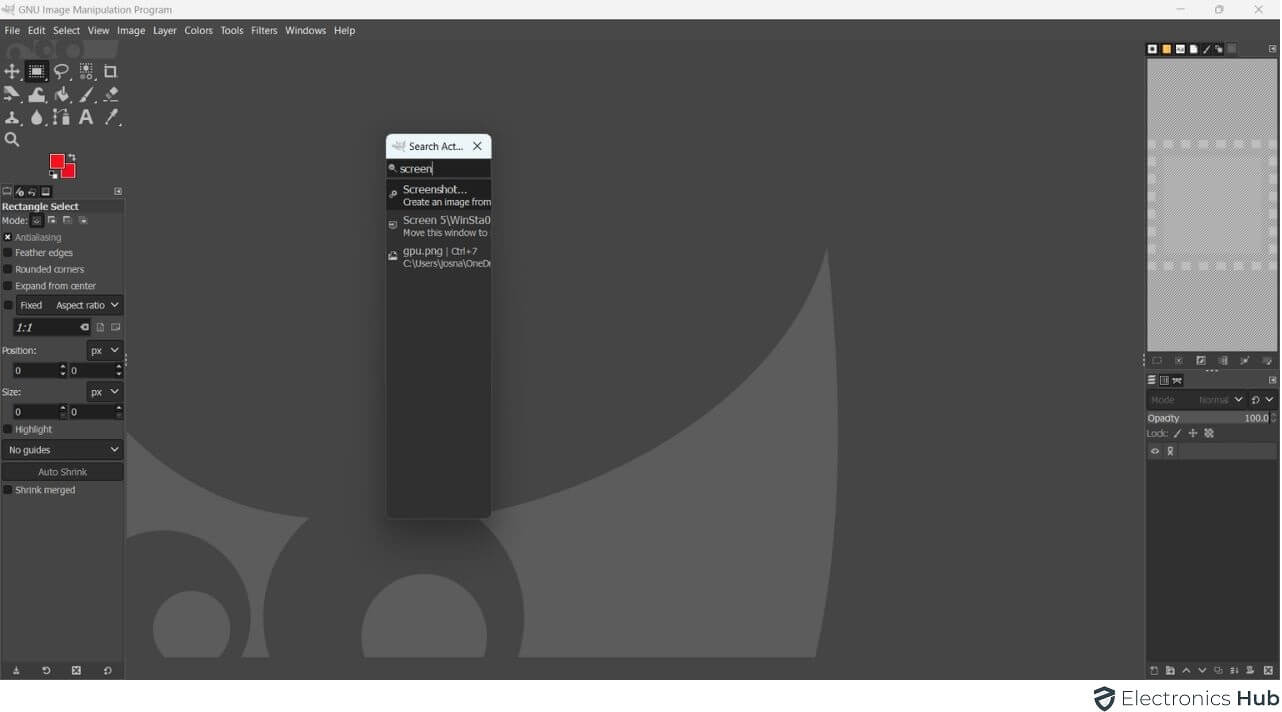
b. Take a Screenshot with GIMP
- Download and install GIMP on your laptop.
- Open what you want to screenshot.
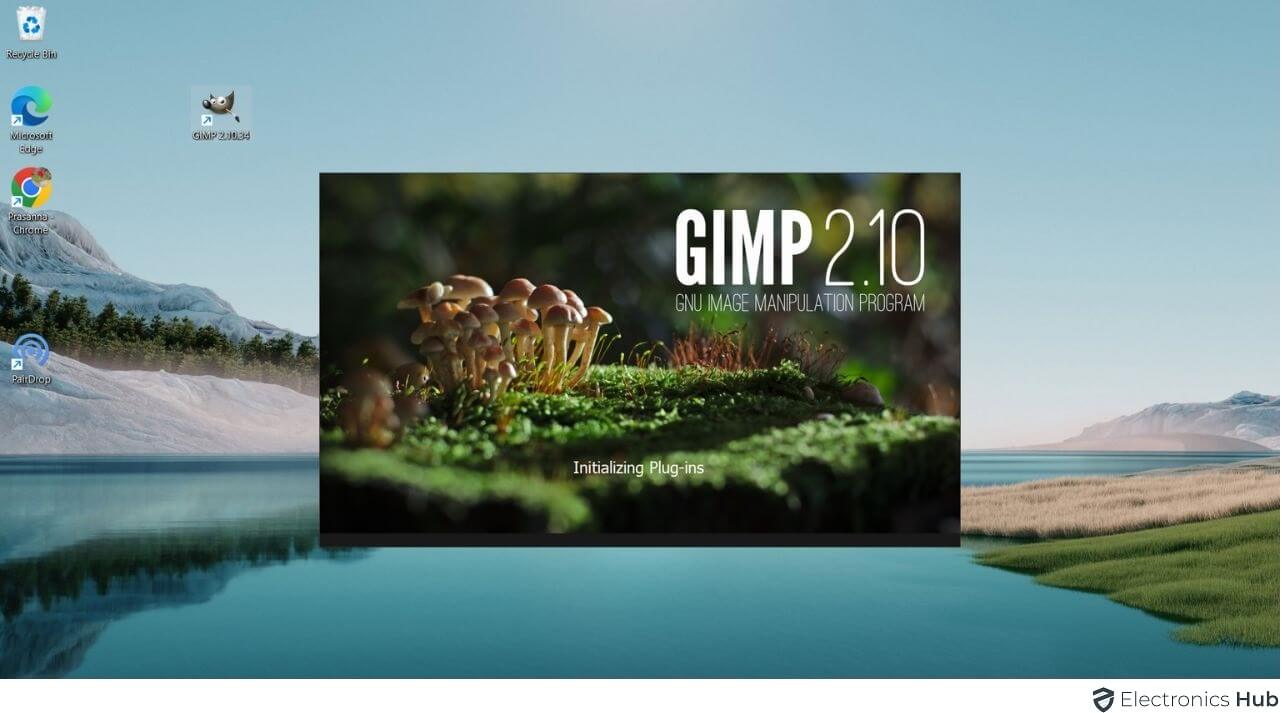
- Launch GIMP.
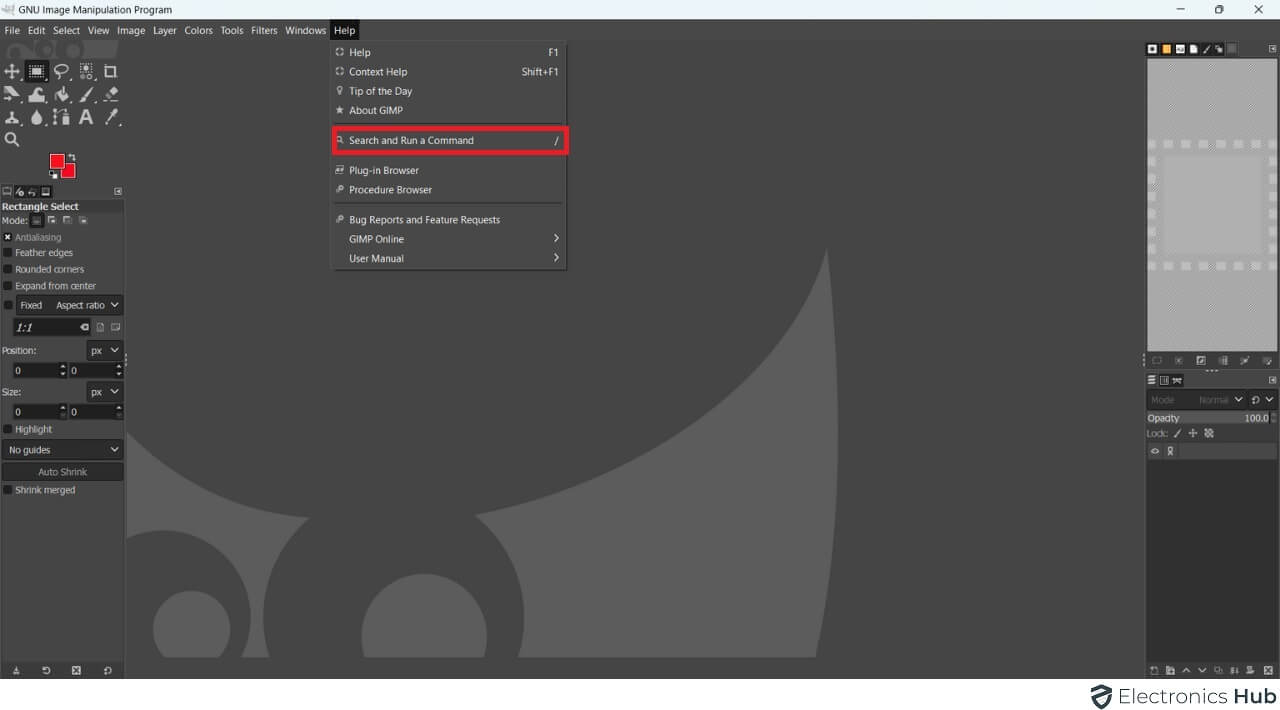
- Go to Help > Search Bar > Screenshot.
- Choose what you want to capture: whole screen, active window, or a specific area.
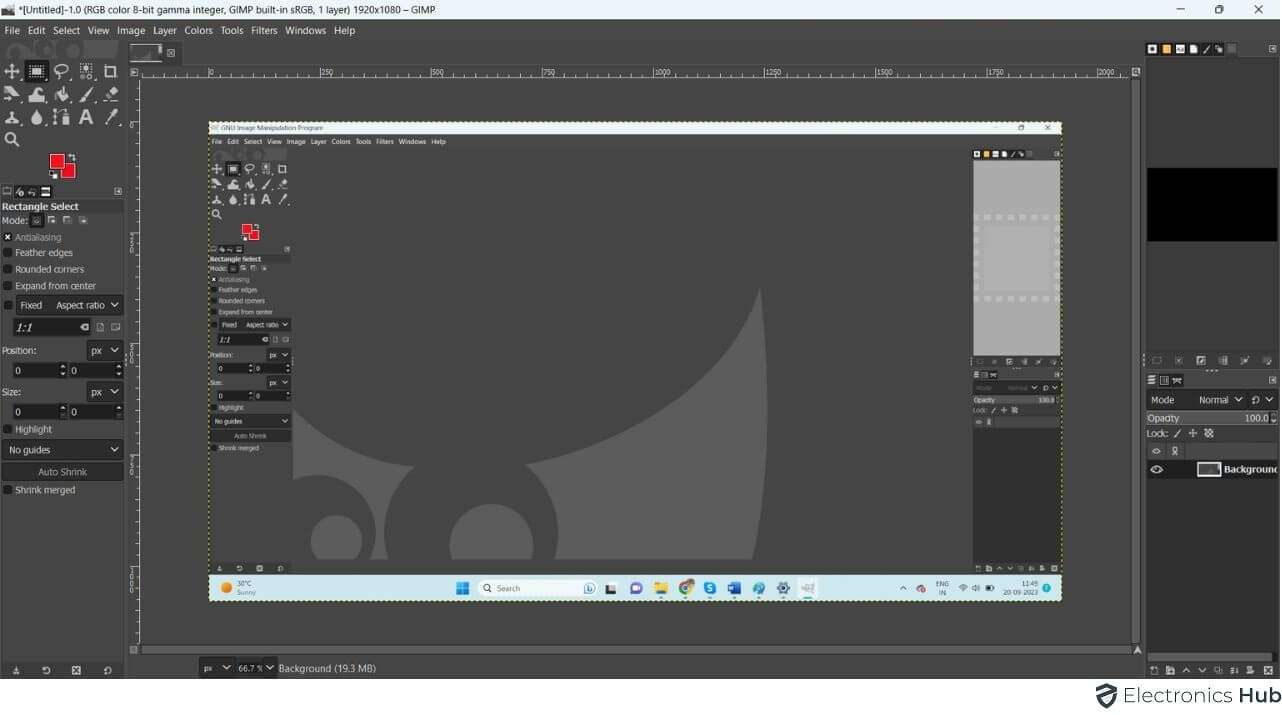
- Click Capture.
- The screenshot opens in GIMP.
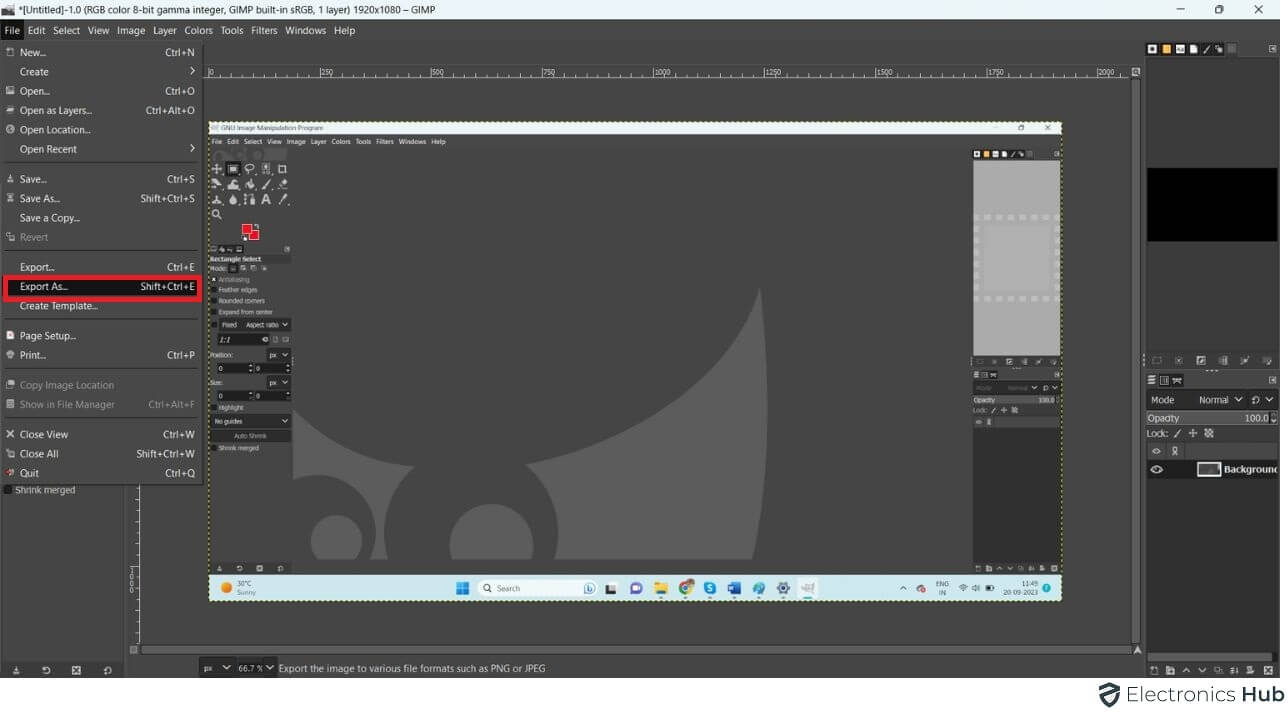
- Save, share, or edit it in GIMP as needed.
Screenshot For DELL Laptop – FAQs
Ans: You can press the “PrtScn” (Print Screen) key to capture the entire screen or use “Alt+PrtScn” to capture only the active window.
Ans: Yes, laptops often come with pre-installed screenshot tools like the Snipping Tool or Snip & Sketch for capturing screens.
Ans: Yes, there are various third-party screenshot capture tools available for Dell laptops, offering advanced features and customization options.
Ans: Some Dell laptops may have variations in their keyboard layouts. If you can’t find the “PrtScn” key, you can often use “Fn+PrtScn” or “Fn+Spacebar” as an alternative shortcut.
Ans: Yes, Windows 10 and later versions offer voice command capabilities through Cortana. You can use voice commands like “Hey Cortana, take a screenshot” to capture your screen.
Ans: Yes, some third-party software and browser extensions offer the capability to capture scrolling screenshots, allowing you to capture entire webpages or documents.
Conclusion
In conclusion, taking pictures of your screen on a Dell laptop is easy because there are different ways to do it. You can prefer the simplicity of the PrtScn key, the versatility of the Snipping Tool, or the gaming-friendly Xbox Game Bar, you can effortlessly capture and share what’s on your screen. These options make the process quick and user-friendly, allowing you to save and share visuals with ease. So, no matter your preference, taking screenshots on your Dell laptop is a straightforward and accessible task.

