Today, we are going to focus on Lenovo laptops and a great feature that you can use on them which is the screenshot. Whether you use your laptop for work, watching movies, playing gamers, or redoing books, you will come across some content which you will need to store immediately to use later or share elsewhere. For that, you will have to use the screenshot feature on a laptop.
Fortunately, Lenovo laptops majorly run on Windows operating system which is great and offers many useful features like the screenshot. Today, we will explore the screenshot feature on Windows 10 and how you can utilize that on your Lenovo laptop. Go through our guide thoroughly as we will also explain some additional methods to take unique screenshots.
How To Take Screenshots On The Lenovo Laptop
Taking a screenshot basically means generating a copy of the frame active on your laptop’s display and saving it as an image file. A screenshot is pretty much an image of the monitor, except it is internal and not external.
While you can always pick up your phone and take a quick snap of your display, it is always better to use the screenshot feature instead. With that, your image will be free from any external effects such as bad lighting and inaccurate angles.
Lenovo laptops do not offer any specific feature that is provided just for screenshots. Instead, you will have to use either a 3rd party software or the built-in programs in Windows 10 to take a screenshot. Today, we are going to explain both methods to you so that you can understand them in detail and follow the one which favors you the most.
1. Use Snagit Screenshot Tool
If you are going to use the captured screenshots for creative or professional applications, we will recommend you to use a premium screenshot tool like Snagit. Apart from being a screenshot tool, Snagit is also a powerful image editor as well as a screen recorder which pretty much covers all there is to capture on a screen.
Even though Snagit is a premium software, you can get a trial period from their official website and try the software first before buying it. In the trial period, you will have access to all of the premium features so that you can get a complete idea about the software itself. Here’s how you can use Snagit on your Lenovo laptop.
- Download Snagit from https://www.techsmith.com/download/snagit
- Once the program is downloaded, run the setup to install Snagit.
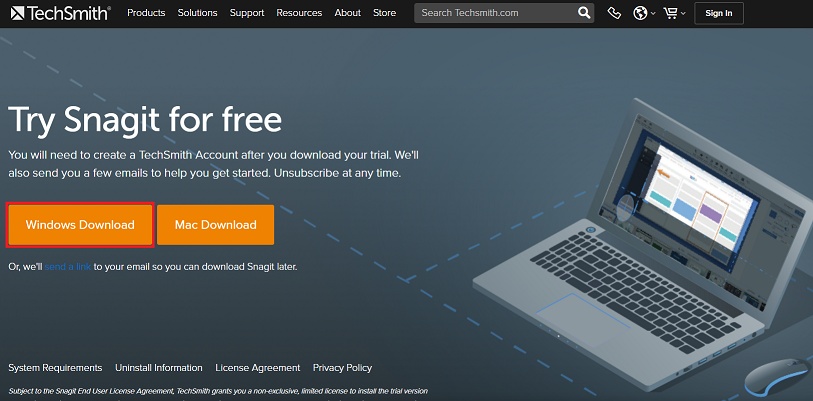
- After the installation is complete, you will find an icon on your desktop for Snagit. You can also run it from the start menu for quicker access.
- Once the program is launched, you will find multiple options besides a red “Capture” button. This button allows you to capture a screenshot or record the video.
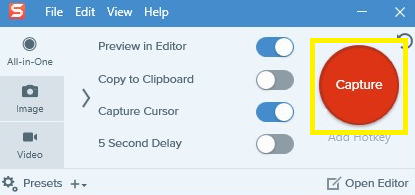
- You can also add a dedicated hotkey to run the program instantly.
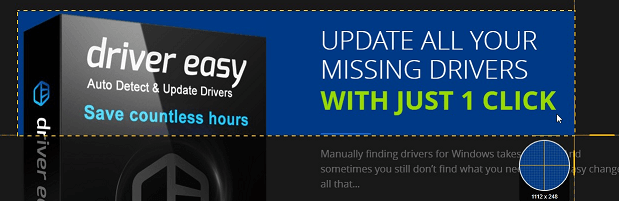
- Once you click on capture, you will get a cursor that you can drag across the area and quickly get the desired results. You can also set the resolution of the results in this program which is yet another great feature.
That’s all there is to it. You can use Snagit and get access to its exciting features very easily. There are a couple more features on the Snagit software like presets, image editor, cursor capture, and delay which are pretty good.
2: Use Windows Screenshot Feature
If you do not want to invest in premium software, don’t worry. You can still take screenshots without needing any 3rd party program. As we mentioned earlier, Lenovo laptops operate on Windows OS and feature built-in software for taking a screenshot which is completely free to use.
As the program is integrated into the OS, it is fast, safe, and does not require additional resources to operate. Even with the free Windows screenshot tool, you can get a lot done within just seconds.
Here are different types of screenshots you can capture from the Windows built-in screenshot tool.
1. Fullscreen Screenshot
If the content that you wish to capture covers the entire screen, you should use this method so that you don’t miss out on anything. Even in this method, there are 2 different types. You can either take a snap and edit it before saving, or you can take a quick snap which is instantly saved that you can use or edit later.
a. Using only the PrtSc button
This is the slower method of capturing screenshots on Windows 10. Still, it is more widely used as it allows quick edit before you can save the image. Here’s how to use it.
- For this, press the PrtSc button once when you’re on the frame which you want to save.
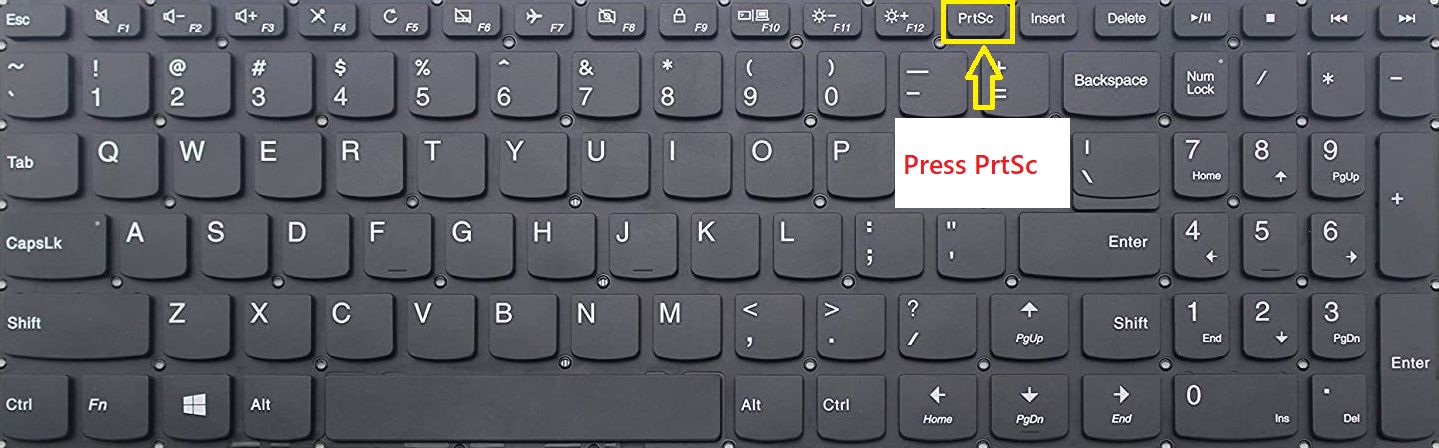
- After you press the button, all of the visible content on your screen will be recorded and stored in the image format.
- But, the image will be in your computer’s clipboard. To use the image, you will have to save it via programs like MS Paint or MS Word.
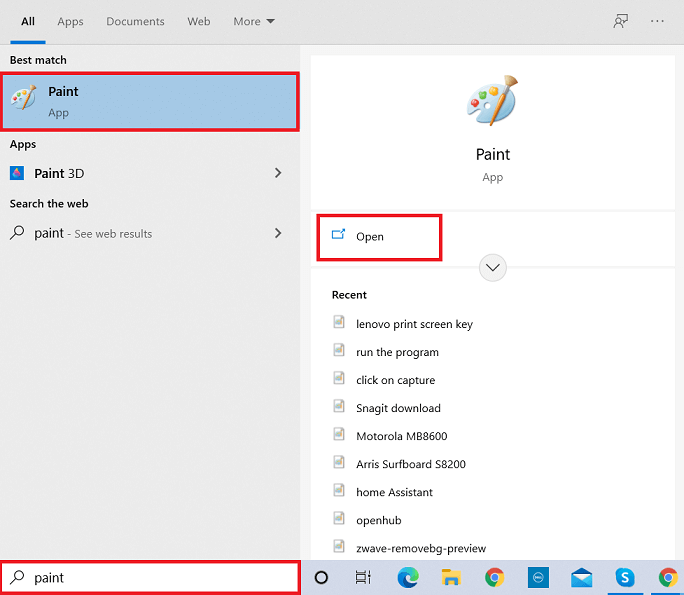
- Just open one of these programs and press “Ctrl” + “V” to paste the image.
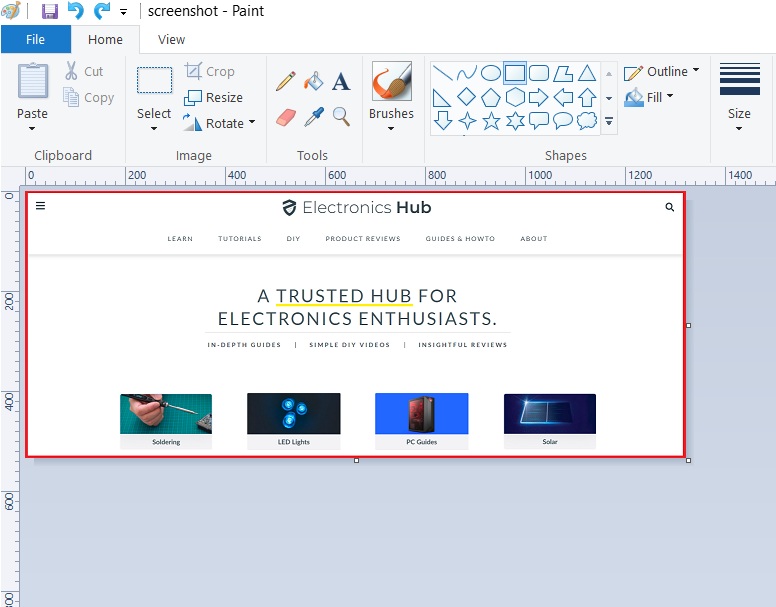
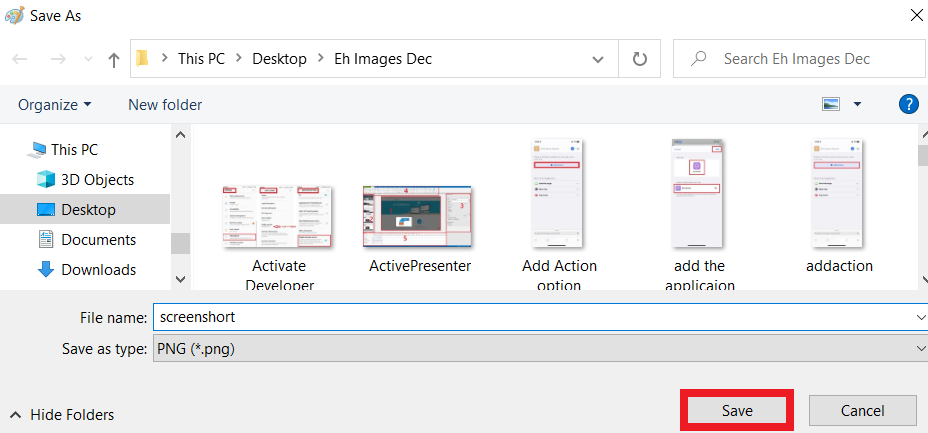
- Then, you can make the necessary changes in the screenshot and save it for future use.
b. Using WinKey and PrtSc button
Following the above method is not ideal as it does not save the image instantly. For that, you should check the following method of capturing screenshots on Windows 10.
- In this method, you will have to combine the “WinKey” with the “PrtSc” button to take a screenshot.
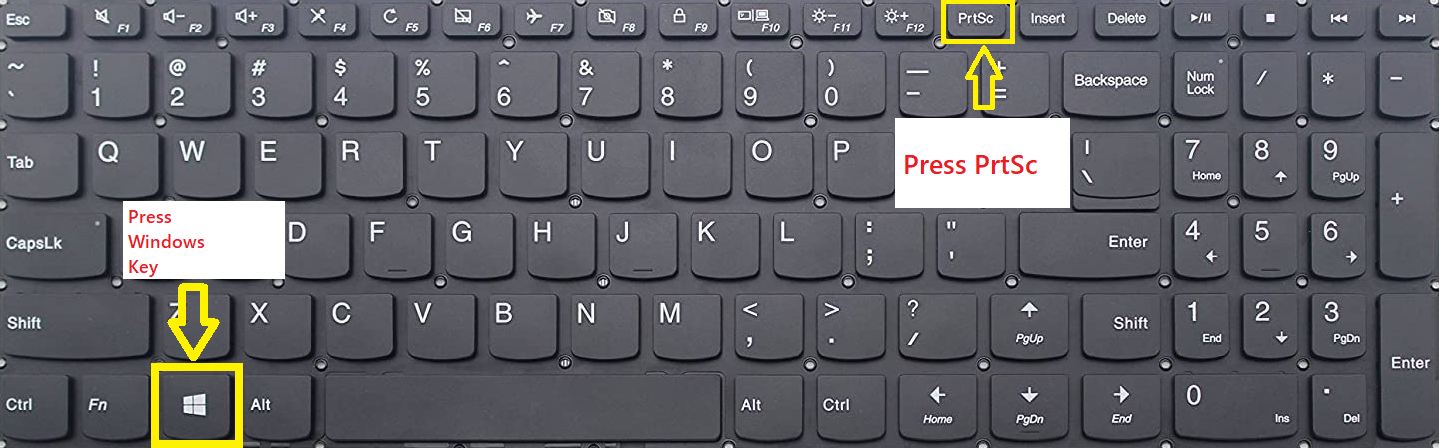
- Once you do that, you will notice a quick dimming animation on the screen which detects that the screenshot was successfully captured.
- To get to your screenshot, simply open the “Pictures” tab present under “This PC” on the left-most folder map on the Windows file explorer.
- Here, you can find all the pictures that are captured on your computer.
- There will be a dedicated folder for a screenshot which helps you to quickly grab the image that you just saved.
2. Screenshot of A Window
If you use your Lenovo laptop for multitasking, you probably have multiple windows open at a time on your display. If the content is only on one of the windows, you should use this method to take the screenshot.
- Press “Shift” + “WinKey” + “S” combination
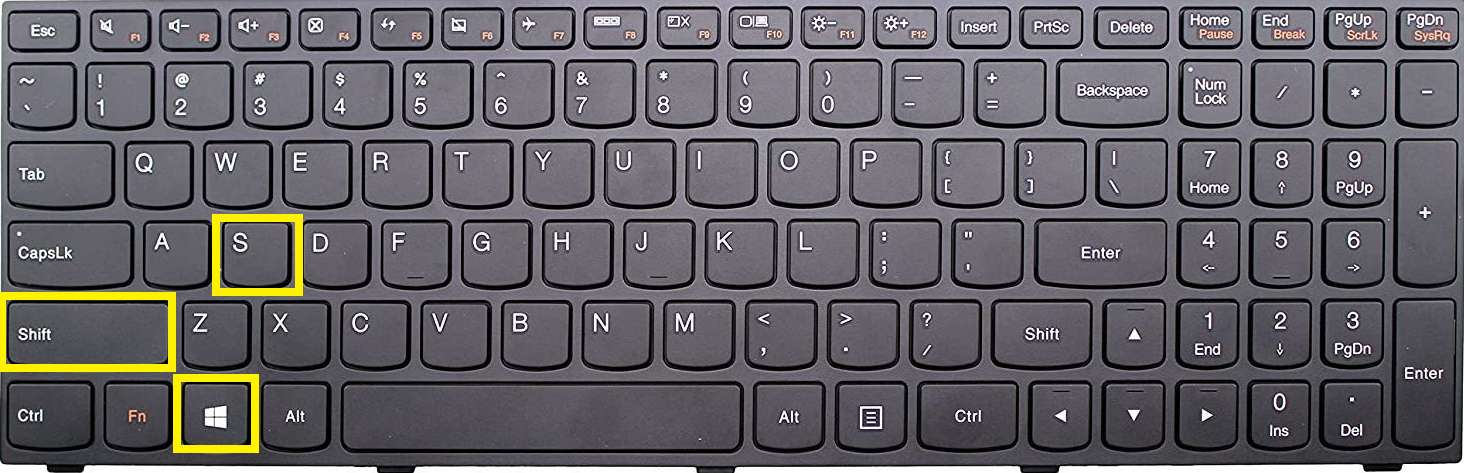
or
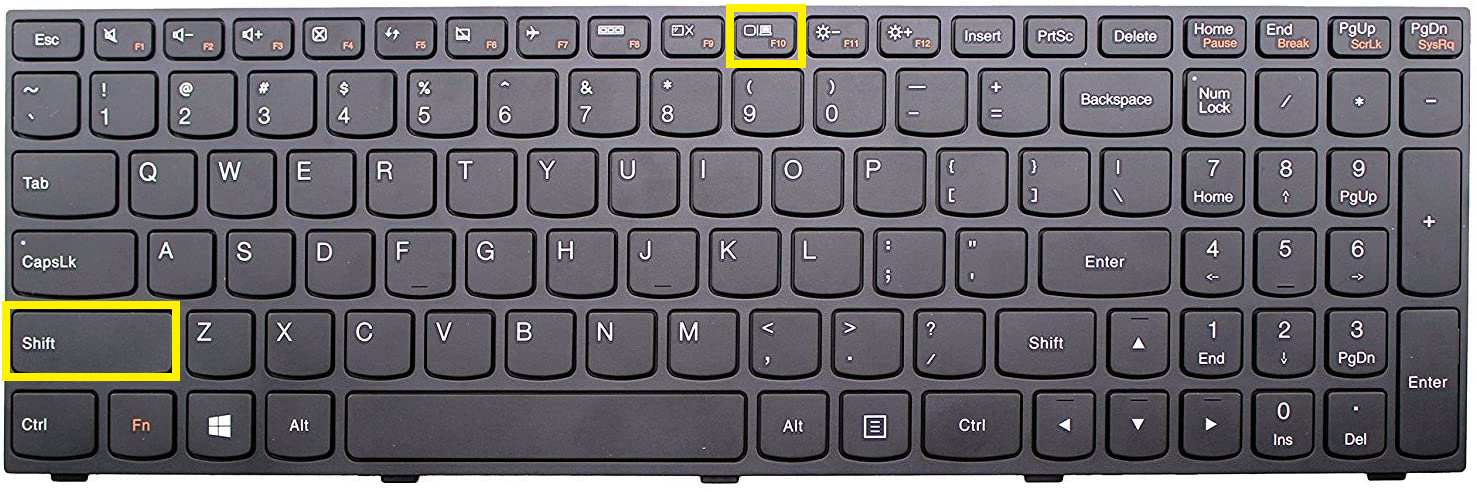
- the “Shift” + “F10” combination to open the built-in Windows 10 screenshot tool. This tool offers many additional features compared to the previous choice.
- By default, the tool asks you to select an area that you want to save as a screenshot. If you want, you can quickly click and drag the cursor across the window that you want to use.
- Alternatively, you can select the 3rd option from the left called “Window Snip” to take a screenshot of a specific window.
- Once you select that, you can highlight the active window with your cursor.
- Once you get to the window, just left-click and its cropped screenshot will be captured.
- To save that, simply click on the notification that you receive after taking the screenshot, or paste the image into a document to save it.
3. Freeform Screenshot
All of the methods mentioned above offer rectangular forms of screenshots, which are not always the requirement. In some cases, you might need to capture a screenshot that does not fall under a specific geometrical shape. For that, you can use the freeform screenshot option on the Lenovo laptop.
- Press the “Shift” + “WinKey” + “S” combination or the “Shift” + “F10” again to open the Windows 10 screenshot capture tool.
- Now, move your cursor to the top and select the 2nd option from the left which is the “Freeform Snip”.
- As the name suggests, it is a type of screenshot that does not necessarily require a specific form. Instead, you can click and drag the cursor across your display in any shape to crop the frame.
- Once you start dragging, the area which is going to be covered under the screenshot will be highlighted.
- Once you get the desired area highlighted, let go of the left-click. Now, the screenshot will be in your clipboard.
- You can save it in the same manner as before which is by either using the notification of a program like MS Paint.
Conclusion
Taking a screenshot is a very easy process and it can be done quickly on any smart device. For Windows devices like desktop computers or laptops, you also get additional options apart from basic screenshots like cropped frames, freehand cuts, window selections, and so on.
Other than that, there are also premium 3rd party programs available just for taking a screenshot. If you are not satisfied with the results generated by Windows built-in programs, you can use such software for better results.
