Are you trying to join a Zoom meeting, play games with friends, or simply chat online, but running into mic issues in your headphone? Before you throw your headset out the window, there are a few things you can try to get it working again. Let’s walk through some quick and easy steps to troubleshoot the problem and get your mic back up and running!
How To Solve If Headset Mic Not Working?
Numerous ways can help you fix headset mic not working issue in your system, and some of them are discussed below.
1. Set Your Mic Device As Default
When various devices are connected to the system, it becomes tough for your system to detect the machine to provide audio signals. So when you connect your microphone to your system or use it, make sure that it is set as the default choice.
Also, by setting the microphone as default, you would save time and it will make sure that the device is active and connected.
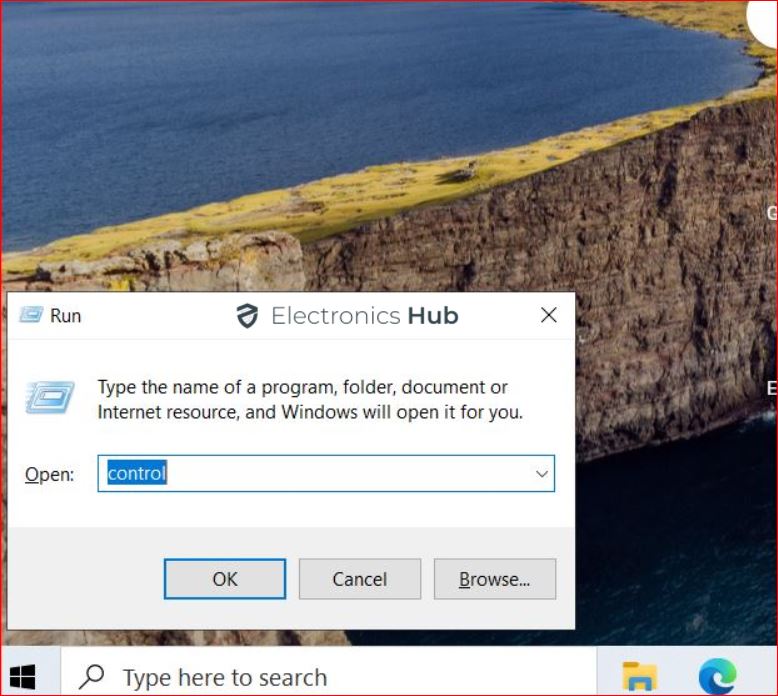
- Press Windows + R from your keyboard and write “control,” & press Enter.
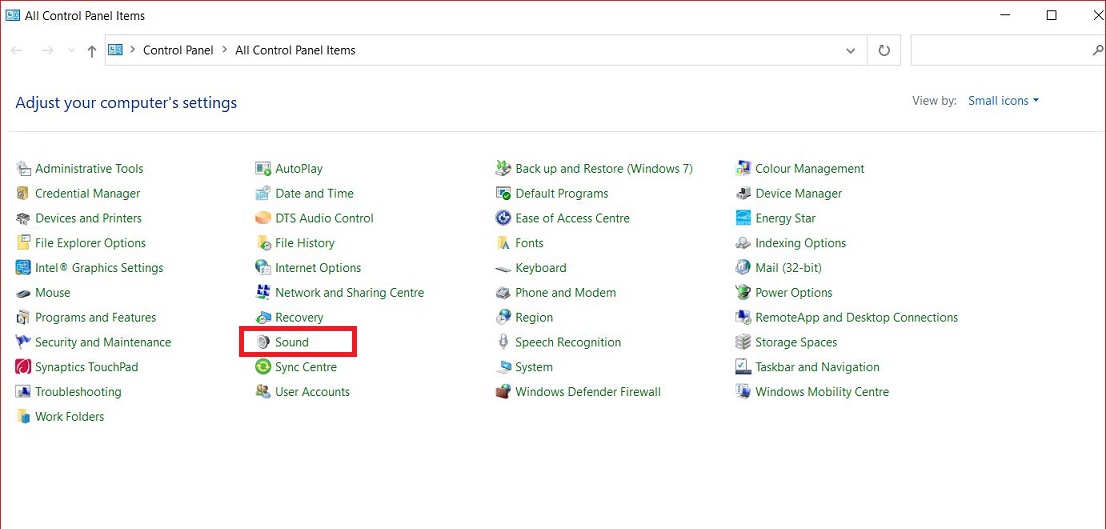
- Click on Sound.
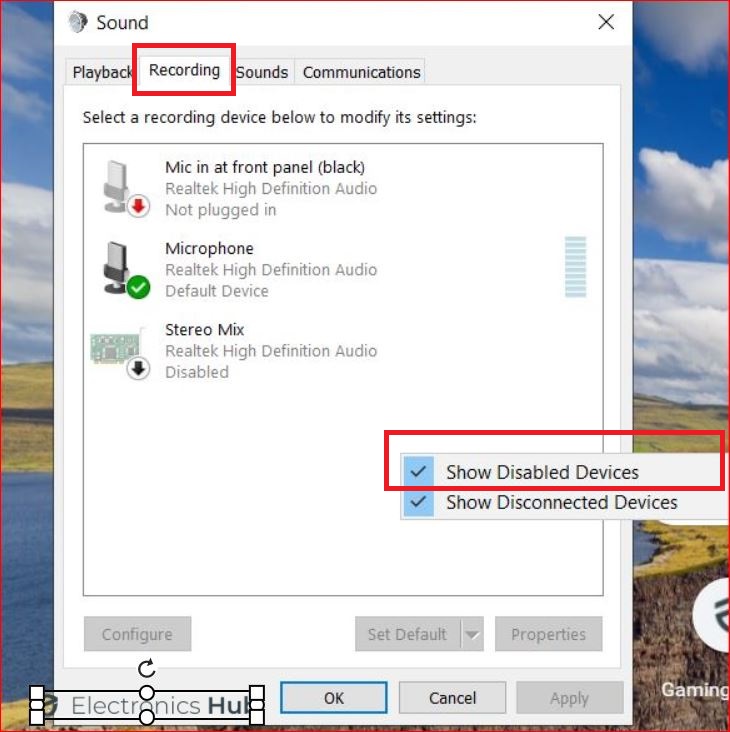
- Click on the Recording button, then right-click on the empty place within the device list & check Show Disabled Devices.
- Right-click on the Headset Microphone & hit
- Right-click on it again & click on the Set as Default Device.
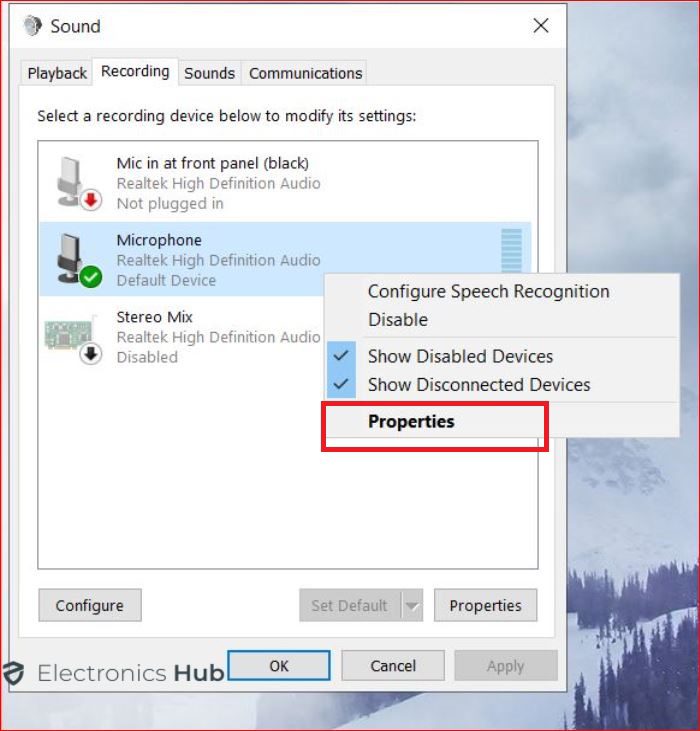
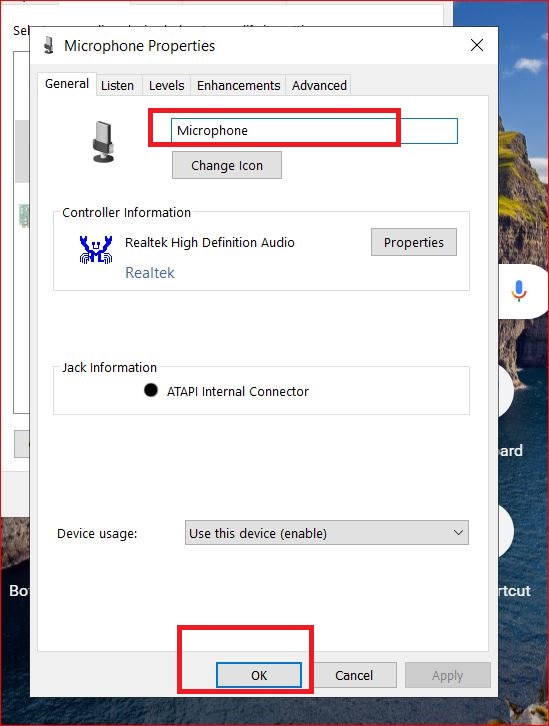
- Right-click on Headset Microphone & click Properties.
- Then click on OK.
2. Update The Audio Drivers
Drivers are software programs that allow the device to sync with the system. They are instructions that govern the exchange of Input and output among the devices. If the driver for any device is missing in the system, the user won’t use that device.
So follow the steps listed below to update your audio drivers.
- Right-click on the Windows button, and then a pop-up list will appear, click on Device Manager.
- When the device Manager window opens, locate the Audio option from the list.
- Right-click on the option and then click on update.
- A wizard will appear, which will run a system scan, click on Automatic update.
- The driver update process will begin, and This will update the audio driver in your system.
3. Allow Applications To Access The Microphone
Various users have complained that they cannot access their microphones while attending meetings at Meet and Teams, so a common fix will allow you to fix this issue.
Whenever you join a meeting, a pop-up appears asking for Permission to access Video and Audio; you must allow it. Then only your system will enable the application to request microphone control.
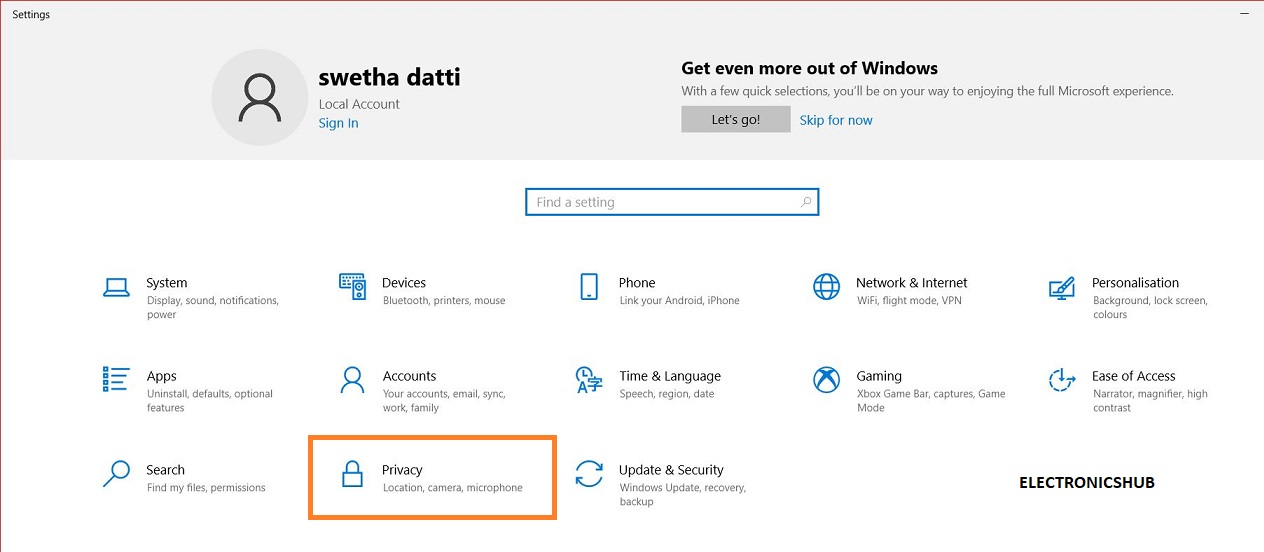
- Press Windows +I from your keyboard to open settings in your system.
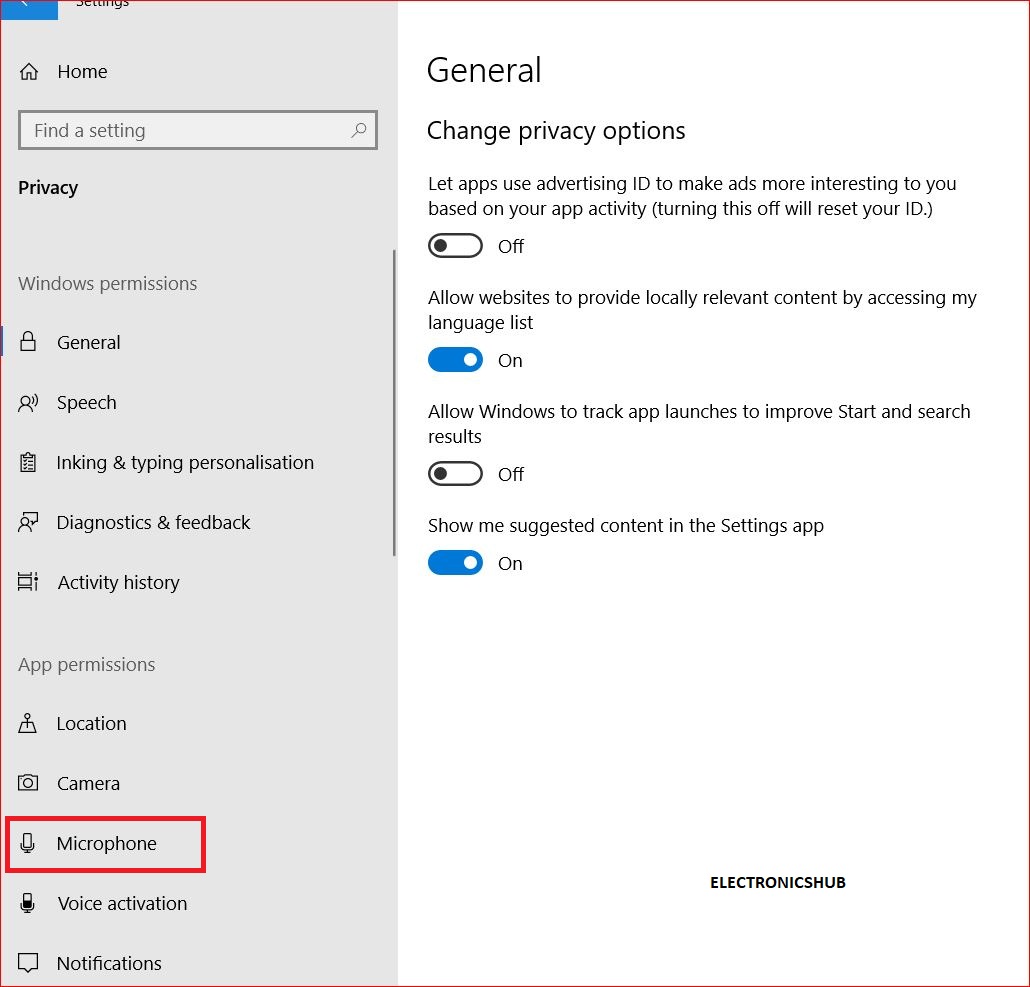
- Click on Privacy and then click on the microphone.
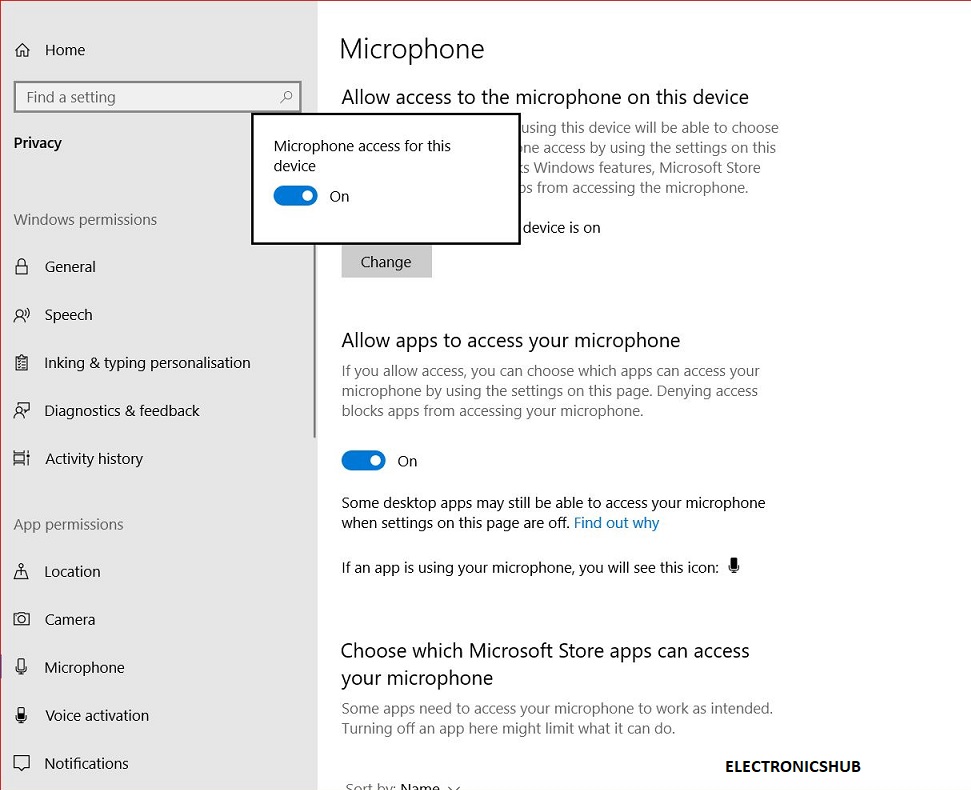
- Click the Change button, then make sure the microphone for this device is turned on.
4. Ensure The Headphone Mic Is Not Muted
Sometimes users update their drivers and run various fixes for the microphone, but all goes in vain. Maybe you should check once that the microphone voice in your system isn’t minimized or muted. There are possibilities that something you are considering as an error may be only a low audio issue.
5. Make Sure Your Mic Is Enabled
Before you can use the microphone in your system, you have to enable the microphone in the settings to active Microphone drivers. Once the microphone drivers are allowed, the system will start locating the device, so follow the steps listed below to enable a mic in your system.
- Click on Start, then click on Settings > System > Sound.
- In Input, then click on your device in Choose your input device.
- To test your microphone, speak into it and check Test your microphone.
6. Clean The Headphone Jack
The headphone jack is made up of copper, which depicts various layers that connect the system to multiple headset components. So you must make sure that your headset jack is clean because if there is some dirt or impurity on it, it won’t be able to connect to the system.
If you are unable to connect your headset to the system after numerous tries, then it is advised that you must replace your headset jack.
7. Windows Latest Update
Windows provides its users with the latest updates to ensure fast working and easy fixing of bugs in the system, but sometimes these updates cause various bugs. These bugs can be anything like notepad crashing, driver issues, etc. So if you face such problems after updating your system, you must system restore the previous state of your system.
And you must send this report to developers, which will allow them to fix bugs in the next release of updates.
8. Try Using Other Jack
Sometimes, the problem might not be with the mic but the jack. So if nothing works, you should consider trying a different jack to ensure that the jack is not scraped or broken because a defective jack can’t connect your mic’s audio to your computer.
9. Increase The Mic’s Volume
Imagine that you have tried all the methods listed above. You should check your mic’s volume because it has been observed in many cases that the microphone’s volume is minimized because users are unable to listen to it. So firstly, make sure that your microphone is enabled and has a good audible level.
10. Ensure The Hardware Is Compatible With The Mic
Sometimes users buy the handset because either they look impressive or come from a reputed brand. Still, you must look at the technical configurations of the device before buying it rather than just keeping an eye on the design. Sometimes these headsets are not compatible with your system, so you must read your system configurations and then make sure that the headset will work fine with your system.
11. Check Female Jack
There is also another high possibility that the female jack in your system might be faulty, so the only way to check the same is by using another set of headsets on the system or your headset. If your system’s female jack has some issue, you need to contact a technician and make sure that the jack is replaced and all other connections are fixed.
12. Clean The Mic’s Mesh Screen
The mesh screen is a small foamy skin placed on your microphone. So you must make sure that your microphone’s mesh screen is apparent because if your microphone screen is coated in dust, it might not allow the easy propagation of sound waves.
Conclusion
Headphones and mic are an essential part of the system because they might embarrass you if your mic is not working in a presentation. We have given various fixes to solve this issue. Hope this article will provide you with some valuable information.
