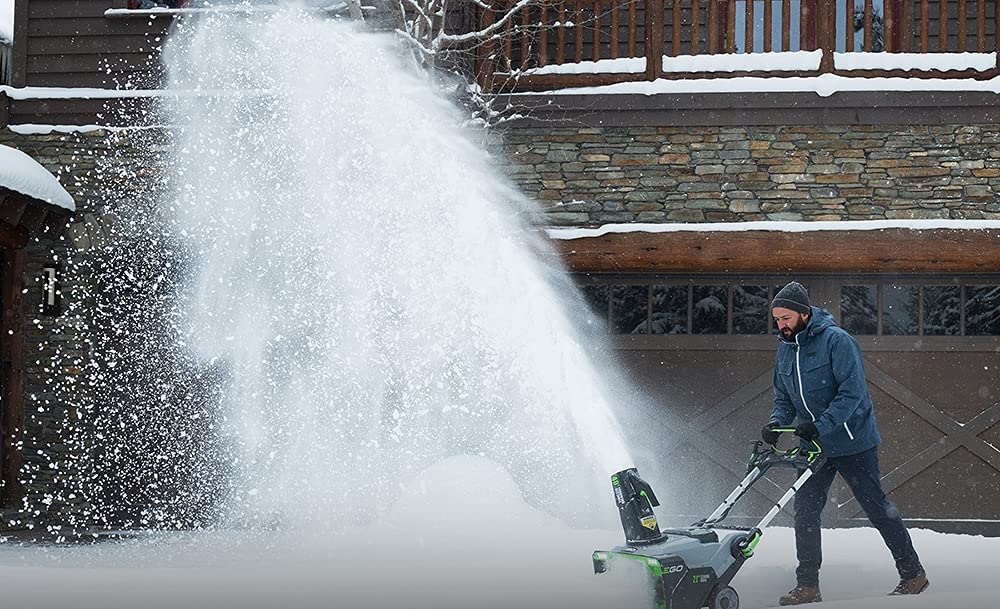
Snow blowers are rescue angles in the harsh winters as they help us easily remove the accumulated snow on the driveways, pathways and others.
However, it can be pretty frustrating when they don’t start – which can be a common phenomenon every time because it hasn’t been used since the previous winter.
In most of the cases, simple tune up and some trouble shooting should work the magic.
Here, in this article, we are going to provide information on common problems that prevent snow blower from starting, steps to resolve the issue and troubleshooting.
Hopefully, this information we gathered from industry experts helps you resolve the issue.
Reasons Your Snowblower Isn’t Starting
Below are some of the common reasons why snowblower may not start. We have provided necessary steps you can make to resolve that particular issue.
1. Bad Electric Starter
If your snowblower won’t turn on or start, you can insert the key in the starter switch. There could be a problem with your starter switch or motor.
Solution –
To test the starter switch, you can use a multimeter. If the starter switch is not working properly, replace it.
2. Bad Recoil in a Pull Start Model
Some snowblowers use a revolving start system instead of an electrical start. If the starter rope is pulled too hard, the snowblower will not start.
Solution –
The spring can be replaced and the recoil can be re-energized. It is possible to replace the entire recoil assembly if the spring fails or other components are damaged.
3. Blocked Fuel Line
An old fuel can get stuck in the fuel line of your snowblower.
Solution –
To check for fuel leakage, clamp a fuel line. Place one end of your snowblower’s fuel line in a container lower than the tank. Start the fuel flow again and make sure the line is flowing into the container.
You can remove your fuel line if it is blocked. You can prevent fuel from leaking by using pinch pliers and the fuel shutoff valve. Some snowblowers have a fuel shutoff valve.
Spray the fuel line from your snowblower with carburetor cleaner and blow air through it until there is no debris or gummy residues.
If your hose is becoming dry and brittle, or if it remains clogged, replace it with a fuel hose.
4. Bad Spark Plug, or Loose Connector in Your Snowblower
Bad spark plug connections could also be a reason why your snowblower won’t start. You may also have a damaged or excessively dirty spark plug.
Your engine may misfire if a plug is not properly plugged. Start problems can also be caused by a plug that isn’t properly fitted or doesn’t make a strong connection.
Solution –
Take out spark plug and examine it for cracks or signs of carbon buildup. If the plug is too old or cracked, using new one.
Gap the plug according to the manufacturer’s instructions. Even if the component was pre-gapped, it is a good idea for you to inspect the gap.
5. The Engine Must Be Primed
Priming an engine will move fuel from the fuel lines to the carburetor. It is best to attempt to start the snowblower before priming it. Sometimes, it doesn’t even need to be primed. I don’t want my snowblower to be overloaded with fuel and priming if it’s not needed.
Solution –
To get fuel into your snowblower, press the primer bulb a few more times. Don’t over-prime your engine with too much fuel in your carburetor as it can flood your engine.
6. Dirty or Clogged Carburetor
Your snowblower’s carburetor is vital because it controls the amount of air and fuel that creates combustion. Your snowblower may stop running if the carburetor or any of its parts get dirty. You can clean the carburetor using carb cleaner after removing it. You can follow steps for the same.
Solution –
- Spraying carburetor cleaner into air intake reduces carbon buildup. To check if the engine is running, start it. When the snowblower doesn’t start, we must check the inside of carburetor to fix the issue.
- Use pliers, ratchets, socket or a screwdriver to avoid damaging parts when taking apart the carburetor.
- It is better to click a photo for easy reassembly. Most people now have a smartphone with a camera. It helps you recollect how to reassemble it after you have taken it apart.
- It is important to take a picture of springs and linkage of the carburetors.
- If your snowblower comes with one, remove the choke cable as well as throttle cable.
- Take the springs slowly off. For removing the springs, you may need to bend the carb slightly. Be careful not to tear the gasket. This gasket is present between the engine block & the carburetor.
- Take out the screw present at the bottom of float bowl which contains gasoline. The float bowl should contain gas so make sure you have a cloth for catching the gas.
- Take out the bowl taking care not to damage the o’ring. Attention: Never use any type of carburetor cleaner or chemicals as it will become stretched and it won’t be possible for reuse.
- Check stem for blocked holes. The stem is located at the bottom of carburetor. It has holes. These holes can become clogged with old fuel and will stop fuel from being drawn to the jet. To clean out any holes that are blocked, use a thick wire. A flashlight makes it easy to view what you are doing. After cleaning the holes, you can wash them off using carburetor cleaner.
- Check the carburetor to see if there is any buildup of hard white crusty layer. It can be caused by fuel additives, such as ethanol. It is important to remove as much as white power as possible. It is almost impossible to extract all of it.
- As the carburetor is now clean, assemble it in the same order as you removed it. When assembling the carburetor, make sure to check the photograph taken.
- Before you start your snowblower, make sure to add a fuel stabilizer to your fuel supply. You should add the fuel into the tank and allow it to get to the carburetor bowl.
- Now you can turn on the engine using a pull cord and stretch the rope a tug. Though the machine may not start initially, it should continue to run subsequently after some pulls.
7. Incorrect Operating and Starting Procedure
Since you use your snowblower only for a few months, it can be difficult to remember how to get it started. Before you move on to the next steps, make sure you have completed these 4 steps.
Solution –
The fuel shutoff valve has to be set to either the open or on position. Turn the ignition switch to the on position by inserting the key into the keyhole. If your snowblower has a toggle switch, ensure it is turned to the on position.
Your snowblower should be set to full throttle. Reduce your throttle from full throttle to 3/4 throttle.
8. There is no Gas in the Fuel Tank
Although it seems obvious, having gas in your snowblower’s tank is often forgotten. Just in case you didn’t check, I am merely mentioning it.
Solution –
4-Cycle engines: Fill your tank with unleaded gasoline at an octane or 87-grade level. A gas that contains less than 10% ethanol should be used. You can find more information about the right fuel for your gas snowblower. The majority of snowblowers currently in use a 4-cycle engine.
2-Cycle engines: Use an oil-and-gas mix according to the manufacturer’s recommendations.
9. Your Snowblower’s Fuel is Old or Bad
After 30 days, gas begins to break down and becomes less efficient. It is crucial to purchase and use gas for your snowblower within 30 calendar days.
Today’s gasoline is made from ethanol, a corn-based product that is environmentally friendly. Although ethanol can be used in vehicles, it can cause severe damage to the small engines of snowblowers.
Ethanol draws moisture from the atmosphere. The moisture evaporates and leaves behind a sticky residue that can clog fuel lines, filters, and the carburetor.
Solution –
Discard the old fuel and flush the tank. Then, add fuel additive.
Sea Foam can be a great idea, especially if you are running old gas through your snowblower. You can read my article ” Best Fuel Additive to Your Snowblower” to learn more.
10. Bad Fuel Cap on your Snowblower
The vent on your gas cap is located at the top of the tank. The fuel tank has a vent that can become blocked if the vent is not able to be opened properly. This prevents gas from flowing through the fuel lines. Proper venting of the cap can cause let snowblower to run out of fuel.
Solution –
Clean the cap to expose the vent. If your cap is not able to be blown out, replace using one.
Some Frequently Asked Questions
When their equipment stops starting, most people reach for the starter fluid immediately. This is something I don’t recommend. Because of the potential damage to the engine it can cause, starter fluid is not something I like. I do not allow it in my shop.
Starter fluid can be described as a very dry chemical. The dry chemical can cause engine damage because it doesn’t contain any lubrication ingredients. To start your snowblower, we recommend using carburetor cleaner.
If you have made it this far and still can’t get it started, it might be more complicated. These can be found in the owner’s manual.
*Check the replace spark plug. If need repair or replacement, make sure to get it done. You should be able find a replacement sparkplug at your local big box.
*Some snowblowers will have a fuel filter at the fuel line. It can get clogged and restrict fuel flow to the point that it won’t start.
*A dirty engine air filter can cause a snow blower to have a reduced performance. Although we haven’t seen an air filter stop a snowblower from starting, it is something that you should check.
*Clean the carburetor regularly. If untreated fuel has been left in the snowblower’s engine from last season, it is possible that the carburetor must be cleaned. You could have a gummed-up carburetor or rusty due to moisture. Problems with restricted carburetors are the number one problem in small engines, such as snowblowers.
First, make sure you check the fuel quality. This will help to eliminate the possibility that stale fuel could clog the carburetor. You can usually clean the stale fuel. But if it is impossible to clean the carburetor after this happens, it may be necessary to replace it.
It is a good practice to replace the spark every year. This will prevent problems from arising when the snowblower is in use.
Alternately, you can change spark plug when the snowblower is used for approximately 100 hours. It is a decent idea that spark plug can be cleaned every 20 to 30 hours to check the condition and make sure gap is appropriate. You’ll be able to check the signs that spark plug needs to be replaced, and you can avoid dirt buildup.
The answer is yes, at the most once a year. You should avoid using oil in the snow blower more than twice a year. It can cause motor problems.
Most likely, carburetor bowl gasket leakage. To check if the needle and float have become blocked, inspect them. Verify that no gas has entered into the float. You can use flashlight for checking tiny holes in the fuel bowl. These holes may appear slowly over the time.
Wrapping Up…
Its frustrating to have a snow blower that doesn’t start when it is required. As we don’t use snowblowers regularly, expect during winters, it is common for them to show a little reluctance while restarting them after a long time.
The issue for snow blower not starting can be caused due to many reasons like clogged fuel line, electric start problem, bad spark plug or any others. In most of the cases, they can be resolved at home without the need for professional assistance.
In this article, we have provided clear instructions for some of the common problems faced with snowblower not starting. You can consider them to resolve the issues.
If none of the solutions work and snow blower doesn’t start even after trying the fixes, we recommend consulting professional.
So, was the article helpful? If you still have any doubts or want to share your experience with the solution, we recommend writing to us in the comment section below.

One Response
thank you for the article