Turning a Live Photo into a video lets you share and enjoy dynamic moments from your iOS device easily. You can do this directly on your iPhone or use third-party apps for extra creativity.
Our guide will show you simple steps to make Live Photos into videos that you can share. This keeps all the motion and sound that make these moments special.
How To Make A Live Photo Into Video On iPhone?
Turning a Live Photo into a video on your iPhone is straightforward. Follow these simple steps to bring your still images to life in a video format.
To transform a Live Photo into a video on your iPhone, follow these steps:
- Launch the Photos app on your iPhone and navigate to the Live Photo you want to convert.
- Tap on the Live Photo you wish to turn into a video.
- Press the Ellipsis option and tap on the “Save as Video” option. Tap on it.

- A confirmation prompt will appear, confirming your intent to save the Live Photo as a video. Confirm, and the video will be saved to your camera roll.

How To Save A Live Photo As A Video On Mac?
If you’re using a Mac and want to convert your Live Photos into videos, the process is a bit different. Here’s how you can do it:
- Launch the Photos app on your Mac and locate the Live Photo you want to convert.
- Select the Live Photo by clicking on it. Ensure you’re in the “Library” view for easier access.
- In the top menu bar, navigate to “File” and choose “Export.” From the dropdown menu, select “Export as Movie.”
- A window will pop up where you can choose the video settings. Select your preferred resolution and quality.
- Select Export Location.
How To Turn A Live Photo Loop Into Video?
Looping videos add an engaging and continuous motion effect to your Live Photos. Follow these steps to turn your Live Photo into a looping video:
- Convert Live Photo to Video
- Consider using apps like “Boomerang” or any other looping app available on your device.
- Follow the app’s instructions to apply the looping effect. Most looping apps make this process intuitive and user-friendly.
- Some apps allow you to customize the speed or duration of the loop. Adjust these settings according to your preference.
- Once satisfied with the looping effect, save the video to your camera roll.
- Now, your Live Photo has transformed into a captivating looping video. Share it on various platforms or use it as a unique element in your content.
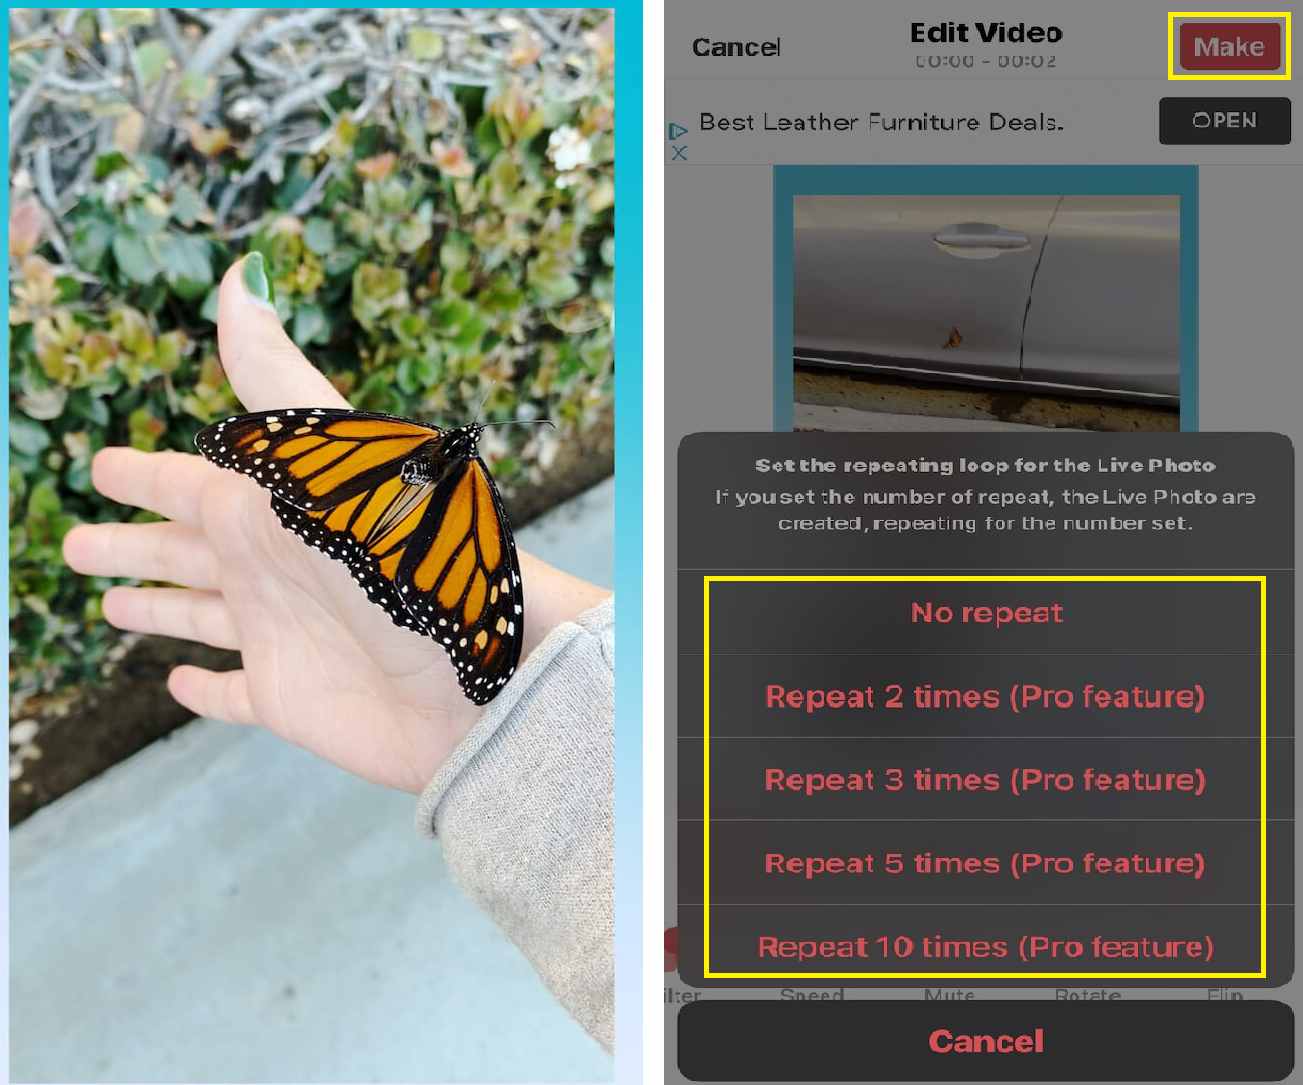
How To Make A Video Into Live Photo Using IntoLive?
For easier sharing over Airdrop, some of you might also want to convert videos into live photos. Unfortunately, this feature is not directly supported by iOS. Instead, you will have to use third-party apps for the same as shown here:
- First, install the IntoLive app on your iPhone from the App Store.
- Inside this app, you can select the video that you want to convert into a live photo. If you want, you can even make basic edits on this video file using the IntoLive app.
- After that, you can tap on the Make option present in the top right corner of your screen.
- Once done, this video will be saved as a live photo on your iPhone.
Tips While Turning A Photo Into Video
Maximize your Live Photo into video experience with these additional tips and tricks:
- Experiment with Editing Apps: Explore third-party editing apps to add creative elements like filters, effects, and overlays to your Live Photo videos. This allows for a personalized touch and unique style.
- Utilize Cloud Services: Leverage cloud services to store and share your Live Photo videos seamlessly across devices. iCloud or other cloud platforms offer a convenient way to access your content anywhere.
- Consider Aspect Ratios: Be mindful of aspect ratios when sharing on different platforms. Some platforms may have specific requirements, and adjusting your video accordingly ensures optimal viewing.
- Explore Advanced Editing Techniques: For users familiar with advanced editing, experiment with techniques like color grading, motion tracking, or green screen effects to elevate the visual appeal of your Live Photo videos.
Conclusion
In conclusion, transforming Live Photos into videos opens up creative possibilities, allowing users to share dynamic moments across various platforms. With our guide, users can not only navigate the technicalities but also elevate their Live Photo video experience, turning ordinary memories into captivating visual stories.
FAQs:
How does Live Photo differ from a video?
Unlike a traditional video, a Live Photo preserves a few seconds of motion and sound before and after the photo is taken, allowing for a more dynamic viewing experience.
Can I customize the duration or effects of the video created from a Live Photo?
Depending on the method or app used, you may have options to customize the duration, apply different effects, or add music or captions to the video.
What formats are supported when converting Live Photos into videos?
Common video formats like MP4 or MOV are typically supported, depending on the method or app used for conversion.
Will converting a Live Photo into a video affect the original Live Photo file?
No, converting a Live Photo into a video creates a separate video file, leaving the original Live Photo file unchanged.
Are there any limitations to converting Live Photos into videos?
Some effects or customization options may not be available depending on the method or app used for conversion. Additionally, the quality of the video may vary based on the original Live Photo and the chosen settings for conversion.
