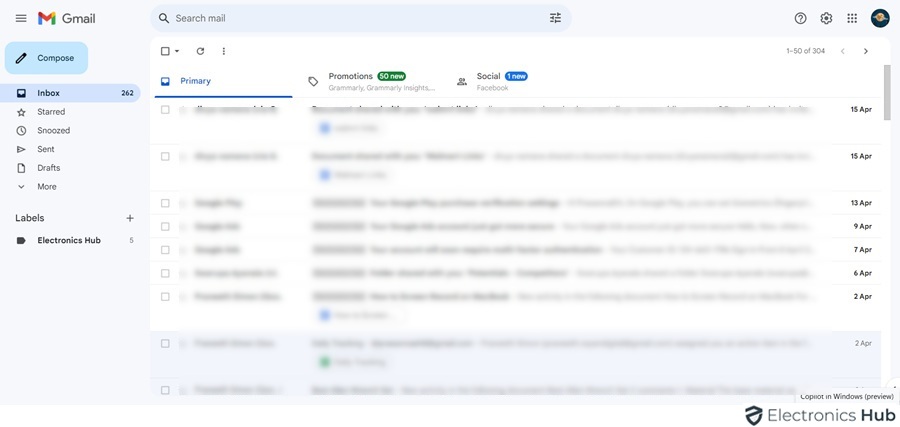
Have you ever encountered the challenge of pinpointing a specific email amongst a vast archive within your Gmail account? Essential information can easily become obscured within a sea of messages, leading to wasted time and frustration.
Fortunately, Gmail offers a robust search functionality equipped with a suite of operators to simplify the retrieval process. If you are the one thinking ‘How to find old emails in Gmail faster than ever’, then you’re in for a treat. This guide offers steps, tips, and much more to help you locate your old emails easily. Keep reading.
How To Find Old Emails On Gmail: 7 Easy Methods
In this, we’ll cover practical ways to find past emails in your Gmail account. These methods will help you locate specific messages, no matter how old they are. Here are the methods we’ll discuss:
- Finding Old Emails On Gmail Using The Search Bar
- How To Find Old Emails in Gmail Using Labels
- Search by Date (Mobile)
- Search by Date (Desktop)
- Search by Sender or Recipient
- View Deleted Messages (Mobile)
- View Deleted Messages (Desktop)
1. Finding Old Emails On Gmail Using The Search Bar
The search bar in Gmail is a powerful tool to quickly find emails based on keywords, sender, subject lines, and more.
Steps:
- Open Gmail: Log into your Gmail account.
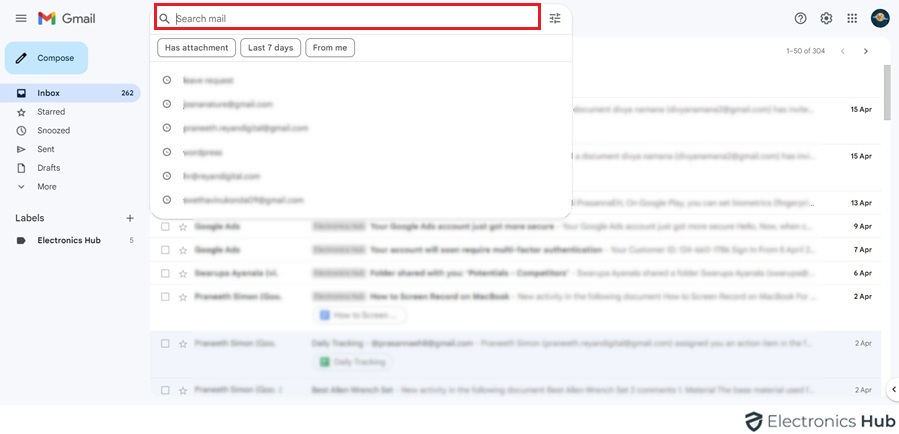
- Use the Search Bar: At the top of the page, you’ll see a search bar. Enter any keyword, email address, or subject you remember from the email.
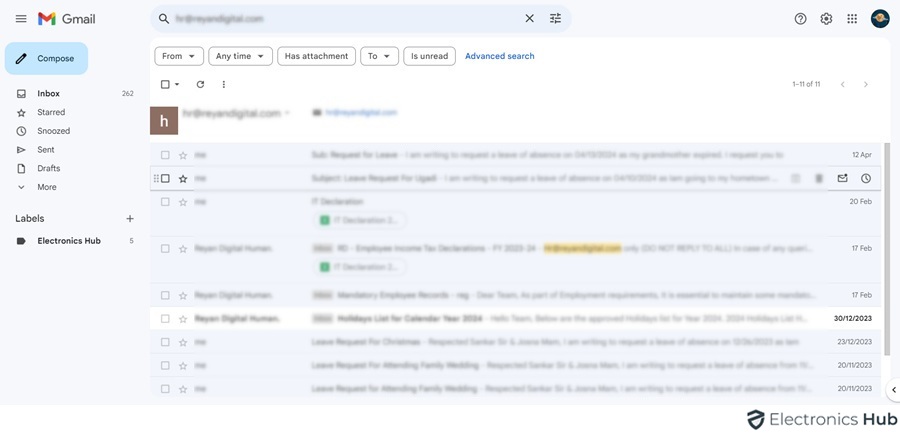
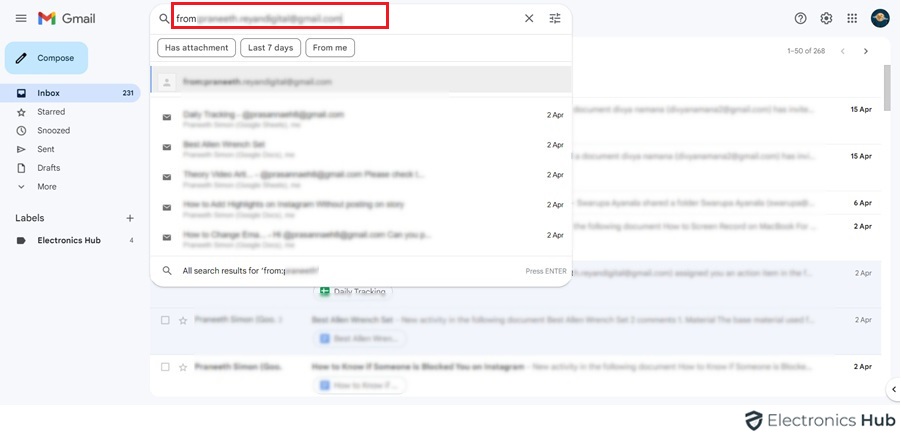
- Refine Your Search: Use operators like from:, to:, subject:, and others to narrow down your search. For example, typing from:john@example.com will show emails from John.
2. How To Find Old Emails in Gmail Using Labels
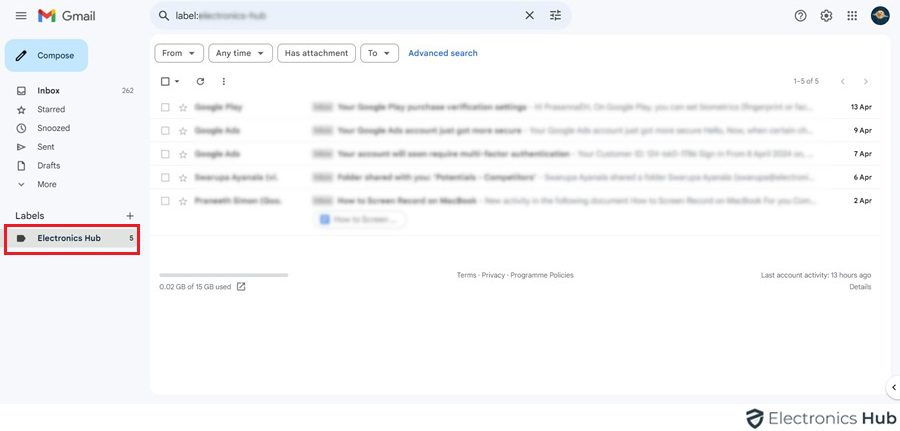
Labels are tags you can apply to emails which then act like folders without moving the email out of the Inbox.
Steps:
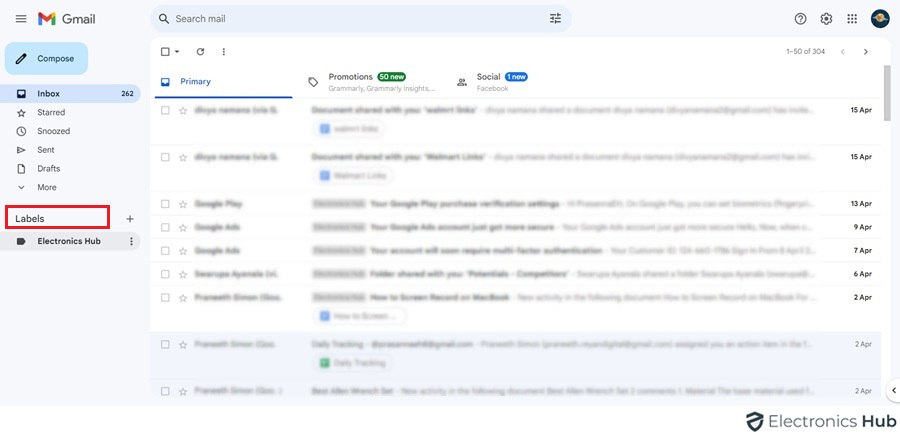
- Navigate to Labels: On the left side of your Gmail screen, you’ll find a list of labels you’ve created.
- Select a Label: Click on a label to view all emails tagged with it. If you’re looking for a specific conversation, labels can help organize emails by topic or sender.
Important Note: This method only works if you’ve already labeled the emails you’re looking for. If you haven’t used labels previously, you can’t use them to find those emails specifically. However, labels are still a great way to organize future emails for easier searching!
3. Search by Date (Mobile)
Searching by date on mobile devices can help you pinpoint emails from specific periods.
Steps:
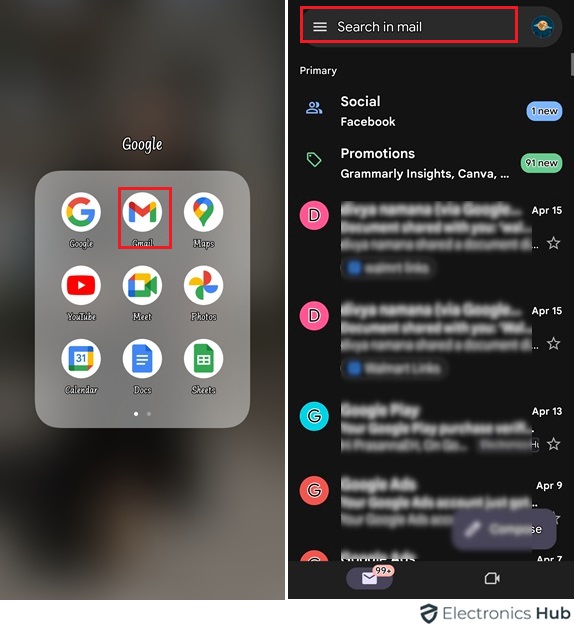
- Open Gmail App: Launch the Gmail app on your device.
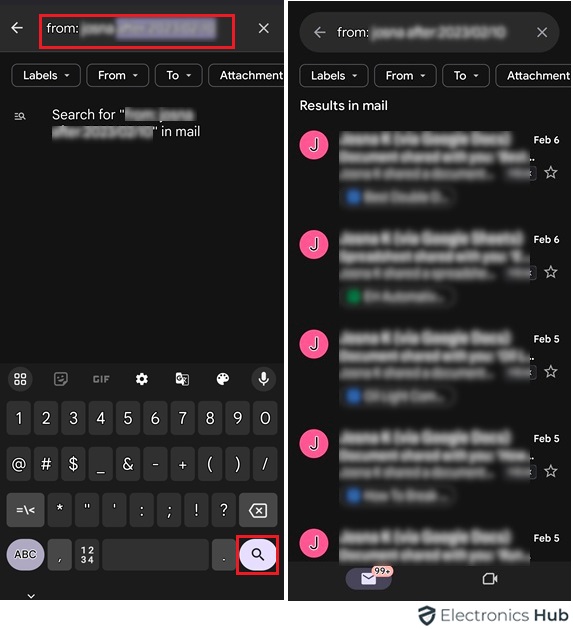
- Tap on the Search Bar: Enter the date range in a format like before:yyyy/mm/dd after:yyyy/mm/dd.
- Execute the Search: Press the search icon to display the emails from the specified dates.
Examples:
- To find emails from your friend Sarah after January 1st, 2023, enter: “from: Sarah after:2023/01/01“
- To search for emails with the subject “Meeting” sent before 2018, enter: “subject:Meeting before:2018/01/01“
- To look for emails older than 5 months, type: “older_than:5m“
4. Search by Date (Desktop)
Using the desktop version allows for more detailed date searches.
Steps:
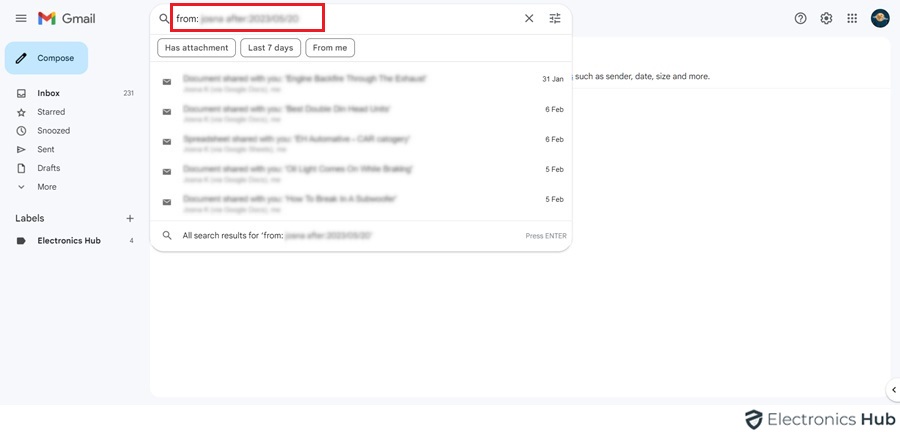
- Access Gmail: Open your Gmail in a web browser.
- Click on the Search Bar: Enter a date range using the same format as on mobile.
- Perform the Search: Hit Enter to see the results that match your date criteria.
Additional Tip: You can combine searching by keywords and dates for even more precise result
5. Search by Sender or Recipient
If you remember who sent the email or to whom it was sent, this method is very effective.
Steps:
- Open Gmail: Log in to your account.
- Use the Search Bar: Type from: to find the sender’s emails or to: to find emails sent to a specific person. Example: from:alice@example.com.
- Search: Press Enter to find all emails from or to the specified person.
6. View Deleted Messages (Mobile)
To view emails that have been deleted but are still in the Trash, you can do the following.
Steps:
- Open the Gmail App: On your mobile device.
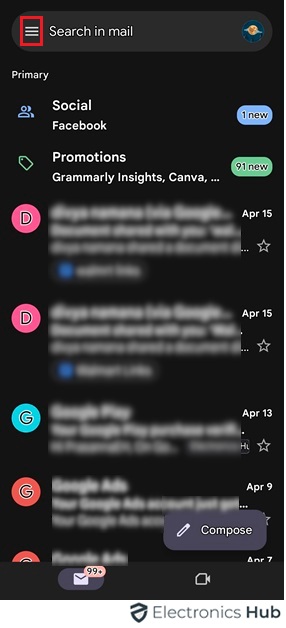
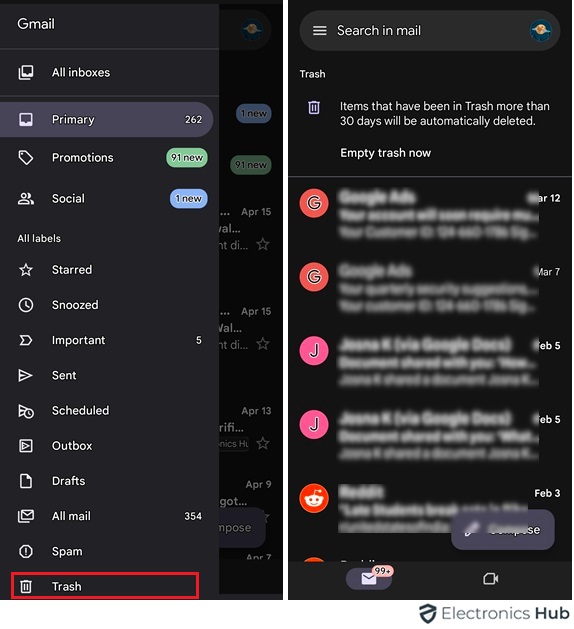
- Go to ‘Trash’: Tap on the menu (three horizontal lines) and select ‘Trash‘. This will show all deleted emails that haven’t been permanently removed.
- Browse Through: Look through the trash to find your deleted email.
7. View Deleted Messages (Desktop)
Similar to mobile, but using the desktop interface.
Steps:
- Log into Gmail: On your computer.
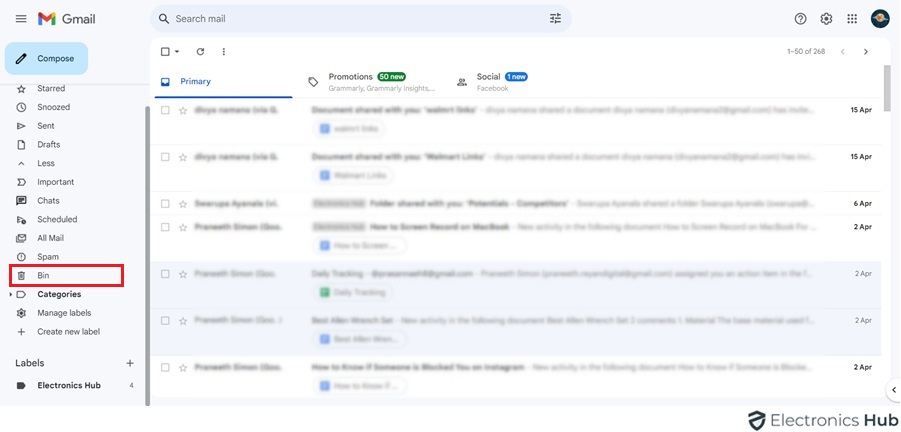
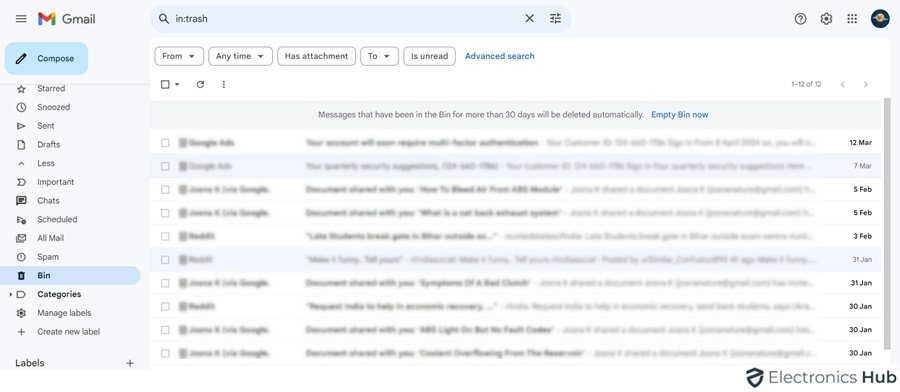
- Access Trash: Click on ‘More‘ on the left sidebar to expand it and select ‘Trash‘.
- Review Emails: Check the Trash for any emails that might not have been permanently deleted yet.
Bonus Tip: If the email you’re looking for isn’t in the trash folder anymore, it might be permanently deleted. However, in some cases, Gmail allows you to recover emails that were deleted even further back. You can try contacting Gmail support to see if they can help retrieve the message https://support.google.com/mail/?hl=en.
Frequently Asked Questions
Ans: *Scroll Down: This might seem obvious, but for a first pass, simply scroll down through your inbox. Gmail loads emails in batches, so keep scrolling until you see older messages.
*Change View Order: Click the numbers above your inbox that indicate the current message range (e.g., 1-50 of 100). Select “Oldest” to see older messages first.
Ans: Open Gmail and use the search bar! Type older_than:1y (or any number) and press Enter. This will show emails older than the specified number of years. You can replace “y” with “m” for months or “d” for days.
Ans: You can search by sender or recipient! In the Gmail search bar, type the name of the person and press Enter. Gmail will show you all emails where that person’s address appears in the “To” or “From” field.
Ans: Simply type that keyword in the search bar and press Enter. Gmail will search through all your emails for that specific word or phrase.
Ans: While there’s no one-click solution for emails from years ago, you can use the older_than operator. Start with a high number of years (like 5 or 10) and refine your search based on the results.
Ans: Absolutely! Gmail allows you to combine search terms. For example, you can type from:John older_than:2y to find emails sent by John more than two years ago. Explore different combinations of search terms and operators to pinpoint exactly what you’re looking for.
Conclusion
Thanks for reading! By now, you should be equipped with the knowledge to navigate your Gmail inbox like a pro and unearth even the most buried emails. If you have any further questions about Gmail search operators or managing your inbox, feel free to leave a comment below!

