If you have a non-activated Windows 10 in your system, you will notice a watermark at the bottom-right corner of your computer screen all the time. It is needless to say that the watermark is unwelcoming and embarrassing in many scenarios.
Besides, if you take a screenshot, the watermark will spoil the image. Here are all the methods you need to apply to remote Activate Windows watermark.
Methods To Get Rid Of Activate Windows Watermark
Method 1: By using Regedit
Using Regedit will allow you to remove the Activate Windows watermark. For this, you need to follow the necessary steps.
- Click Start and give a right-click. Follow it by typing “regedit”. (You need to run the system as an administrator).
- If in case there comes a UAC option, you need to select Yes.
- Go to HKEY_CURRENT_USER followed by Control Panel and then Desktop.
- You will have to double click on PaintDesktopVersion.
- Now you have to choose a hexadecimal and replace the value from 1 to 0.
- Save the settings by clicking on OK.
- You will have to close the registry editor and restart your system.
- Log into Windows and confirm if the watermark is removed.
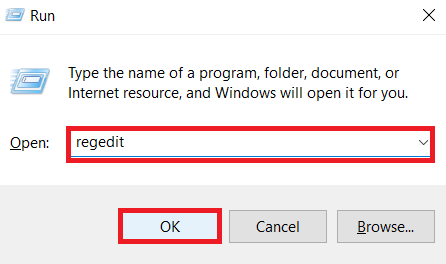
The other way will be by pressing the Windows + R keys simultaneously.
- You will come across a dialogue box where you need to type “regedit”.
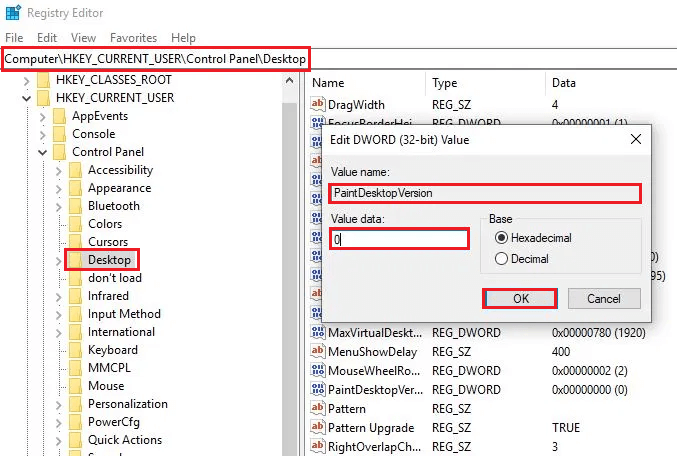
- After backing up the registry database, you need to go to Computer\HKEY_CURRENT_USER\then Control Panel\then Desktop.
- Search for the option PaintDesktopVersion on the right panel.
- Replace the value to 0 & confirm if there are more Activate Windows watermarks.
Method 2: With Windows PowerShell
By using Windows PowerShell, you will be able to remove the Active Windows watermark temporarily. Windows stay activated for 90 days and you will have to perform this task again after completing 90 days. The following are the steps for using Windows PowerShell.
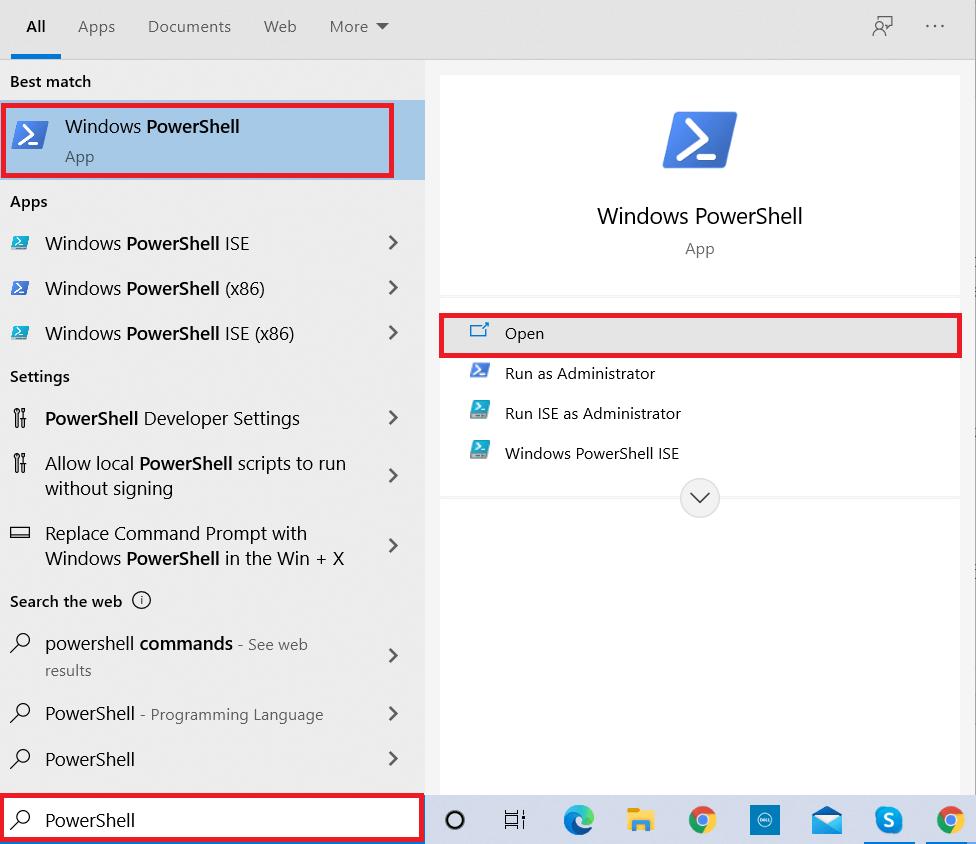
- Launch Start and enter “PowerShell”.
- Click on Run as an administrator by clicking right.
- For the UAC prompt, you need to choose Yes.
- You will now come to the PowerShell Window, where you will have to type “slmgr/renew”.
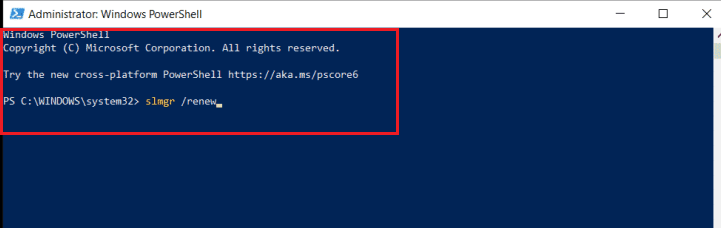
- Hit Enter to save the settings.
Method 3: With A Script
There’s even a script that can remove the Active Windows watermark. You can do it in the following way.
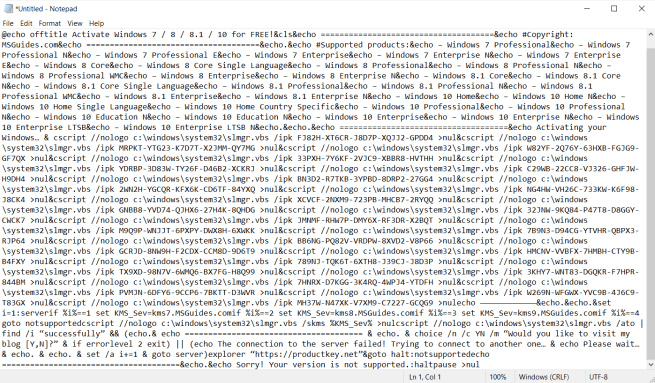
- On your computer, you need to open Notepad.
- In the Notepad, you need to paste
- While saving the file, you need to give a .cmd at the end. The best example would be windows10.cmd.
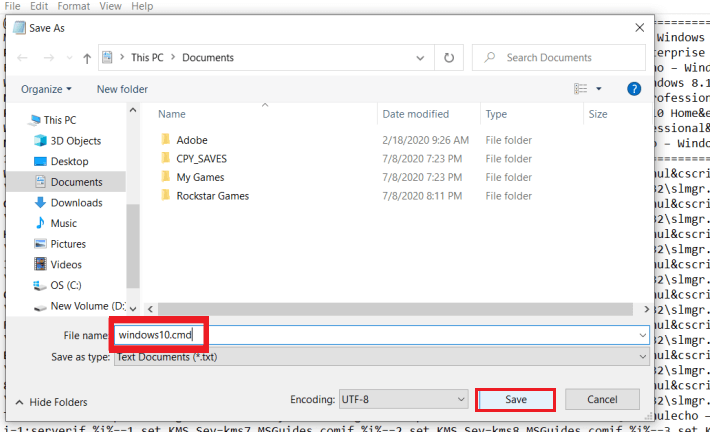
- Make sure that you save it on the desktop for having quick access.
- Once you have saved the file, you will have to run the file as an administrator.
- If there is UAC, then click on Yes.
- You can now restart your system after the script is over.
Method 4: With Ease of Access
If you change the Ease of Access setting, you will be able to remove the Windows activation watermark. You can do it in a simple way.
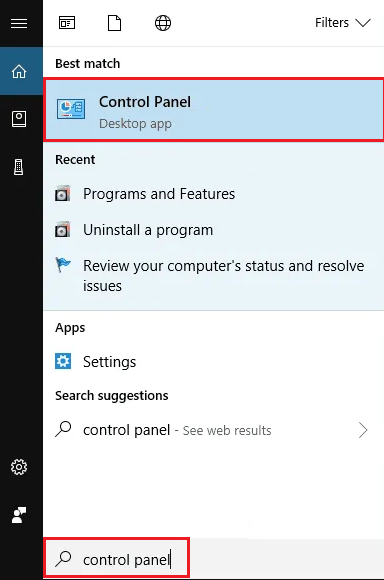
- You will have to launch the Control panel by pressing the Windows button and S simultaneously.
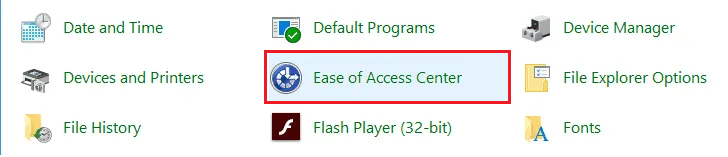
- After launching the Control Panel, you will come across many options from where you need to choose Ease of Access Centre.
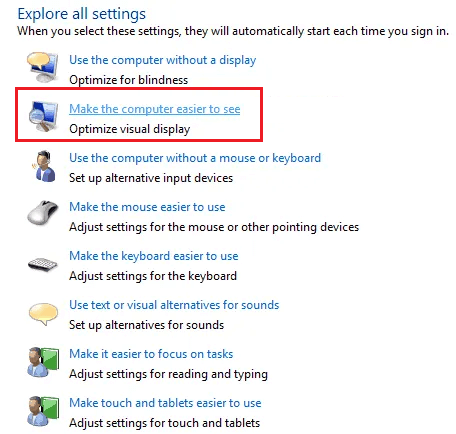
- Click on Make the computer easier to see. This will be available in “Explore all settings”.
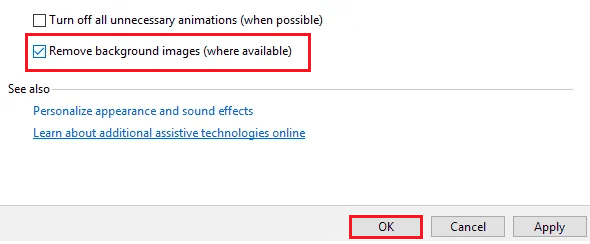
- If you scroll down, you will come across many options from where you need to select “Remove background images”.
- From there you need to check in the box which reads “Remove background images (where available)”.
Method 5: By Disabling Win 10 Tips
Even by disabling the Windows 10 tips, you can get rid of the Activate Windows watermark. This is specifically for the computer that has Windows 10 operating system. You can do it in the following way.
- Click on the Start button and select Settings.
- In the next step, you will have to go to System.
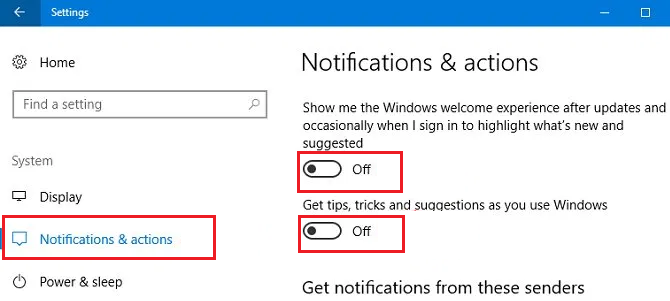
- Select Notifications followed by Actions.
- You will now come across the option where it shows “Show me the Windows welcome experience after update...” as well as “Get tips, tricks, and suggestions as you use Windows”.
- Make sure that you turn them both off.
- Once completed, you need to restart your system again.
Method 6: By Using Bat File and CMD
Another way of removing activate Windows watermark will be by using CMD. Keep in mind that this is a simple trick wherein you will have to use Notepad. In this case, you need to disable the test mode that can remove the Activate Windows watermark. You can follow the necessary steps.
- Open a Notepad from the Start menu.
- Now you need to type the following –
@echo off
taskkill /F /IM explorer.exe
explorer.exe
exit
- While saving the file you will have to name it remove.bat.
- Open the file and right-click on the remove the bat file to run as administrator.
- If in case you are prompted by UAC, you need to select Yes.
- You will have to restart your system and see if the watermark is gone.
Alternately, you can try the following steps using CMD.
- Press Windows key to open the Start menu.
- Type in CMD and you will see Command Prompt at the top of the menu.
- Right-click on Command Prompt and click on Run as administrator option.
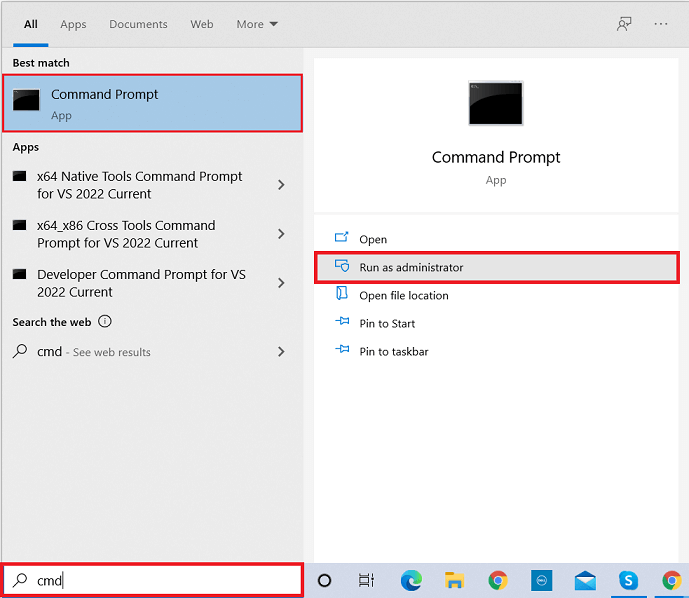
- A pop-up message may appear where you have to click on Yes button.
- Now, you should be inside the command Type the following and press Enter key.
bcdedit -set TESTSIGNING OFF

- Thereafter, you must see a message saying “The operation completed successfully”.
- Restart your computer and your job is done.
Method 7: By Using Third-Party Tools
Many third-party tools can remove the Activate Windows watermark. However, it is recommended that you do not try this and go for a genuine Windows product.
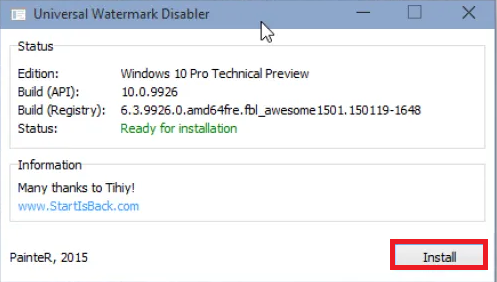
Universal Watermark Disabler (Winaero)
Winaero Universal Watermark Disabler helps to remove the Activate Windows watermark. For this, you need to download the application.
- Once you are done with the download you need to unzip the file.
- Install the application and then it will automatically make you log off.
- Restart your system and try to log back to your computer.
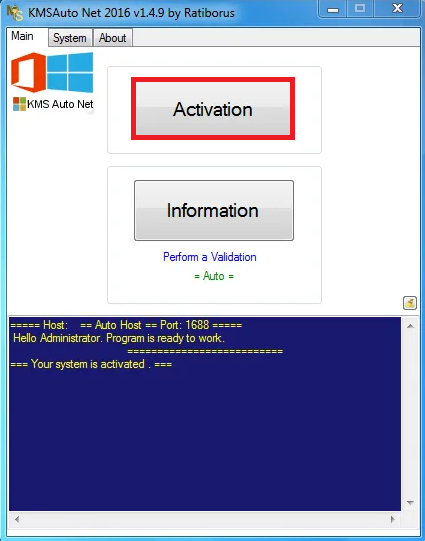
KMSAuto
With KMSAuto, you can have access to counterfeit product keys of Windows. The product even lets you activate other products of Microsoft. You can use the product in the following way –
- Install KMSAuto by downloading it.
- After the download is complete, you will have to launch the program.
- Select the option of Activation Windows.
- Your system will restart and the active Windows watermark will no longer be there.
Conclusion
We have stated all the possible methods to remove this Activate Windows watermark. Before opting for a third-party tool, you should try out all the other methods. However, it is always advisable to use an activated Windows 10 if you are working professionally to avoid legal issues.
