Ever typed a long sentence into an Excel cell and watched it disappear off the edge? Or maybe it overflows onto neighboring cells, creating a mess in your spreadsheet? This happens because Excel cells have a fixed width by default, and long text gets cut off if it doesn’t fit.
Fortunately, Excel offers a handy feature called “Wrap Text” that allows you to automatically break your text onto multiple legs within the same cell. This keeps your data readable and organized, even for lengthy entries. In this guide, we’ll explore how to effectively use the Wrap Text feature to ensure your spreadsheet remains clean and professionally formatted.
Let’s get started!!!
What Is Text Wrapping In Excel?
Text wrapping in Excel allows you to display long text within a single cell on multiple lines. Instead of text overflowing into adjacent cells, it wraps within the cell’s width, making it easier to read and manage. This is particularly useful when you have lengthy descriptions, comments, or notes that need to be contained neatly.
When you enable text wrapping in Excel, the cell automatically adjusts the text to fit within its boundaries, creating a cleaner and more organized spreadsheet. This feature not only enhances the visual appeal of your data but also helps in maintaining the structure of your worksheet. Read on to learn how to use different methods to wrap the text in excel, ensuring your data is presented clearly and professionally.
How To Wrap Text In Excel?
Wrapping text in Excel is straightforward and can be done using various methods. Whether you’re using the Excel Ribbon, shortcut keys, or the Format Cells dialog box, each approach has its own advantages. Let’sl explore each method in detail, ensuring you can wrap the text in Excel effectively.
Wrap Text Automatically Using Excel Ribbon
The most common way to enable text wrapping in Excel is by using the Excel Ribbon. This method is simple and quick, making it ideal for users of all experience levels. Here’s how you can do it:
- Select the cell or range of cells in excel where you want to apply text wrap.

- Go to the Home tab on the Ribbon.
- In the Alignment group, click on the Wrap Text button.

This will automatically wrap the text within the selected cells, adjusting it to fit within the cell’s width.

Wrap Text Using Shortcut Keys
For those who prefer using keyboard shortcuts, Excel provides a convenient way to wrap text using a combination of keys. Here’s how:
- Open an Excel spreadsheet and select the cell or range of cells, where you want to wrap text.
- Press Alt + H + W on your keyboard.
Using this shortcut in Excel can save time, especially when working with large datasets.
Wrap Text Using Format Cells Dialog Box
For more control over text wrapping in Excel, you can use the Format Cells dialog box. This method allows you to adjust various formatting options along with enabling text wrapping. Follow these steps to wrap text using the Format Cells dialog box:
- Highlight the cell or range of cells where you want to enable text wrapping in Excel.
- Right-click on the selected cell(s) and choose Format Cells from the context menu. Alternatively, you can press Ctrl + 1 to open the dialog box directly.

- In the Format Cells dialog box, switch to the Alignment tab.
- Check the box next to the Wrap text under the Text control section.

- Confirm your settings by clicking OK.
The text within the selected cells will now wrap automatically, adjusting to fit within the cell’s boundaries. Using the Format Cells dialog box not only enables text wrap in Excel but also provides additional formatting options. For instance, you can adjust the text alignment, orientation, and other cell attributes, making it a versatile tool for customizing your worksheet.
Wrap Text By Insert Line Breaks Manually
Sometimes, the automatic text wrap in Excel doesn’t place breaks where you’d ideally want them, or you may need to format certain texts uniquely within a single cell. In these cases, inserting line breaks manually allows you to have complete control over where the text wraps. Here’s how to manually insert line breaks:
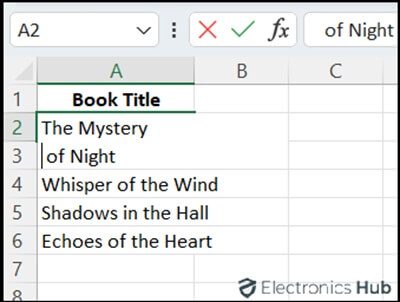
- Enter Edit Mode by double-clicking on the cell where you want to adjust the text or press F2 to start editing the cell directly.
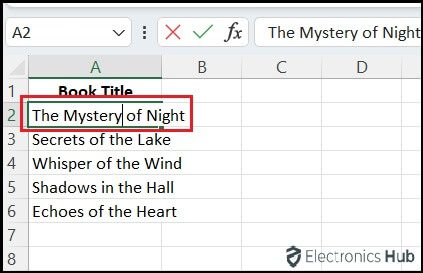
- Place the cursor to the exact point in the text where you want the new line to begin.
- Press Alt + Enter. This will create a line break at the cursor’s location, forcing the text to wrap to a new line within the same cell.
 This method is time-consuming but manually inserting line breaks gives you the flexibility to format the text in a way that automated wrapping cannot achieve.
How To Wrap Text In Excel Mobile?
Wrapping text in the mobile version of Excel follows a slightly different process but is just as easy as the desktop version. Whether you’re working on an iPhone or an Android, Excel wrap text capabilities ensure that your data remains clear and accessible, even on smaller screens. Here’s a step-by-step guide to managing text wrapping on mobile devices:
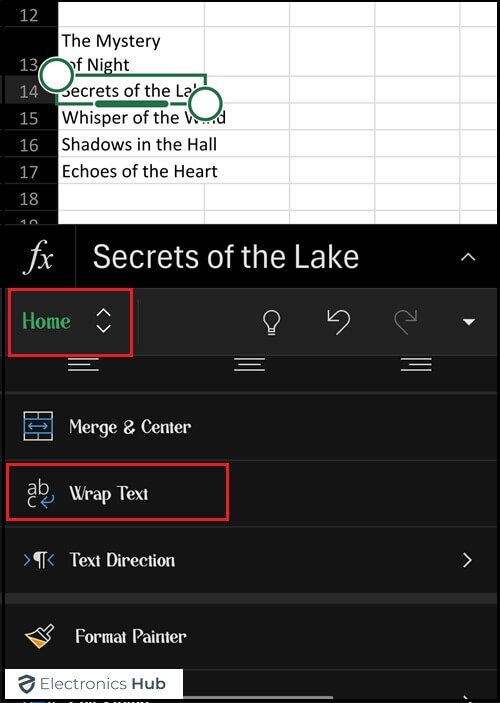
- Tap on the cell or cells where you want the text to wrap.
- Click on the dropdown arrow located in the bottom right corner of your device

- From the menu, switch to the Home tab. This tab contains various formatting options similar to those on the desktop version.
- In the Home tab, scroll down to find the Wrap Text option. Tap on it to enable text wrapping in the selected cells.
How To Unwrap Text In Excel?
If you no longer need the text to wrap within a cell, unwrapping text in Excel is a simple process. Here’s how you can do it:
- Highlight the cell or range of cells in Excel where you want to remove text wrapping.
- Click the Wrap Text button in the Home tab again to toggle it off.
Alternatively, you can also use the following methods,
- Keyboard Shortcut: You can also use the shortcut Alt + H + W to toggle text wrapping.
- Format Cell Dialog Box: Right-click on the selected cells, choose ‘Format Cells,’ and then uncheck the box next to ‘Wrap Text’ to turn it off.
Troubleshooting Tips If Wrap Text Feature Not Working
Even when you know how to wrap the text in Excel, you might occasionally encounter issues where the text doesn’t wrap as expected. Here are some troubleshooting tips to help ensure the wrap text feature works correctly in your spreadsheets:
- Check Row Height: Sometimes, a fixed row height can prevent text from wrapping correctly because the row doesn’t expand to accommodate the wrapped text. To adjust this, right-click the row number, select “Row Height,” and then set it to “AutoFit.”
- Check If Cells Are Merged: Wrap text in Excel does not work on merged cells. If your text isn’t wrapping, check to see if the cells are merged. If they are, you might need to unmerge them by selecting the cells, going to the Home tab, and clicking “Merge & Center” to toggle it off.
- Cell Is Not Wide Enough: Ensure the cell is wide enough to allow for text wrapping. If the cell is too narrow, the text may not wrap effectively. Adjust the column width by dragging the boundary on the right side of the column header, or double-click it to auto-fit the content.
- Alignment Is Set to Fill: If the horizontal alignment of a cell is set to “Fill,” text wrapping might not work as expected. Check the alignment by right-clicking the cell, selecting “Format Cells,” and then navigating to the “Alignment” tab. Make sure the alignment is set to “General” or another option besides “Fill.”
- Text Format Issues: Check the format of the cell. If a cell is formatted as ‘Text,’ and it contains very long text, Excel might not wrap it properly. Convert the format to ‘General’ by right-clicking the cell, selecting ‘Format Cells,’ choosing ‘General’ under the ‘Number’ tab, and then reapplying the wrap text.
- Cell Padding and Indentation: Excessive padding or indentation might affect text wrapping. Reduce padding or indentation by selecting the cell, then adjusting the indentation settings under the ‘Alignment’ tab in the ‘Format Cells’ dialog box.
FAQs:
Using text wrapping in Excel helps maintain a clean and organized worksheet by keeping text within the confines of a cell. It improves readability by preventing text overflow into adjacent cells. Additionally, it allows for better presentation and formatting of data without altering the cell size excessively.
Yes, wrapping text can affect the layout of your printed document. Ensure that all text is visible and well-spaced in your document preview before printing to avoid cutting off any wrapped text.
Wrap text breaks long strings of text into multiple lines within a cell, increasing the cell’s height. “Shrink to fit” scales down the text size to fit the content within the cell without altering the cell dimensions, which might make the text too small to read if there’s a lot of content.
Resizing a cell after enabling text wrap will adjust the text distribution within the cell. If you increase the width, the text may occupy fewer lines, and if you decrease the width, it may spread over more lines.
If text overflows even after applying wrap text, check if the row height or column width is manually set to a specific dimension. Adjust these by dragging the row or column borders or use “AutoFit Row Height” and “AutoFit Column Width” for automatic adjustment.
Conclusion
No more disappearing text or messy overflows! By using the Wrap Text feature in Excel, you can ensure your data is clear and readable, even for long entries. This simple technique keeps your spreadsheets organized and professional-looking. So next time you’re working with lengthy text in Excel, remember the power of Wrap Text! Let us know in the comments if this guide is helpful!!!
