Copper pipes have been used in plumbing for a long time due to their durability, flexibility, and ease of installation. Besides, they are also environmentally-friendly, and you can recycle them. But their durability does not mean they are immune to damage. They get corroded due to high water pressure and chloramines present in the water system. Hence, it becomes important to know how to solder the copper pipes.
Soldering a copper pipe is just like soldering any two metals. The main thing is to choose the right kind of flux and solder. Besides, you need to know how to prepare the pipe and the fitting before you solder them together.
The following article explains the process of soldering copper pipes and the necessary materials required.
Tools Required for Soldering Copper Pipe
Below is the list of tools and materials required to solder the copper pipes. The best thing is you can get these items from any hardware store.
- Torch: You can get a basic torch if you are using it for personal purposes. For commercial purposes, you can get an advanced model with extra features.
- Pipe Cutter: A pipe cutter or hacksaw is essential for preparing copper pipes.
- Fuel: You can either use propane gas or MAPP gas as fuel. We recommend you go with MAPP gas. It is efficient and heats up the joint quicker than propane gas.
- Flux: The primary purpose of flux is to prevent the filler material and base metal from oxidizing when you are soldering it. There are different types of flux available. You can get one depending on your choice.
- Solder: Solder, also known as the filler material, melts and holds the two pieces of metal together. As per the plumbing code, you should not use a 50/50 solder as it contains lead. We recommend you use a 95/5 solder. Or else, you can use any solder that is lead-free.
- Lighter: Some torch models will come with a built-in lighter. If your torch does not have this, you have to get a separate lighter to light the torch.
- Cleaning Accessories: Besides these, you also need wire brushes, sandpaper, and a rag to clean the metals before and after soldering.
How To Solder Copper Pipes?
Below is the step by step process on how you should correctly solder copper pipes.
Step 1: Assemble all Necessary Equipment
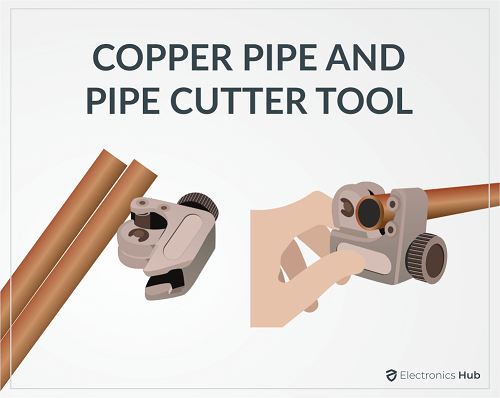
Take the copper pipes, copper fittings, and a cutter tool.
Step 2: Prepare the Copper Pipe
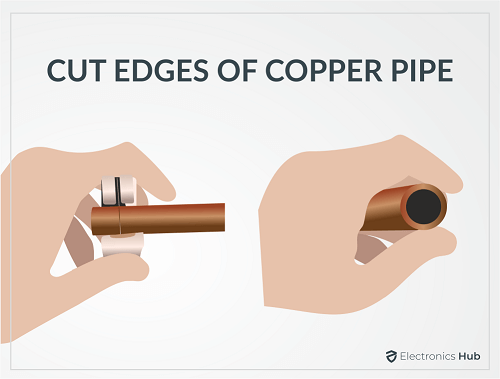
Cut the edges of the copper pipe with the cutting tool.
Step 3: Clean and Smoothen the Inside of Fitting
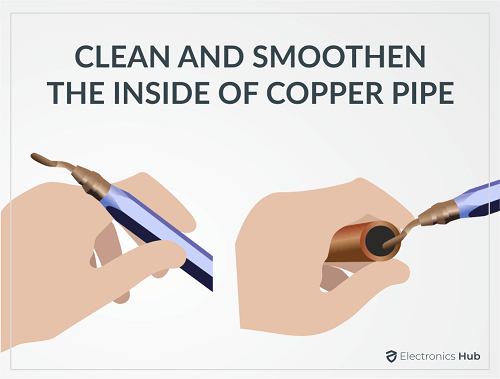
Using a deburring tool, smoothen the inner surface of all the copper pipes and copper fittings.
Step 4: Clean Copper Pipe with a Metal Brush
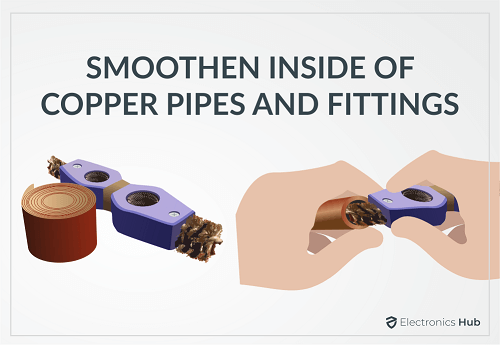
Using a wire brush, you have to clean the inner surface of each fitting. Ensure that you remove dust and other debris from the internal surface of the fittings. Also, smoothen the rough edges of the fittings using a pair of pliers.
Step 5: Clean Outer Surface of Pipe
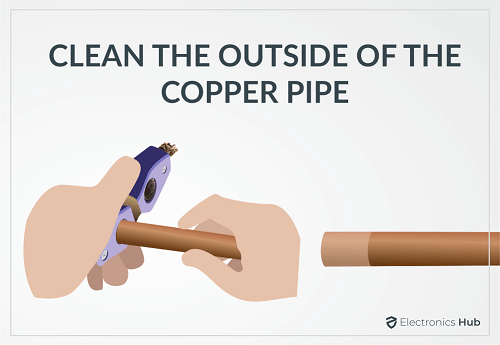
Similarly, clean the outer surface of the pipe. You can use either emery cloth or steel wool for this purpose.
Step 6: Apply Flux on Pipe
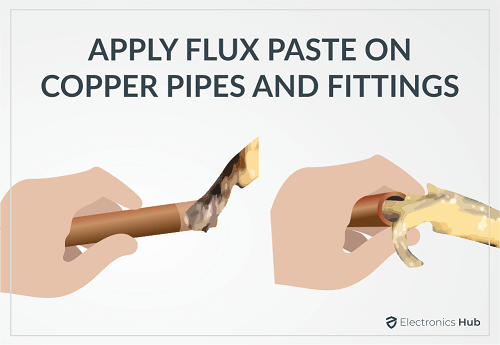 Once you have cleaned the pipe, apply flux to the pipe end using a flux brush. Depending on your local regulation, you can use rosin flux, water-based flux, or petrolatum paste flux. You should apply the flux to cover 1 inch of the pipe.
Now, insert the pipe into the fitting. The pipe should hold firmly within the inner surface of the fitting. Then, spread the flux by twisting the pipe.
Step 7: Take Solder Wire and Bend It
Extend wire up to 10 inches from the spool. Now, you have to bend the first two inches of the wire at an angle of 90 degrees.
Step 8: Heat using a Torch
Heat the middle part of the fitting for 4 to 5 seconds using a propane torch. Similarly, heat the opposite side of the fitting. This will ensure the heat is distributed evenly.
Step 9: Connect Solder Wire to Pipe
 Now, touch the pipe using the solder wire. If you notice the solder melting, it is a sign that the pipe is ready to solder. Without wasting time, insert a half-inch of solder into the joint.
Step 10: Remove Excess Solder
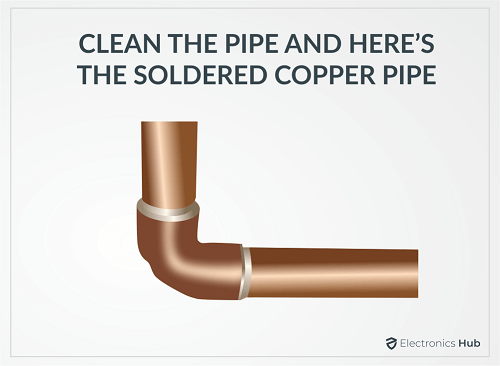 After this, remove the left-over solder using a cloth.
Allow the setup to cool for some time. Then install the pipe, turn on the water, and check for leaks. If the pipe leaks, again you have to do the same thing. If not, you are good to go.
Common Mistakes While Soldering Copper Pipes
One prevalent error is overheating, which occurs when excessive heat is applied to the joint. This can lead to several issues, including scorched flux, weakened solder joints, and even damage to the pipes themselves.
To avoid overheating, you have to use the appropriate heat setting on the torch and to heat the joint evenly and gradually.
Another common mistake is insufficient flux. Flux is essential for facilitating the flow of solder and ensuring a strong bond between the copper surfaces. Without enough flux, the solder may not adhere properly, resulting in weak or incomplete joints.
To prevent this issue, you have to apply an adequate amount of flux to the cleaned surfaces before soldering and to reapply as needed during the process.
Incorrect soldering technique can also lead to poor results. This includes using the wrong type of solder, applying too much or too little solder, or not heating the joint sufficiently.
Each of these mistakes can compromise the integrity of the joint and result in leaks or other issues. With proper training and practice, you can master soldering technique for copper pipes.
Fixing leaks is another aspect of troubleshooting in soldering copper pipes. The first step is to identify the source of the leak, which may require inspecting the entire length of the joint for any signs of damage or weakness.
Once you identify the source, you may need to be re-solder or rework the joint to secure the connection. This involves cleaning and reapplying flux to the affected area before heating and reapplying solder to create a new bond.
Conclusion
As you have seen, soldering copper is not really a difficult task. It is the same as soldering any other materials.
If you do not have any experience in soldering, we recommend you seek the services of a professional plumber. At the very least, do not do it alone. Have an experienced person alongside you while doing it for the first time.
Also, no matter how experienced you are, always keep a fire extinguisher and a first aid kit ready while soldering the copper pipes.
For any other queries or doubts, you can contact us using the comments section. My team will help you out. You can also post your thoughts and opinions in the comments box.
