If you regularly go camping, connecting your RV to a power source is essential. But, even if you get a good parking space near the electricity supply point, connecting the RV to the line can be a hassle sometimes. Sometimes, you may be parked a bit away from the point.
In such scenarios, an extension cord can come in handy. A 30 amp generator extension cord is heavy-duty, and you can extend the cord length. Even though you can purchase long extension cords, they might not be long enough or expensive. The extension cord you can buy online or from a ship are conventional models and may not be ideal for use with a generator. The best idea is to build an extension cord yourself that is compatible with your RV generator and battery.
The task may seem daunting, but it is not that complicated. You can quickly build a custom 30-amp extension cord with some basic skills, guidance, and materials. Here, you will get a basic idea of building your own 30-amp extension cord.
What is a 30-Amp RV Extension Cord?
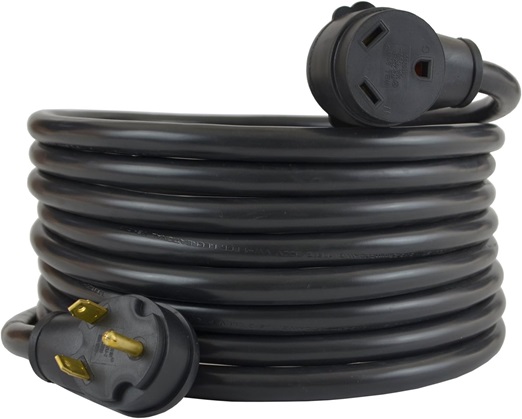 A 30 amp extension cord for an RV is a cord rated 30 amps that is used to connect your RV to the power outlet of the camp ground.
How Do You Make a 30-Amp RV Extension Cord?
1. Design and Trim the Cable
If you are building an extension cord, you must first decide on the length. You can go for 50 ft, 100 ft, or longer, as per your preference. Usually, cables of these lengths are readily available to build the extension cord. But, if you are making a custom length, you must buy and trim the cable.
While 10 gauge wires are labeled for 30 amps, you can go with 8 gauge wire as when the length extends more than 100 ft; the power drop makes it ideal for 8 gauge wire also.
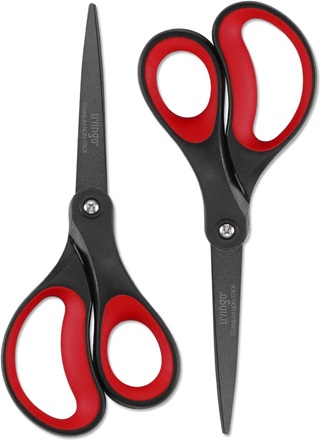
Now, trim the insulation at the ends of the cable with the help of scissors or even wire strippers. Make sure to strip the insulation to at least 2.5 inches at the ends. You need to strip the insulation at both ends of the wire.
2. Separate Each Wire
Now, you need to operate the three wires inside the cable. You need to carefully strip each wire for 1⁄4 inch at both ends.
Now, twist the exposed ends at the end of the cord tightly.
3. Attach the Wires to Terminals
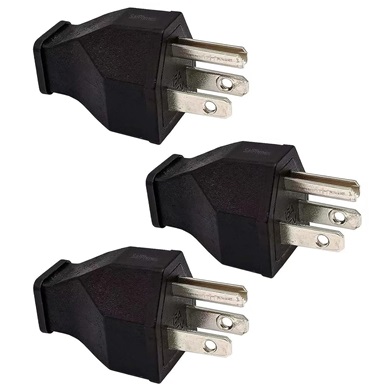
Now, you need to take the plug. It is always better to buy a plug with internal marketing that makes assembling them easier.
Open the plug head with the help of a screwdriver. You need to keep the screws of the plug aside as you will need the screws again to attach the plug later.
Attach each wire to its respective terminals. Most plugs come with prongs at the terminals. You need to loosen the screws at those prongs. It will allow you to attach the wires easily.
Usually, the plugs come with color-coded prongs. You will find that the black (hot) prong is a bit larger than the white (neutral) and the green (ground) prongs.
You need to insert the wires so that no exposed copper part remains unused. Attach the prongs in their proper place- black on the left, green in the center and white in the right slot.
Now, take the open cover of the plug and attach it to the place. After that, take the screws and screw these in their places to reattach the plug properly.
4. Attach the Wires to the Outlet
Now, you need to remove the outlet and unscrew the outlet box with the help of a screwdriver. Usually, outlet boxes come with only one screw.
After that, remove the knockout inside the box.
In most outlet boxes available in the market, the base of the strain relief is found in the raised edge of the knockout. Screw holes will be present there.
First, slightly tighten the screw and then attach the strain relief clip base.
5. Insert the Wire into the Outlet
Take the other end of the cord and pass the wires through the opening. You will find that the same color coding is present- black for hot, white for neutral, and green for ground.
The terminal also has prongs similar to the plug. Slowly unscrew the terminals and securely attach the wires in their rightful place.
After that, attach the upper part of the strain relief clip.
Screw the box and ensure that the wire is not moving or is loose inside the wire.
Required Tools For a 30-Amp Extension Cord
Here are some tools and materials that you need to build-
1. Gloves
2. Knife

3. Screwdriver
4. Paper Cutter/ Wire Stripper
5. Scissor
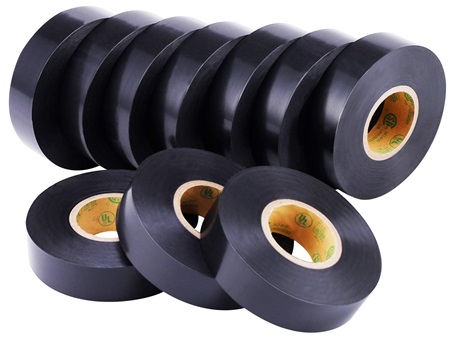
6. Electrical Tape
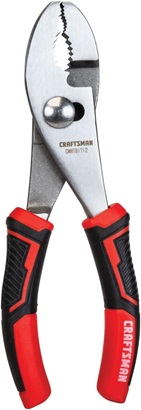
7. Pliers
8. Male Plug
9. Square Box
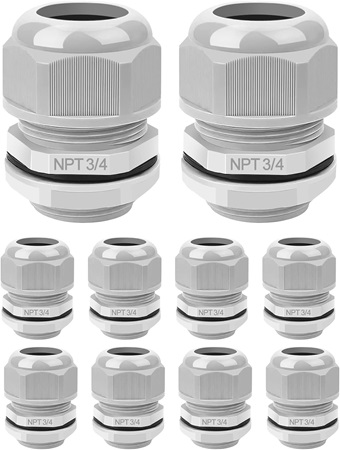
10. Strain Relief Box Connector
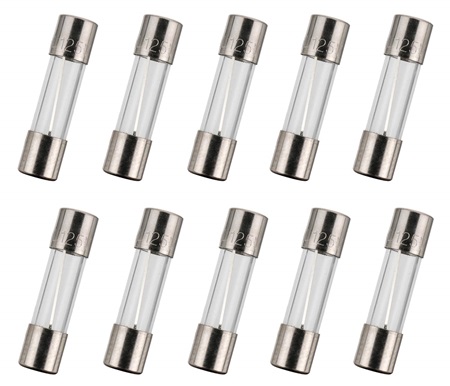
11. Fuse(compatible with 30-amp current)
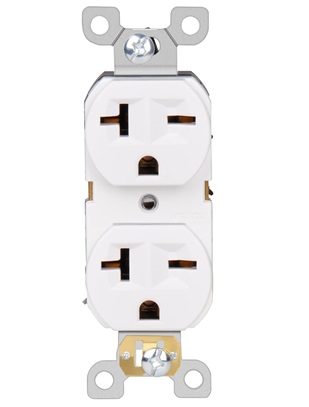
12. Two Receptacles
Need of a 30-Amp Extension Cord
A 30 amp extension cord connects the RV or any camping van with the power source in any camping ground. Usually, a camping ground may come with limited power outlets. If you use multiple gadgets, you will need more outlets. An extension cord offers you multiple power outlets at once. It allows you enough space to run multiple gadgets without any hassle.
How Do You Use a 30-Amp Extension Cord?
You need to plug it into the outlet available at the campground. Before that, slowly uncurl or unroll the length of the cord and place the extension outlet box where you intend to use your gadgets.
Always keep the cords away from water or animals, and avoid placing them on damp grounds. Also, place the cord in a place with fewer footfalls.
30 Amp RV Extension Cord – FAQs
Ans: First, set up the cord when the power is not turned on; also, avoid placing the cord in an outlet where the hole is too tight or loose. Avoid water while using the cord and overloading it above the limit.
Ans: You can use a multimeter to ensure the wiring is complete and it fits the RV plug socket. You can also check the capacity of the cord by attaching it to the 30 amp power source and check if it trips or overheats with time.
Ans: You can repair or modify the cord with proper tools. You can do minor works like plug replacement or repairing a cut wire. But if the wire is heavily damaged, you must replace the cord.
Ans: Yes, because coiling or uncoiling an extension cord thoroughly before using it prevents overheating and adequately supplies power without any issues. Always uncurl the wire while using it, and make sure to curl it after you unplug it.
Conclusion
Using a 30 amp RV extension cord can be helpful if you need to use multiple gadgets or use your RV on a camping ground. It is easy to build a customized RV extension plug if you want to customize the length. You can use this article as an essential guidance to start the project!
