Tired of manually sorting your Google Sheets every time you add new stuff? As your datasets grow, maintaining order can become a tedious and time-consuming task. New entries can disrupt your organization, requiring frequent resorting that hinders efficiency. Fortunately, Google Sheets offers two methods to automate this process: the SORT function and custom scripts. Whether you prefer a formula-based approach or are comfortable with a bit of coding, this guide will walk you through both methods, empowering you to choose the solution that best suits your comfort level and technical expertise. Let’s get started!!!
How To Sort Data In Google Sheets?
As we all know, sorting Google Sheets data is essential for keeping your information organized and accessible. Whether you’re dealing with a single column or multiple columns, understanding the basics of sorting data can significantly improve your workflow and data management. Before we continue with the methods of automatically sorting data in Google Sheets, let’s first explore how to perform basic sorting operations by using the data menu.
1. Sorting Data Using Data Menu
Sorting Google Sheets data using the Data menu is a straightforward and efficient way to organize your spreadsheet. Whether you need to sort a single column or sort by multiple columns, the Data menu offers the tools you need to get the job done efficiently. Here’s how to get it done:
a. Sort Data Based on Single Column
- Access Spreadsheet: Open your Google spreadsheet.
- Select the Range to Sort: Select the range you want to sort by dragging to highlight it. You can also select an entire column by clicking on the column letter.
- Access the Data Menu: Navigate to the top of the screen and click on the “Data” menu.
- View Sorting Options: In the Data menu, you will observe two built-in options for sorting data:
- Sort sheet: Sorts all data on the sheet based on the selected column.
- Sort range: Sorts the data within a selected range based on the selected column.

- Choose a Sorting Option: Choose the option that suits your needs. For now, we will continue with the Sort range option.
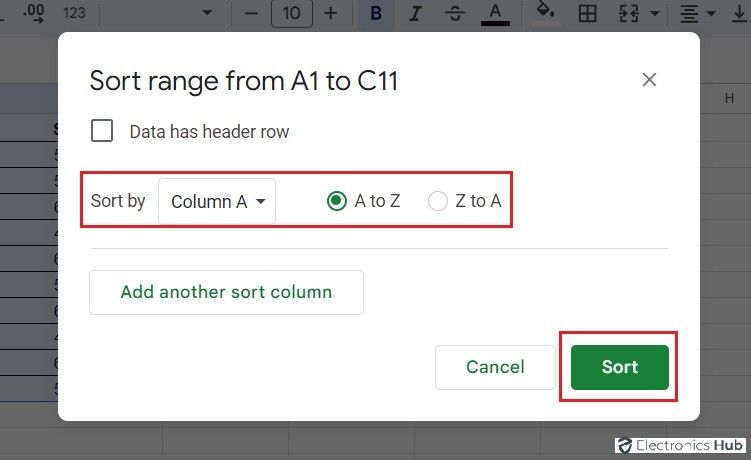
- Open Advanced Sorting Settings: This will open a side menu. Select “Advanced range sorting options” from that side menu.

- Specify the Primary Column for Sorting: Next to “Sort by“, select the primary column you want to sort.
- Select Sorting Order: Choose either “Sort range A to Z” for ascending order or “Sort range Z to A” for descending order.
- Alternative Sorting via Cell Actions: You can also sort using cell actions by right-clicking on the selected column or range, then clicking on “View more cell actions” and selecting “Sort range.” Then choose either “A to Z” or “Z to A” accordingly.
- Execute the Sort Command: Click on “Sort” once you’re done.
That’s it! This will sort all the rows in the data range based on the column you selected.

b. Sort Data Based on Multiple Columns
Now, let’s see how to sort Google Sheets by multiple columns:
- Select the data range you want to sort.
- Navigate to the “Data” menu and select “Sort range.”
- From the side menu, select “Advanced range sorting options.”
- Next to “Sort by,” select the primary column you want to sort.
- Click the “Add another sort column” button, then select the second column and so on.

- Once you’re ready to sort the data, click on “Sort” to apply the sorting criteria to the data range.
How To Sort Data In Google Sheets Automatically?
Sorting data manually can be time-consuming, especially when dealing with large datasets or frequently updated information. Fortunately, Google Sheets offers automated sorting options that help keep your data organized without constant manual intervention. In this section, we’ll explore two primary methods for automatically sorting data in Google Sheets.
Auto Sort By Using Sorting Function
Google Sheets offers a built-in function called SORT to help you automatically organize your data. This function allows you to sort your data dynamically, so it updates automatically as new data is added or changed. Here’s the formula for the sort function in Google Sheets:
For Single Column:
| =SORT(range, sort_column, is_ascending) |
Where,
- range: The range of data you want to sort.
- sort_column: The column to sort by. Columns within your range are numbered from left to right starting with 1.
- is_ascending: TRUE for ascending order, FALSE for descending order.
For Multiple Columns:
| =SORT(range, sort_column, is_ascending, secondary_column, is_ascending) |
This sorts the secondary column after the primary column. If you have more columns, mention them one after another.
Let’s walk through the steps to use the SORT function:
- Access Google Sheet: Open your Google spreadsheet and select the cell where you want the sorted data to appear.
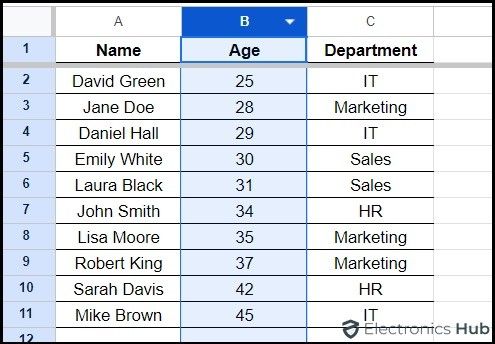
- Enter Auto Sort Formula: Enter the SORT formula with the appropriate parameters. For example, to sort data in the range A2:C11 by the first column in ascending order, you would use:
| =SORT(A2:C11, 1, TRUE) |

- Click Enter: Press Enter to apply the formula.

- The sorted data will appear in the selected cell range, and it will automatically update whenever the original data changes.
Auto Sort By Using Macros
You can also use macros to automate the sorting process in Google Sheets. Macros allow you to record a series of actions and then play them back with a single click, making it easy to handle repetitive sorting tasks. Here’s how to do it:
- Open your Google spreadsheet.
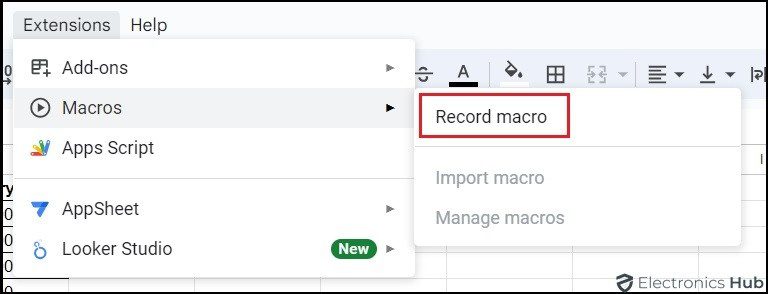
- Access the Macros Feature: Navigate to the “Extensions” menu and select “Macros.”

- Start Recording the Macro: Click on “Record macro.”
- Record Sorting Steps: Perform the sorting steps you want to automate, which we discussed earlier. This includes selecting the range, going to the “Data” menu, and choosing your sorting options.
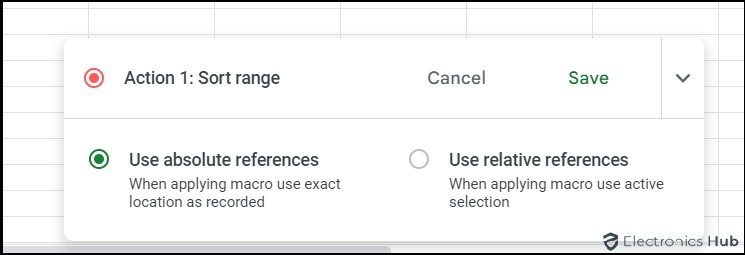
- Save and Name the Macro: Once you’ve completed the sorting steps, click “Save” and give your macro a name.

- Run Your Macro: To run the macro, each time you open the spreadsheet, go to “Extensions,” select “Macros,” and choose the macro you created. This will apply the sorting steps you recorded.

However, running the macro manually every time you open the spreadsheet can be cumbersome. Instead, you can automate the running of the macro each time you open Google Sheets. Here’s how
- Manage Macros: Select “Manage macros” in the Macros side menu.
- Choose Edit Script: In the Manage macros section, click on the three vertical dots next to your macro and select “Edit script” from the options.

- Google Apps Script: Macros actually record Google Apps Script. By selecting “Edit script,” you will navigate to the code that was generated during the macro recording.
- Set Up Triggers: In the script window, select the trigger icon, indicated by a clock on the left side. Then Select “Add Trigger” located in the bottom right corner.

- Configure the Trigger Settings:
- Select your named macro in the “Choose which function to run” section.

-
- Scroll down and click on the “Select event type” drop-down menu, and select the “on open” option. By selecting this option, each time you open the spreadsheet, the macro will automatically run.
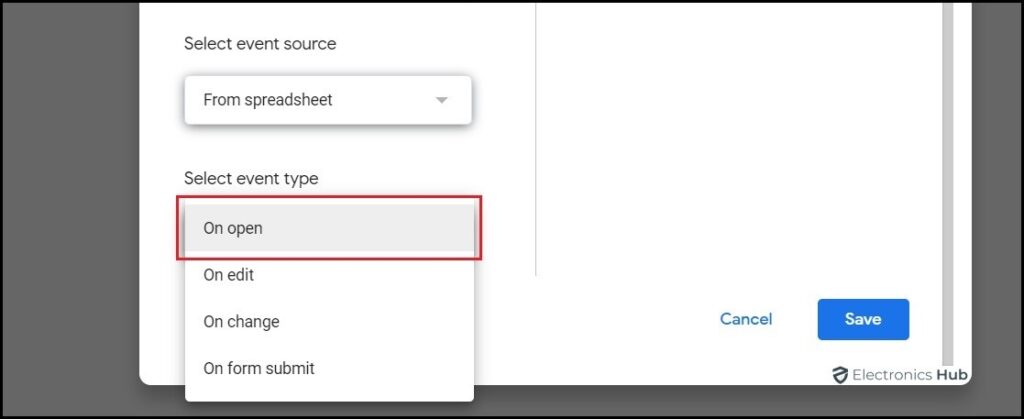
- Save Trigger Configuration: Click “Save” to finalize the setup.
How To Sort By Number In Google Sheets?
Google Sheets isn’t just for sorting data alphabetically; you can also sort numbers in Google Sheets. This is handy for organizing number-heavy datasets like finances or sales. The process for sorting by number is almost similar to basic sorting, and it’s easy to accomplish.
To sort numbers in Google Sheets, follow these steps:
- Open Google Sheet: Open your Google spreadsheet and select the column with the numbers you want to sort.
- Access the Data Menu: Navigate to the “Data” menu at the top of the screen.
- Choose Sort Option: Select “Sort sheet” from the menu.
- Select Sorting Order: From the side menu, select either “Sort sheet by [selected-column], A to Z” if you want to sort in ascending order (lowest to highest), or select “Sort sheet by [selected-column], Z to A” if you want to sort in descending order (highest to lowest).

How To Sort Google Sheet By Date?
In a similar way to sorting Google Sheets by number, you can also sort your data by date.
- Select the column containing the dates you want to sort.
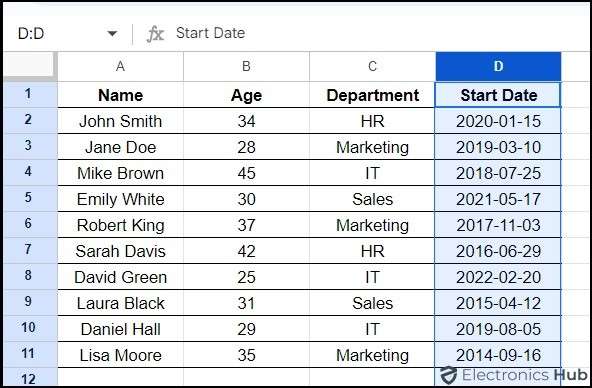
- Go to the “Data” menu.
- From the menu choose “Sort sheet“.
- Select Sort sheet by [selected-column], A to Z or Sort sheet by [selected-column], Z to A accordingly.

How To Sort Data By Color in Google Sheets?
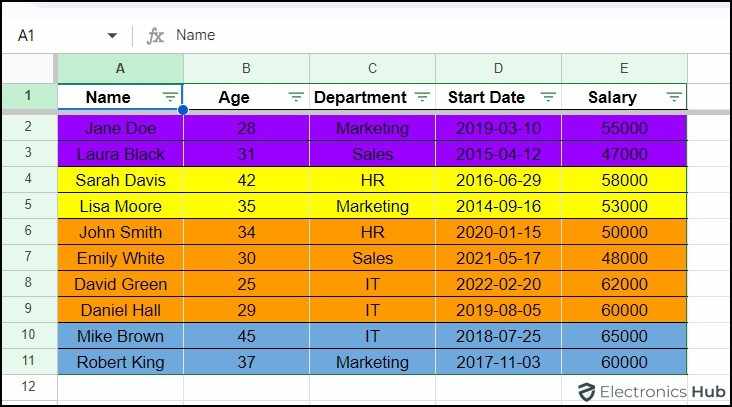
Google Sheets offers built-in functionality to sort data by color, for both fill color and text color. It helps you quickly group and analyze your data based on the visual cues you have set. Here’s how to achieve it:
- Select the range of data you want to sort by color.

- Navigate to the “Data” menu at the top of the screen.
- Select “Create a filter.”

- Click on the filter icon in the column header where you have applied color.
- In the filter options, go to “Sort by color.”
- Choose “Fill color” or “Text color” depending on your sorting preference, and select the color.

- This will sort the rows according to the color you selected.
For the rest of the colors in your data, you’ll need to repeat the sorting process for each color.
By integrating these sorting methods into your workflow, you can efficiently manage and organize your data in Google Sheets, whether you’re looking to sort alphabetically in Google Sheets, by number, by date, or by color. These automated and manual sorting options not only enhance data accessibility but also significantly boost your productivity by reducing the time and effort spent on manual data organization.
FAQs:
Automatic sorting in Google Sheets refers to the process of organizing data in a specific order (e.g., ascending or descending) automatically whenever data is added or modified. This is often achieved using formulas or Google Apps Script to ensure the data remains organized without manual intervention.
The primary limitation is that using formulas can sometimes slow down the performance if you’re working with a very large dataset. Also, automatic sorting through scripts requires basic scripting knowledge and might not trigger instantly with every single data change.
Yes, you can disable automatic sorting by removing the SORT function or deleting the Google Apps Script associated with sorting. Remember to backup your data or test changes in a copy of your spreadsheet to prevent data loss.
If your automatic sorting isn’t doing what it should, start by reviewing your script for any errors. Make sure the onEdit trigger is properly set up. Check if your sorting logic matches how your data is organized. Also, look into any data validation problems or format differences that could be messing with the sorting.
Sorting rearranges the data in your sheet based on specified criteria, such as alphabetical order or numerical values. Filtering, however, does not rearrange the data; instead, it temporarily hides data that does not meet certain criteria, allowing for a focused view of the data.
Conclusion
No more spreadsheet sorting struggles! This guide covered everything you need to go from manual sorting pain to automated sorting gain. With a few simple clicks or formulas, you can keep your data organized, saving you tons of time. Choose the method that best fits your data. Let us know in the comments if this guide is helpful!!!
