Consider the following scenario: you are driving through an intersection when another car runs a red light and collides with your vehicle. Despite the fact that you had a green light, the other driver argues you were at fault. Fortunately, your dash cam captured the entire incident, proving the other driver’s error. This video evidence is critical in demonstrating your innocence and accelerating the insurance claim procedure, saving you time and potentially financial losses.
A dash cam, or dashboard camera, is a small video camera that is put on a vehicle’s dashboard or windshield to record video and audio while driving. Dash cams have grown in popularity for a number of reasons, offering a variety of benefits to drivers. Dash cams are extremely useful for filming accidents and providing proof in the event of a dispute. They document the events preceding a collision, assisting insurance companies and law enforcement authorities in determining culpability.
Having clear video proof of an accident might help speed up the insurance claims process. It aids in the establishment of the sequence of events and can help to prevent fraudulent claims. When the car is parked, dash cams can deter vandalism and theft. Some dash cams include a parking mode that records whether the vehicle is bumped or tampered with while parked.
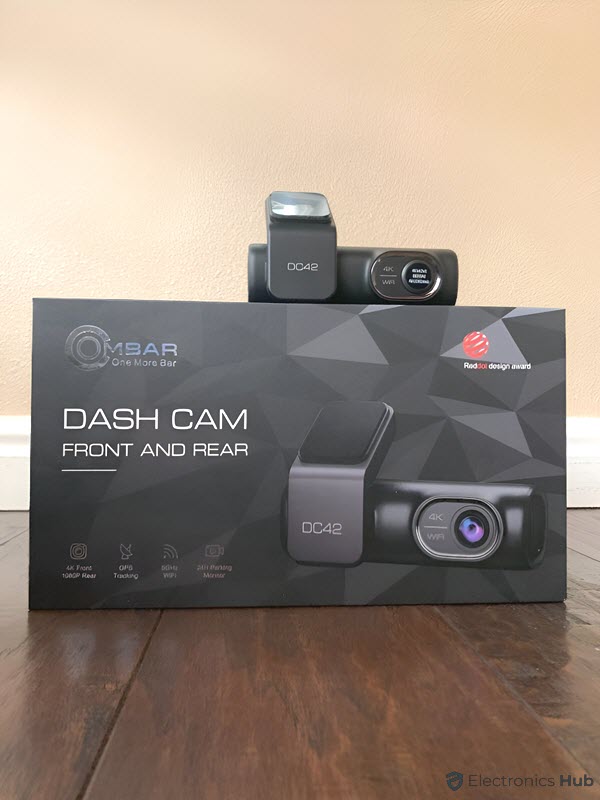
We recently had an opportunity to test a new dash cam in the market; the Ombar DC42 Front and Rear Dash Cam. As the name suggests, the kit has cameras for both front and rear recording. The front camera can record in 4K while the rear camera maxes out at 1080P. The Ombar Dash Cam has a lot of interesting features such as built-in GPS, dual band Wi-Fi, G-Sensor, Parking Mode (which needs an optional hardwire kit accessory), and many more.
This is the review of the Ombar Dash Cam DC42. In this review, we would like to share our experiences of installing and using the product. We will cover the ease of installation, quality of the product, performance of the cameras, smartphone app, and many more. Continue reading the review if you are looking for a decent dash cam kit for your car or truck.
We will begin the review by unboxing the package and taking a look at all its contents. Opening the box, we have the two camera modules on the left. They are neatly wrapped in plastic bags. The main camera module (the front dash cam) comes with a microSD card already inserted in its slot. We will take a closer look at both these camera unit in the next section.
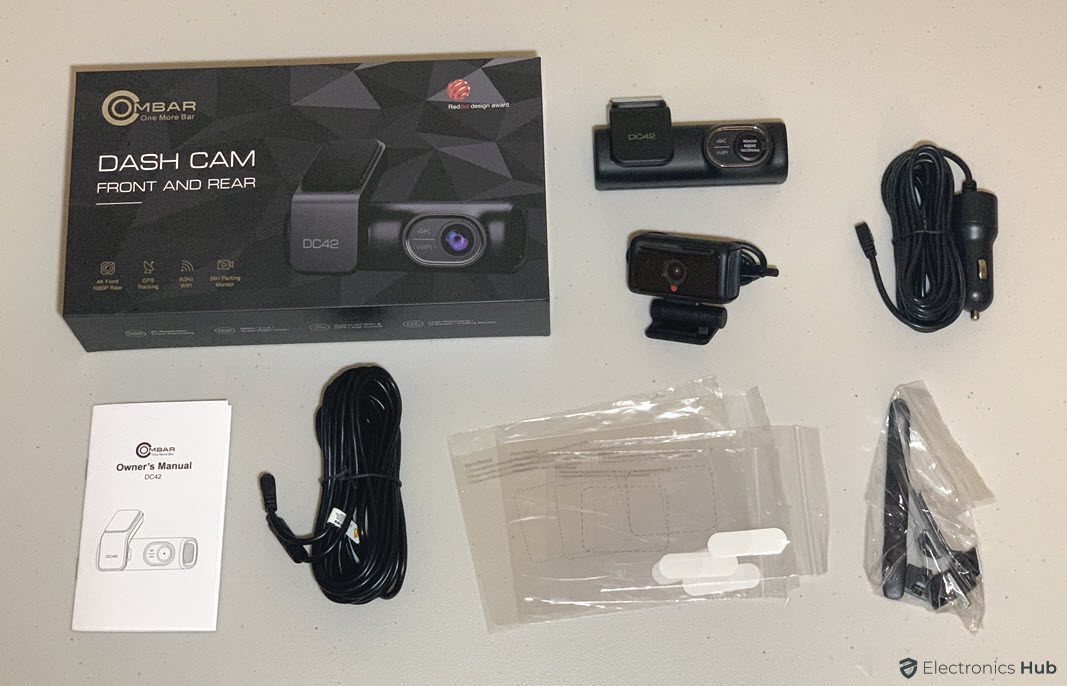
Continuing further, the right side of the package has a small pouch with user manual in it. We definitely recommend reading this as it has a lot of useful information on the dash cam. Just below the pouch, there is a box containing some accessories. The first is the main power cable with Micro USB connector on one end and a cigarette lighter adapter on the other. Next is the extension cable for connecting the rear camera.
There is small zip lock bag that contains a pry tool, a bunch of cable clips and a couple of spare double-sided tapes. Underneath all these boxes and protective foam, there are some electrostatic stickers for front as well as rear cameras. That’s it for the unboxing. Let us look at the design of both the cameras in the next section.
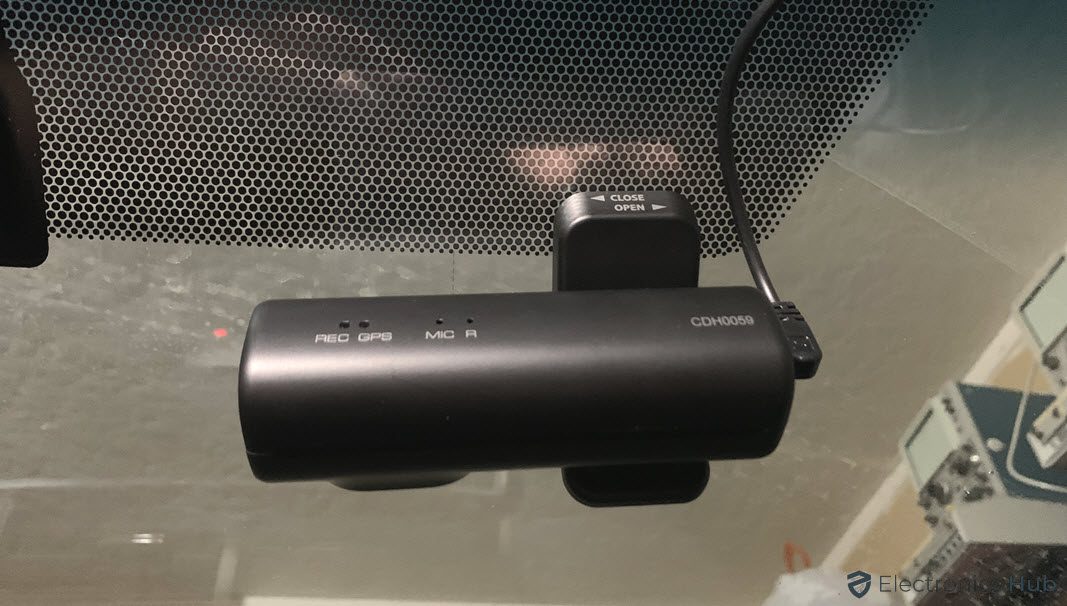
The main Ombar Dash Cam is a compact unit and the main camera section looks like a small flash light. It got a Reddot Design Award. The camera is on the front side of the body with the mounting section just left to it (when the camera is facing us). With the camera facing away from us, the right side of the Ombar Dash Cam has the microSD Card Slot with the card already installed, a Micro USB port for charging and data transfer, an AV port for connecting the rear camera, and a multifunction button.
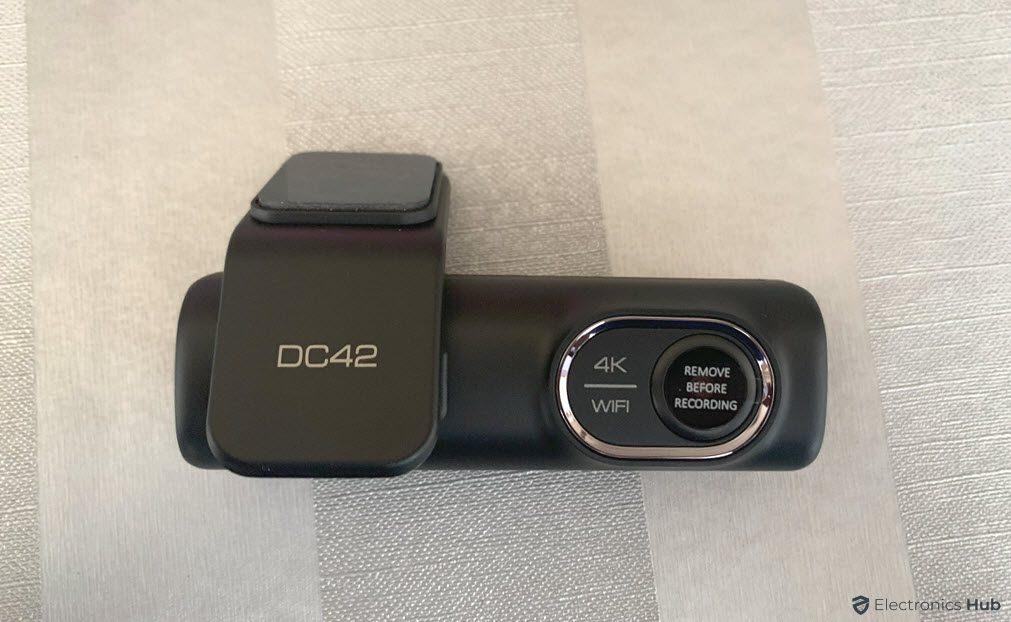
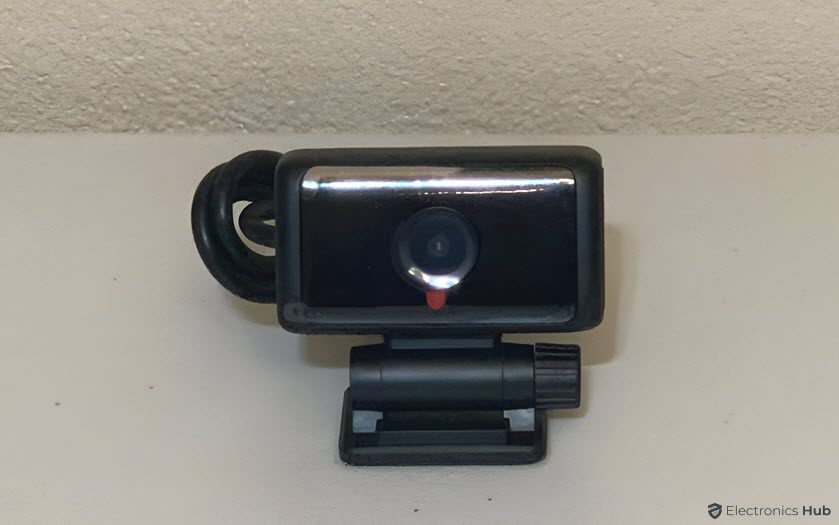
On the right side, there is an opening for the speaker. The back has a couple of LEDs for indicating recording and GPS. It also has a couple of holes/openings for microphone and reset. The rear camera looks like a mini action camera. It has the mounting section at the bottom with an option to adjust the angle of the camera. There is a small cable coming from the rear camera and we have to use the extension cable to properly connect the camera to the main unit.
On a whole, the design of both the cameras in the Ombar Dash Cam kit is minimalistic and compact. An important thing about this dash cam is it doesn’t have a screen. So, you have to use the smartphone app to access the footage or even adjust the settings. Under the hood, the main Ombar Dash Cam uses a combination of Novatek NT96670 Chipset and Galaxycore GC4653 Image Sensor. We will talk about these two in the performance section of the review.
If you have any prior experience installing dash cams, then installing the Ombar Dash Cam will not be any different. Even if you aren’t familiar with dash cams, the installation process is very simple. You can watch a couple of videos online to get yourself familiar.
That said follow these steps to install the Ombar Dash Cam for best placement and operation. Clean and dry the windshield completely before installation to remove any dust and/or debris. Begin by positioning the front camera behind the rearview mirror and the rear camera at the top of the back windshield, ensuring the driver has a clean field of vision.
Turn off the engine and gently slide the supplied 64GB SD card into the corresponding slot until it locks into place (if it is not already installed). Find an appropriate, non-obstructive location for the dash cam on the windshield. Attach the electrostatic sticker to the windshield after peeling off the protective layer to avoid stains or glue residue. Attach the front camera to the electrostatic sticker with double-sided tape and rotate the camera body to adjust the lens angle. We have to repeat the same for the back camera. While installing the wire of the rear camera or the power cable of the front camera, you have to use the pry tool that came in the package to slide these cable under the rubber window sealant or the headline trim.
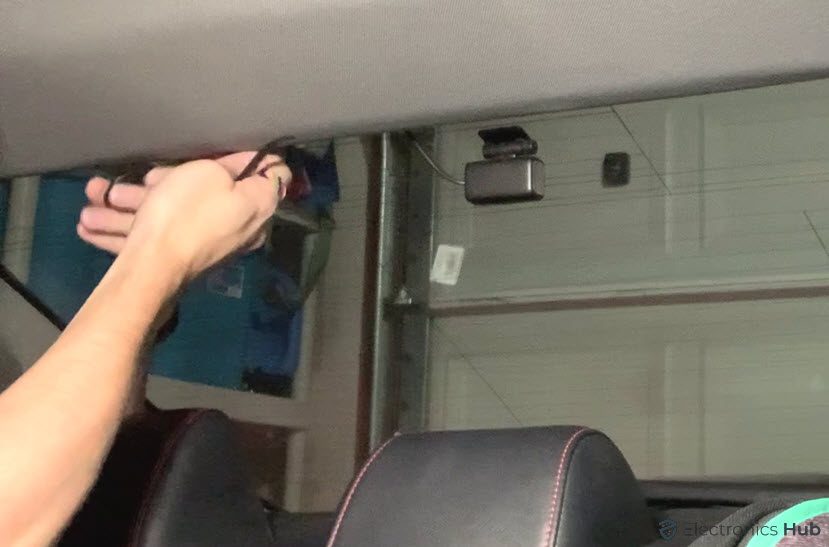
You can adjust the rear camera by loosening the screw at the bottom and position the lens angle. We can connect the front and rear cameras and plug in the cigarette lighter power cord to power the camera unit. When you start the engine, the dash cam will turn on and begin recording. The microSD card will hold video files. When you switch off the engine, the dash cam will stop recording and power off.
The entire installation process was very simple and took less than 30 minutes before the cameras were up and running.
So, was the performance of the Ombar Dash Cam? After installing the dash in our car, we tested it extensively during daytime as well as nighttime. As the cam came with a 64GB microSD card, we used the same card for all the testing. Let us start with the daytime performance of both the cameras. In good lighting conditions (artificial or sunlight), the Ombar Dash Cam has very good quality. The main camera can record in 4K and the footage looks really good even with 170° FOV. The Galaxycore GC4653 Sensor is not a new equipment as it is quite popular in several low-cost action cams. So is the Novatek NT96670 SoC. This combination works well in daytime conditions. Sadly, the dash cam can record only in 25FPS.
NOTE: We’ve compressed the following images to fit them here and even reduce their size.
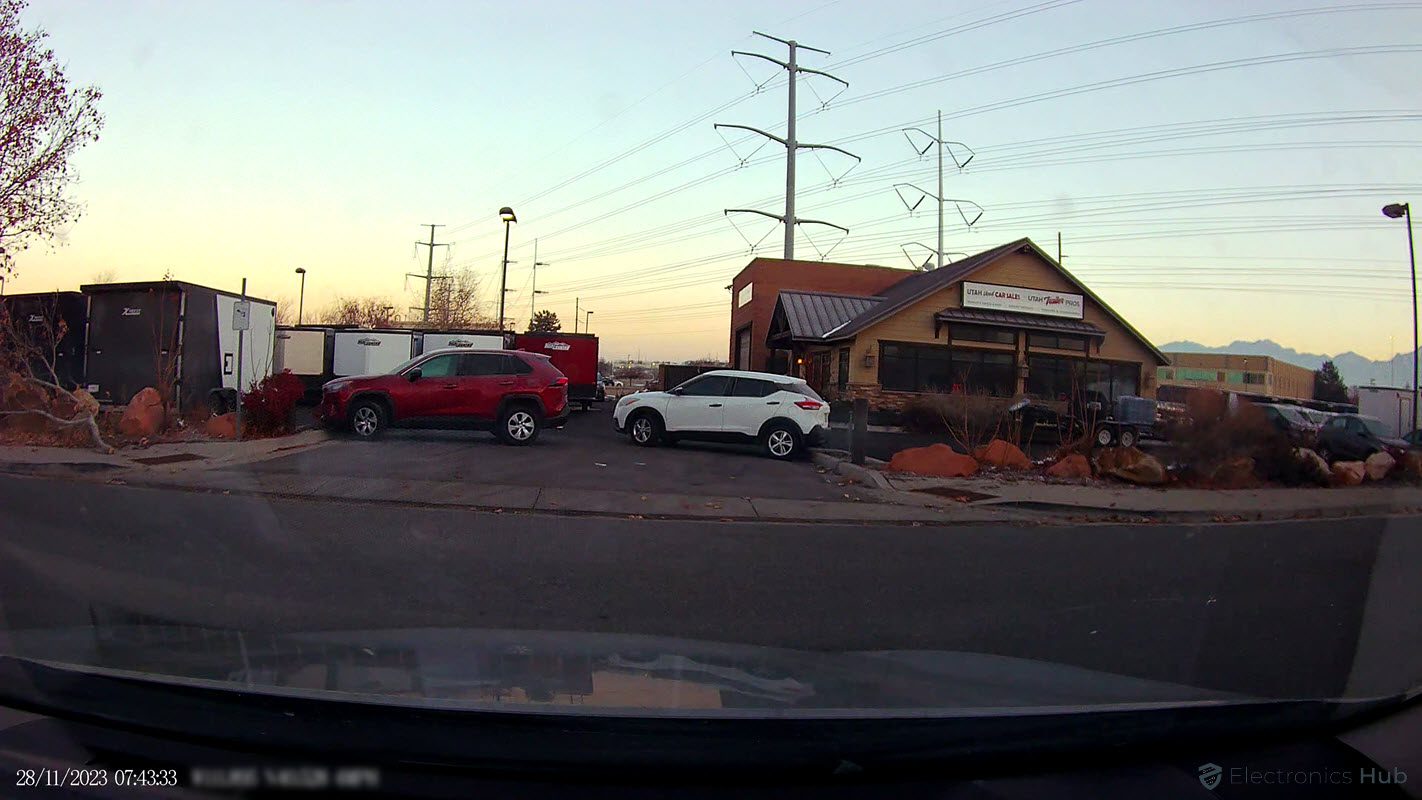
The daytime performance of the rear camera is good (but not great). We can clearly see the license plates of the vehicles in front or back of our car very clearly. Anything beyond that, things get a little blurry. The rear cam can record with an FOV of 150°.

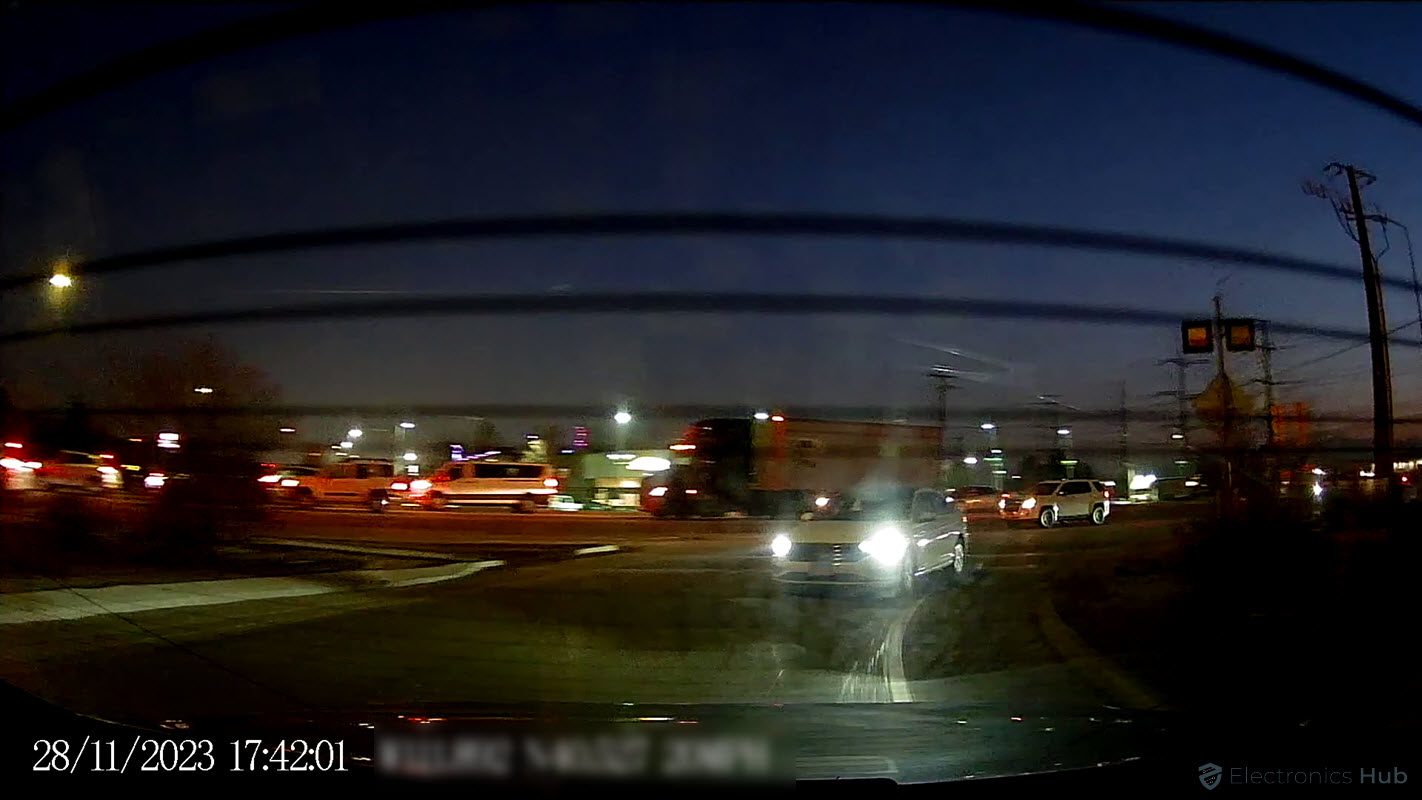
Ombar says it implemented a “Super Night Vision Technology” for better nighttime recording. The main dash cam (front dash cam) does a decent job while recording at night. The glare from the street lights and other vehicles is a big problem. But even with such limitations, we can get the license plate of the car in front using the Ombar Dash Cam.
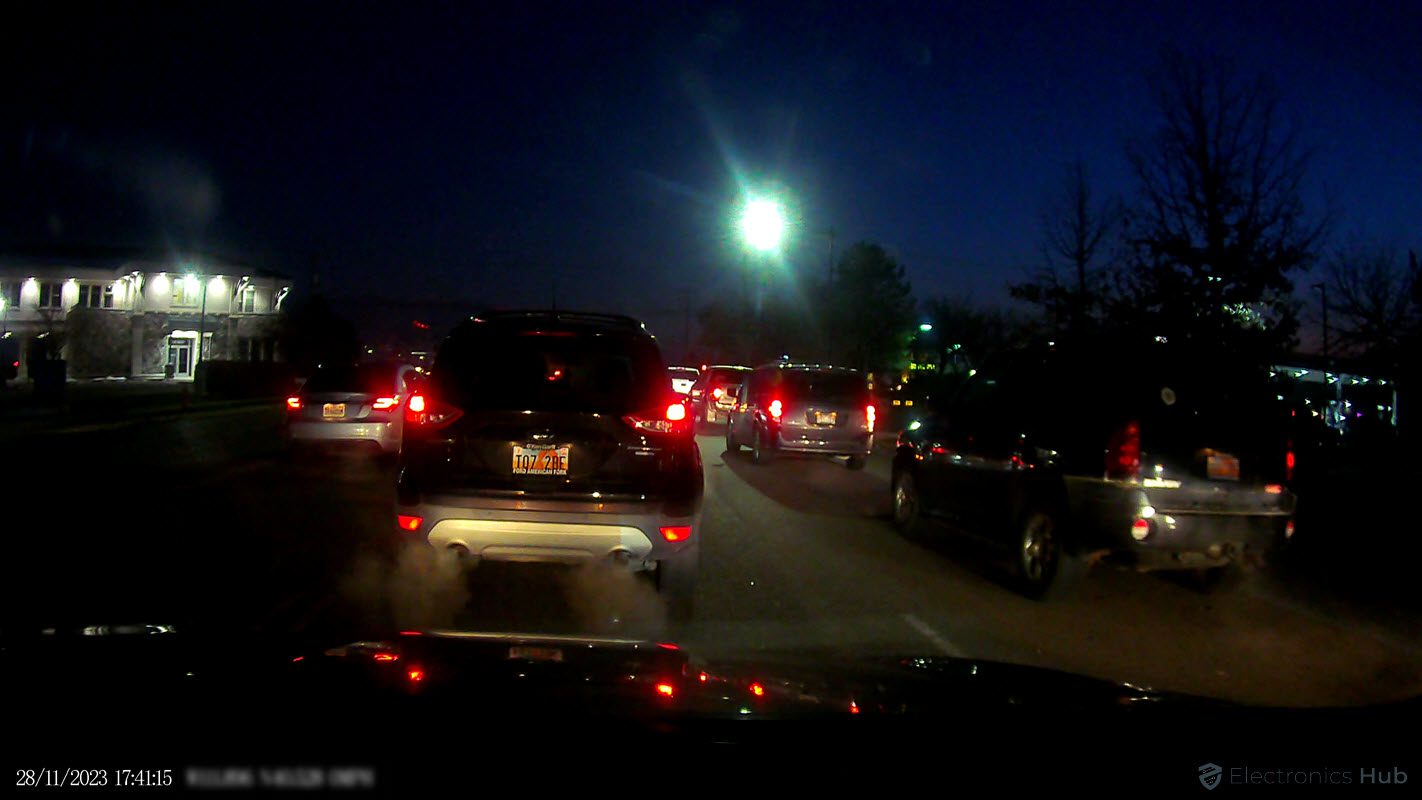
Things are a little difficult for the rear camera during nighttime. First of all, the low-light recording capability of this cam is good only if there are no vehicles behind us. But if there is a car or truck behind us with headlights on, there will be a big white spot (or several if there are multiple light sources) on the camera/footage and almost all the footage becomes pretty useless.
Resolution wise, the front dash cam can record in 4K with the option of scaling it down to 1440P or 1080P. We are glad that Ombar implemented H.265 Codec for the front cam as it can significantly reduce the file size without compromising the quality. The rear dash cam can record in 1080P and here the codec is H.264. The Ombar DC42 Dash Cam can record audio with the built-in microphone. As we said earlier, this dash cam has GPS so that all the footage will have a timestamp as well as location data.
While the Ombar Dash Cam has a built-in G-Sensor and Parking Mode, sadly we need an optional hardwire kit to enable this. Also, they should have included a polarizing filter to minimize the glare.
In order to control the settings or view the footage from the Ombar Dash Cam, we have to connect it to our smartphone through the Kacam app. This is available for Android as well as iOS platforms. Connectivity wise, the Ombar Dash Cam supports 2.4GHz and 5GHz Wi-Fi frequencies. Note that this is only for Wi-Fi Direct connection to control or view footage.
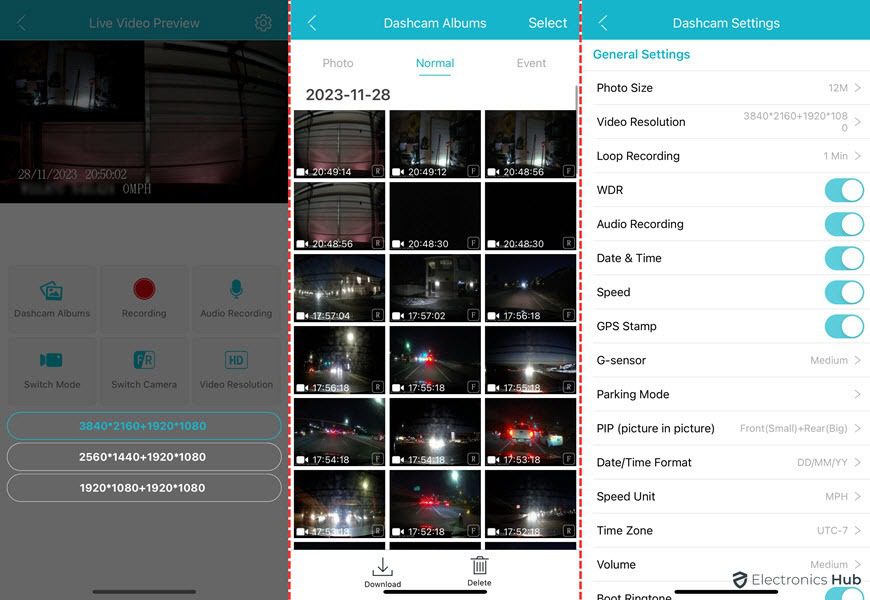
The app gives us a lot settings to fiddle with such as photo size, resolution, WDR, Audio Recording, speed units, and many more. We can view the footage in the microSD card directly through the app without taking the card out. You can also see the live-view from the das cam on the app.
The listing price of the OMBAR Dash Cam is $139.99 but the selling price (at the time of reviewing it) is $119.99. This of course includes both the front and rear cameras. With some coupons and discounts, you can get the dash cam kit for even less. If you want to enable Parking Mode, then you need to purchase the Hardwire Kit separately for $29.99.Ombar back this dash cam with a standard 1-year warranty.
Overall, we liked the compact size and a decent build quality of the Ombar Dash Cam. The kit has both front and rear cameras and installation process was a breeze. The package has all the necessary tools/components for a DIY installation.
The quality of the main/front dash cam is very good. The footage in daylight as well as nighttime is very viewable. The license plate of the vehicle in front is clearly visible (anything beyond that is a struggle). The rear cam does a pretty decent job during daylight but not that effective during nighttime.
If you are looking for a dual dash cam kit (front and rear cameras) at an affordable price, the Ombar Dash Cam DC42 is a pretty decent choice.
Get great content that you love. No ads or spams, we promise.
How To Guides
Product Reviews
For Students
Copyright © 2024 Electronicshub.org