Ever sent a perfectly crafted email way too late? Did you know that 42% of professionals actually send work emails outside of business hours? Crazy, right? It can be a bit awkward and disrupt the workflow of the person you’re talking to. But what if there is a way to ensure your emails arrive at the perfect moment, maximizing their impact?
Luckily, with Gmail’s scheduling feature, you can easily compose emails at your convenience and ensure they arrive at the perfect moment.
Before knowing the detailed scheduling process first, let’s understand why you might want to schedule an email in Gmail.
- Maybe you want to avoid sending emails at inconvenient times for your recipients.
- When you want to coincide with important events, deadlines, or other recurring events like birthdays, meetings, sync-up calls, etc.
- If you are working with colleagues or clients in different time zones.
- Or perhaps you want to review your mail to prevent typos, factual errors, or an overly emotional tone.
Outline
ToggleHow To Schedule Emails On Desktop?
Follow these simple steps to schedule an email on your desktop.
- Open your Gmail and click “Compose” to start a new email. Craft your email as usual, adding recipients, subject lines, and your message content.
- Look for the down arrow next to the blue “Send” button in the bottom left corner. Click it.
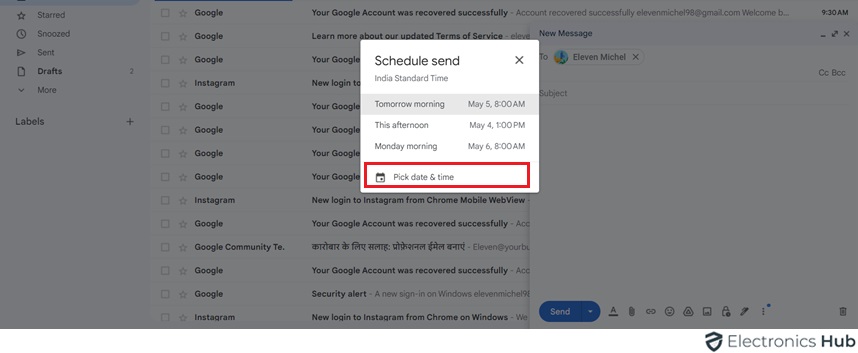
- Select “Schedule send” from the menu. You’ll see a few pre-set options like “Tomorrow morning” or “This afternoon” for quick scheduling.
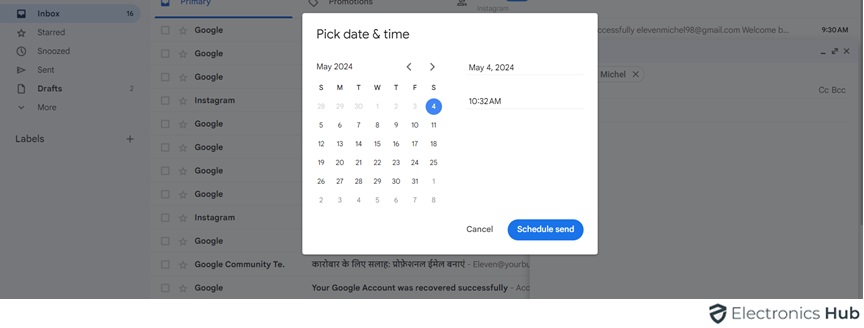
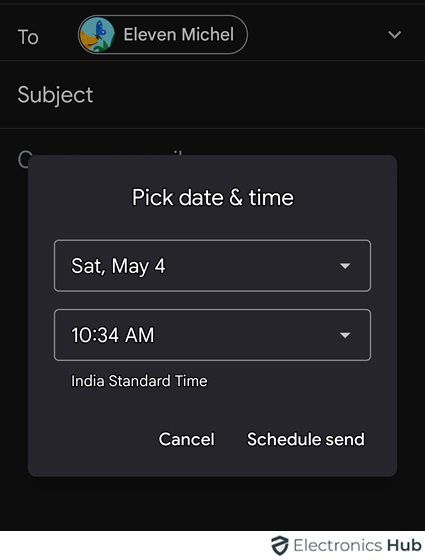
- For a specific date and time, choose “Pick date & time.” A calendar pop-up appears. Select your desired date and time, and your email will be delivered with perfect timing.
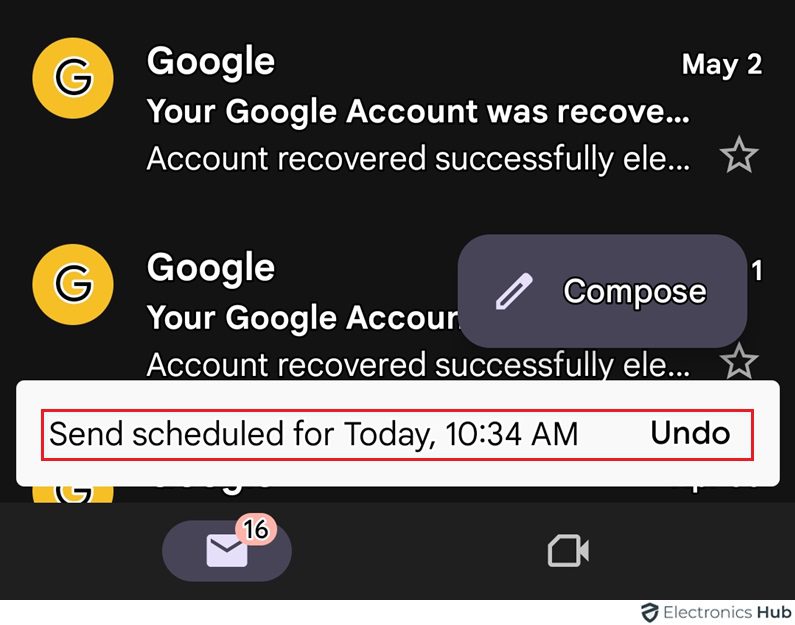
- Click “Schedule send” and your email will be whisked away to Gmail’s scheduling queue, waiting patiently for its appointed hour. You’ll see a confirmation message at the bottom of the compose window.
How To Schedule Emails On Mobile (iOS & Android)?
If you want to schedule an email via the Gmail app, just follow these steps.
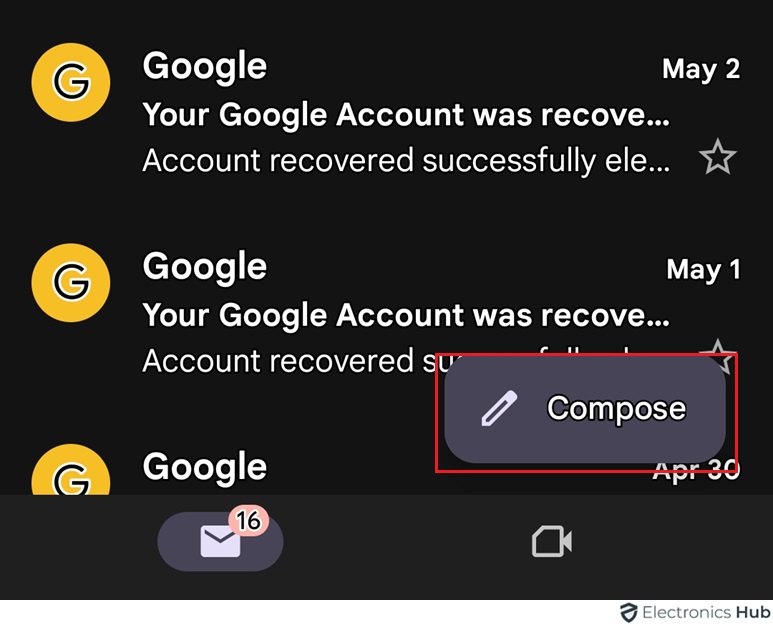
- Go to the Gmail app on your Android (or) iOS device and tap the compose button (usually found in the bottom right corner). Compose your email as you would on a desktop.
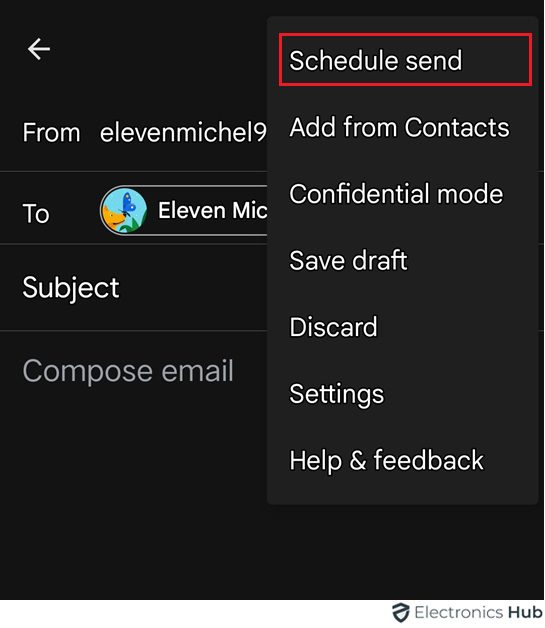
- Once your email is ready, tap the three-dot menu in the top right corner.
- From the menu, select “Schedule send.”
- Similar to the desktop version, you’ll see pre-set options.
- You can also select your preferred date and time, and tap “Schedule send.”
How To Edit A Scheduled Email In Gmail?
Gmail’s scheduling feature doesn’t allow direct editing of a scheduled email. However, you can get the same result by following these steps:
1. On Desktop
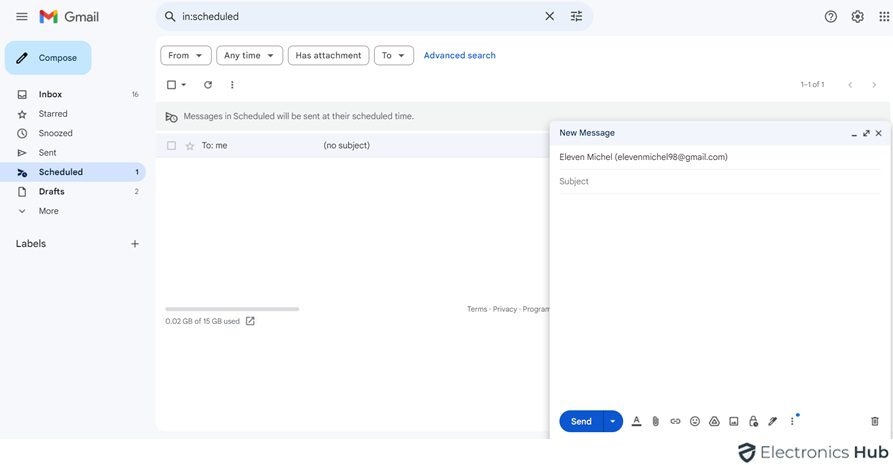
- In Gmail, navigate to the left menu and look for the “Scheduled” folder (it is located below “Sent”).
- Select the email you wish to edit in the “Scheduled” folder and click on “Cancel Send.”
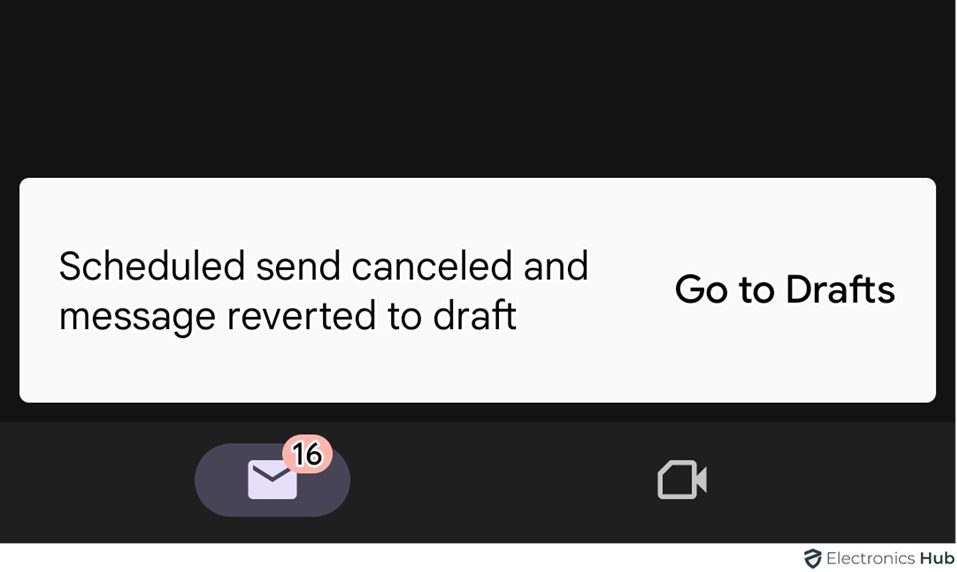
- After unscheduling, the email will revert to a draft. Make necessary edits to the recipient list, subject line, or message body.
- Once your edits are completed, you have two options:
a. Reschedule: Click on the down arrow next to “Send” button, choose “Schedule send,” select your desired date and time.
b. Send Immediately: Click “Send” to deliver the email right away.
2. On Gmail App
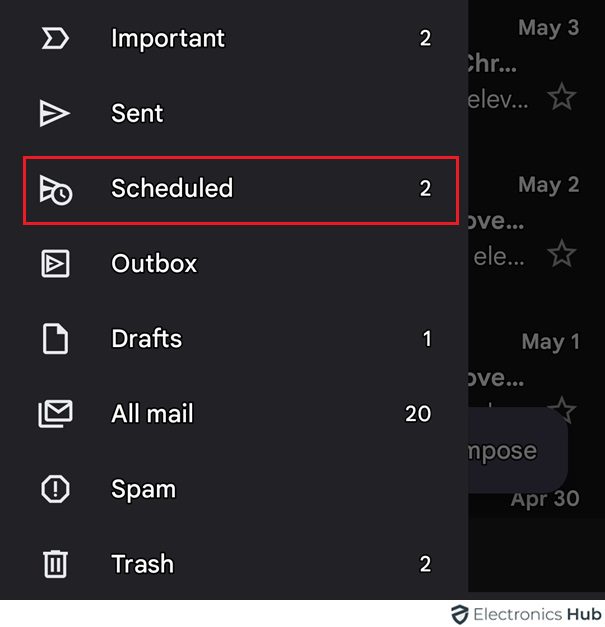
- Open the Gmail app and tap the menu icon (three horizontal lines) in the top left corner. From the menu, select “Scheduled.”
- Find the email you want to edit and tap on the email.
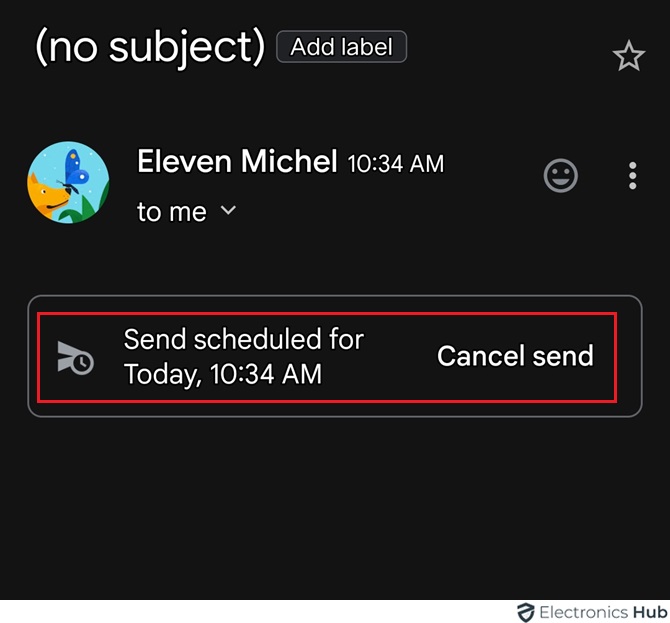
- Depending on your device and app version, you might see the “Cancel send” option at the top (or) bottom of the email view. Tap on it.
- The email will be saved as a draft. Edit the recipient list, subject line, or message body as needed.
- Once you are done reschedule (or) send immediately.
How To Cancel A Scheduled Email In Gmail?
To cancel a scheduled email in Gmail, follow these steps:
1. On Desktop
- Open Gmail and go to the left-hand navigation menu. Look for the “Scheduled” folder.
- Select the email in the “Scheduled” folder you wish to remove from the queue.
- Click on the email that you want to cancel. Hit on “Cancel Send.”
- Otherwise, tap “Cancel send” from the action bar.
2. On Gmail App
- Find the email you want to edit from the scheduled mail list.
- Depending on your device and app version, you might see the “Cancel send” option at the top (or) bottom of the email view. Tap on it.
That’s all, you’re done, and you can reschedule it later (or) delete it.
FAQs:
Scheduling functionality availability varies depending on the email provider. Some popular email services like Outlook and Yahoo Mail also offer scheduling features. It’s recommended to check your specific email provider’s support documentation for details.
No, Gmail doesn’t currently send notifications when a scheduled email is delivered. Just However, you can always check the “Sent” folder to confirm the email has been sent successfully.
Unfortunately, if you lose internet connection before the scheduled time, the email won’t be sent. Gmail requires an active internet connection to process the scheduled delivery.
Conclusion
Lastly, you’ll find that mastering scheduled emails in Gmail is a piece of cake, and this guide has given you all the information you need. Send your messages at your convenience and make sure they reach their recipients at the perfect time for maximum impact. Have a great time planning your schedule!


