Has the recent update or a simple misclick changed your Outlook’s view? A cluttered view makes it difficult to find important emails and manage your workload efficiently.
Don’t worry, you can quickly return everything to the familiar layout and restore Outlook’s default view. In this guide, we’ll take you through the simple process of resetting your Outlook default view step by step.
How To Reset Outlook View To Default
If your Outlook view gets changed, you can easily restore it to its default with just a few simple clicks. Here are some easy ways you can try to reset the default view in Outlook.
Using Outlook’s Ribbon
Follow these easy steps to change your Outlook’s view to default:
- Open Outlook on your Windows.
- Click on the “View” tab in the ribbon at the top of the window.

- Look for the “Current View” section on the “View” tab.
- Click on “Reset View” within the “Current View” section. A confirmation prompt will appear asking you to confirm that you are resetting the view.

- Click “Yes” to proceed.

Your Outlook view will now be reset to its default settings. Note that this only resets the view for the folder you are currently in. If you wish to reset the view for all folders, you have to repeat the process for each one.
If the app still isn’t how you want it, You can customize it according to your preference.
- Navigate to the “View” tab, click “Change View” and choose one of three options: “Compact,” “Single,” or “Preview” layouts.

Via A Special Command
There’s a handy command that can help you reset the view in Outlook back to its default settings. Let me show you how it’s done:
- Close Outlook if it is currently running.
- Press the Windows key + R on your keyboard to open the Run dialog box.
- Type the following command in the Open box: outlook.exe /cleanview
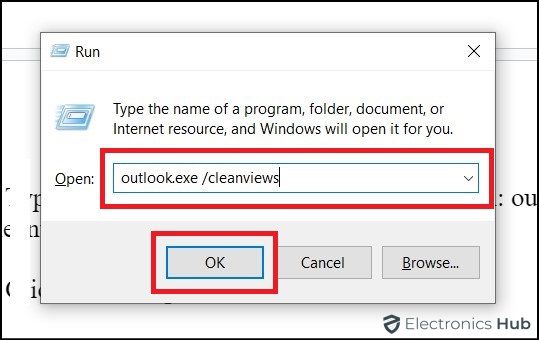
- Click “OK.”
When you use this command, all custom views in Outlook will be reset, not just the one you’re currently using. So, check if you have any specific customizations required before using this method.
Booting Outlook In Safe Mode
Sometimes, add-ins or corrupted settings can cause problems in Outlook. When you boot in Safe Mode, all add-ins are temporarily disabled, which helps you diagnose and fix any issues you may be experiencing. Here’s how to open Outlook in Safe Mode on Windows:
- Press the Windows key + R simultaneously on your keyboard. This opens the Run dialog box.
- Type the command: outlook.exe /safe in the Run dialog box.
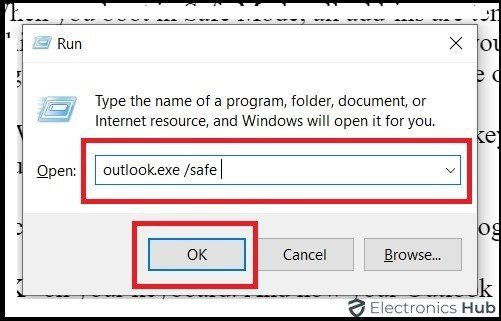
- Press “OK” on your keyboard. And now your Outlook will run in safe mode.
When your Outlook operates in safe mode, you can see “Safe Mode” displayed in the title bar of the Outlook window. Then click “Reset View” to restore your Outlook view to its default settings. Remember that restarting Outlook in Safe Mode does not resolve the underlying problem. It helps isolate the problem for further troubleshooting.
Disabling Outlook Add-ins
As mentioned above occasionally some add-ins can be the culprits in changing your Outlook’s view. If you suspect an add-on is causing problems, disable it and see if the issue persists.
- Open your Outlook and navigate to the “File” menu.
- Click on “Options” to access Outlook’s settings.
- Locate the “Add-Ins” tab on the left-hand pane, within the “Options” window.
- Ensure “COM Add-ins” is selected in the dropdown menu.
- Tap on the “Go” button next to the dropdown menu. This opens a window listing all your COM add-ins.
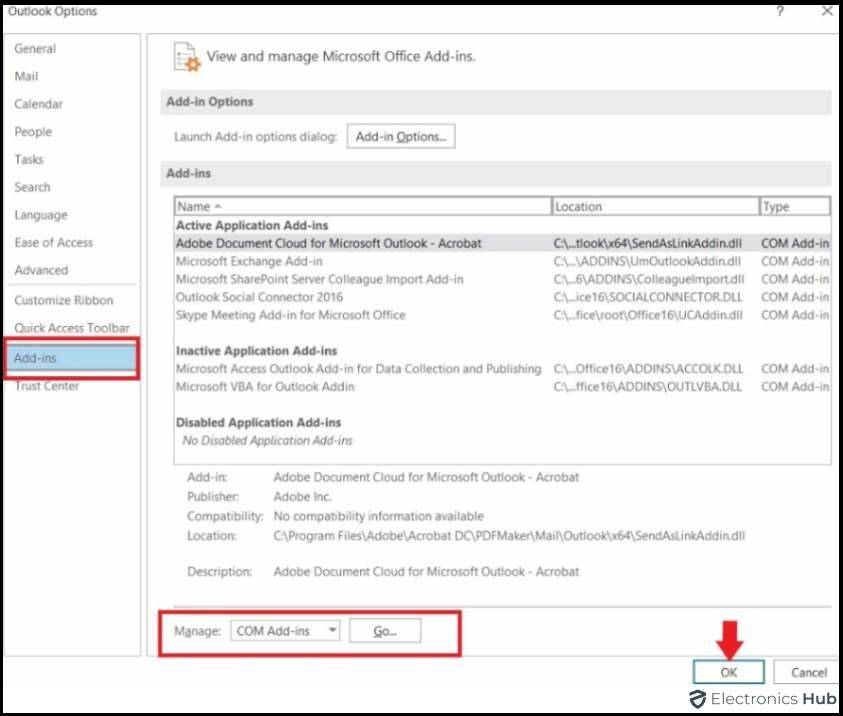
- Disable the box next to any add-in you want to disable.
- Hit “OK” to save your changes and restart Outlook.
Updating Your Outlook
Still, if your Outlook doesn’t get back to its default view, you can try updating it. Because updating allows you to benefit from the latest features, security fixes, and performance improvements.
- Launch the Outlook application.
- Click on the “File” tab located in the top-left corner of the window.
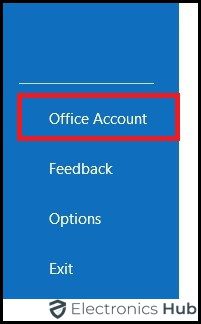
- Look for the “Account” or “Office Account” section depending on your Outlook version.
- Select “Update Options” to expand the menu.
- Choose “Update Now.” Now Outlook will automatically check for available updates.

- Tap on “Install Now” to download and install if any updates are available.
- Close and reopen Outlook after the installation process is completed for the changes to take effect.
Also Read: How To Transfer Emails From Outlook To Gmail?
Creating A New Profile
If you’re still having trouble returning to Outlook’s default view, one option is to create a new profile within the app and add your email account to it. Since Outlook syncs all your emails with your email provider’s cloud servers, you won’t lose any data when you do this.
To start,
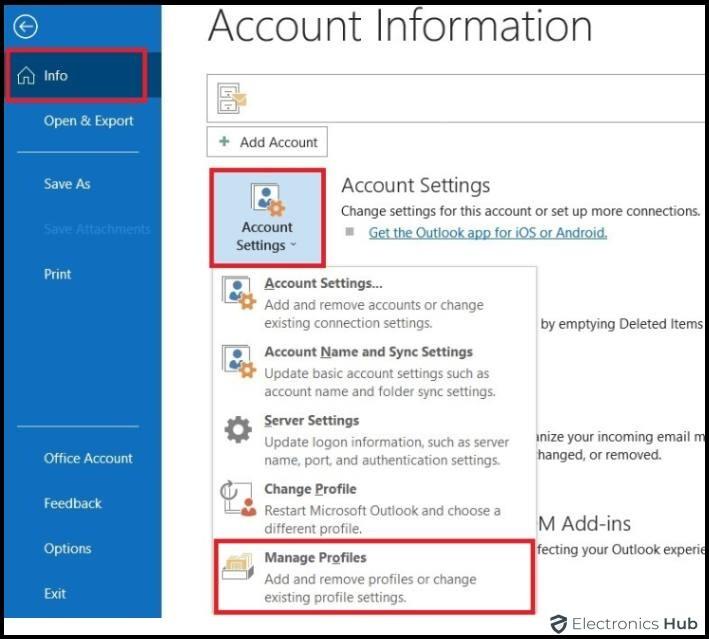
- Open Outlook and select File > Info > Account Settings > Manage Profiles.
- Select “Show Profiles” and choose “Add” to create a new profile.
- Type your new profile in the text box and choose “OK.”
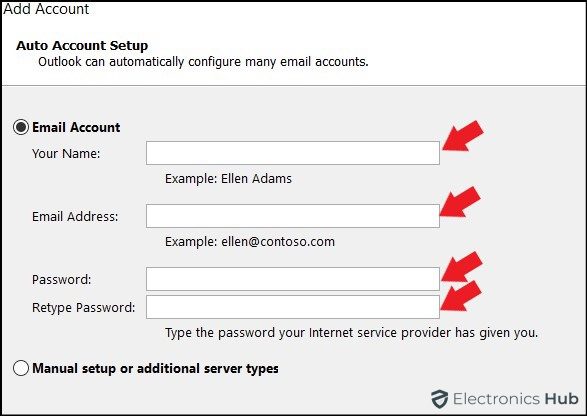
- Enter your email account details in the “Add Account” window.
- Click the “Always Use This Profile” from the menu.
- Hit “Apply” followed by “OK.”
How To Access Outlook View Options
To reset your Outlook’s view, it’s important to know how to access them. Imagine View Options as the knobs on a fancy stereo system. They allow you to customize the way you view your emails.
There are two ways to access these controls: the View Tab and the Ribbon Bar. Now, let’s explore these areas further and see how to use them to create the perfect email viewing experience.
View Tab
Generally, the View tab is located right at the top of the Outlook window. This is your central hub for all view-related functionalities. When you click on it, a whole bunch of view settings appear, ready for you to play with. These settings let you change things like how much information you see about each email, how they’re organized, and even how they’re grouped together.

So, open your Outlook explore the options, and find the view that makes Outlook work best for you.
Ribbon Bar
Another way to access view options is through the Ribbon Bar. The Ribbon Bar stretches across the top of your Outlook window. It’s divided into tabs, each dedicated to specific tasks. Each tab further unfolds into groups containing related buttons. For example, the “New” group within the “Home” tab lets you create new emails, meetings, or contacts. Clicking a button executes the corresponding action. The default Ribbon Bar layout is great for most users, but you can customize it according to your preference.

To customize the Ribbon Bar, simply right-click on any empty space and select “Customize Ribbon.” You have the flexibility to customize the tabs and commands, making it easier to adapt the experience to your specific workflow.
Once you grasp the ins and outs of the Ribbon Bar and its different tabs and features, you’ll be able to effortlessly navigate Outlook like a pro. So, explore the Ribbon Bar, try out new tabs and actions, and customize it to create the best Outlook experience for you.
FAQs:
To restore your Outlook email to the default view, open Outlook and click the “View” tab. In the “Current View” section, click “Reset View” and confirm. This should bring your email back to the standard layout.
If “Reset View” doesn’t work, try clicking “Change View” and choosing “Compact,” “Single,” or “Preview” depending on your preference.
There are many reasons why Outlook may interfere with your view. It could be a temporary glitch, or a setting accidentally getting switched. In some cases, corrupted data in your profile might be the culprit. Luckily, there are fixes! You can try resetting your view, creating a new profile, or even repairing your Office installation.
Genuinely, there isn’t one “best” view in Outlook, as it depends on your workflow. Here’s a popular setup for high productivity:
* Navigation Pane: Open for easy folder access.
* Conversations View: Groups emails by thread for quick reference.
* Reading Pane: Preview emails on the right without opening them.
* To-Do Bar: See upcoming tasks and appointments at a glance.
This setup keeps emails organized, highlights priorities, and helps you manage time effectively. You can customize it further based on your needs.
There are two main ways to change your Outlook’s display settings depending on your version:
* For the Outlook desktop app: Go to the “View” tab. You can adjust the layout (reading pane, folder pane), change font sizes, or create custom views for your inbox.
* For the Outlook web app: Click on “Settings” (gear icon) then “Mail” > “Layout”. Here you can control the reading pane and the overall mailbox density.
Conclusion
Finally, now that you’ve looked over all the ways to reset your Outlook view, it’s time to take action! Follow the easy steps outlined above, and in minutes you’ll have a clean, efficient view that suits your needs. So what are you waiting for? Reset your view right away and enjoy the perks of a simplified Outlook experience!
