In this tutorial/project, we will see how to setup the Raspberry Pi without monitor and keyboard. This type of setup is often called as Headless Setup of Raspberry Pi. Before going in to the details of the basic setup, let us take a brief look at the high performance single board computer – The Raspberry Pi.
Raspberry Pi is small pocket sized computer developed by the Raspberry Pi Foundation of the United Kingdom. Although the main reason for developing the Raspberry Pi series was to teach the basics of computer science and programming to the school students, the Raspberry Pi has reached in to a wider range of user like makers, hobbyists, electronics enthusiasts and even in the field of robotics.
As of March 2017, more than 12.5 Million Raspberry Pi Computers have been sold.
Raspberry Pi – Basic Setup without Monitor and Keyboard
Over the years, Raspberry Pi Foundation has released several versions of Raspberry Pi boards and the current version is the Raspberry Pi 3 Model B. It comes with loads of features like:
- A 64 – bit Quad Core ARMv8 Processor clocked at 1.2GHz (BCM2387).
- On – board WLAN (Wi-Fi) and Bluetooth (BLE)
- USB 2.0 Ports (4 of them)
- Ethernet Port
- GPIO Pins
- HDMI and Composite Video and many other features
From the brief list of features, it is clear that Raspberry Pi board comes with a great on – board hardware and options to connect different types of external modules like cameras, displays, keyboard, etc.
The main issue is that, when we buy this $35 small computer, all we get is the board and we need to connect it to a monitor or TV through HDMI and a keyboard or mouse through USB in order to make use of its potential.
But there is a way to get started with Raspberry Pi without monitor and keyboard. As mentioned already, this type of setup is called headless setup of Raspberry Pi.
In this project, I’ll take you through a step – by – step process of installing the newest version of the Raspbian OS (Raspbian Jesse) on Raspberry Pi without connecting it to a monitor or keyboard (well, technically, we need a computer to make this happen).
Hardware needed for Headless setup of Raspberry Pi
First, let us gather all the hardware components required for the setup. In order to setup the Raspberry Pi, we need the following components.
- A Computer with Internet connection (Laptop or Desktop)
- Raspberry Pi 3
- 5V – 2A Power Supply (Recommended by the Raspberry Pi) with microUSB connector
- MicroSD Card (minimum 8GB)
- SD Card Adapter (USB type or standard SD Adapter)
- Ethernet Cable (in addition to the one used for computer)
- Access to the internet router (if no access, do not worry, we have an alternative)
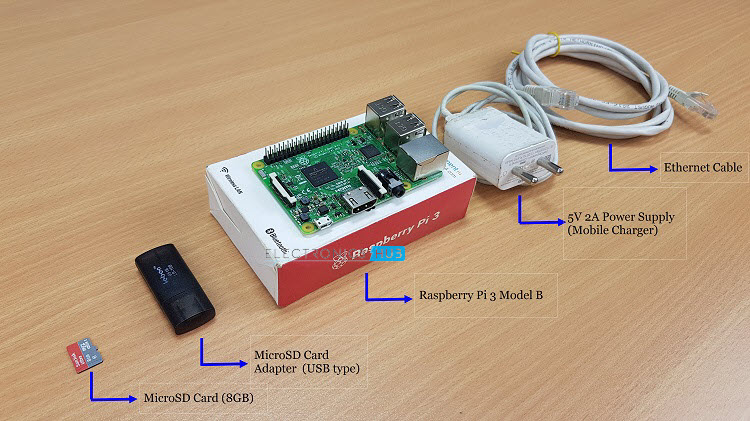
I’ll be explaining the setup process using a Windows PC. The steps will be similar in Mac as well (with slight variations like terminal in Mac and Putty in Windows, for example). For powering the Raspberry Pi, I’ve used a 5V – 2A Mobile Charging Adapter with microUSB connector.
Getting started with the Headless Setup of Raspberry Pi
Formatting the microSD Card
First, we need to properly format the microSD Card, on which we are going to install the operating system for the Raspberry Pi. For this, I’ve used the official SD Card Formatter tool from this website
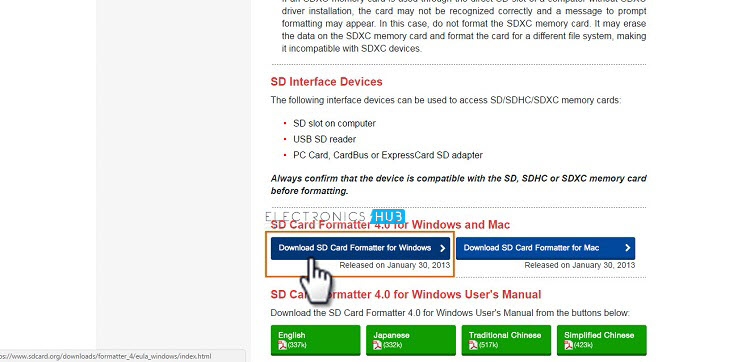
Download the SD Card Formatter Software and install it. Insert the microSD card into the adapter and plug the adapter into the USB port of the computer. Some adapters will be of microSD to Standard SD and they must be inserted into a dedicated SD Card slot.
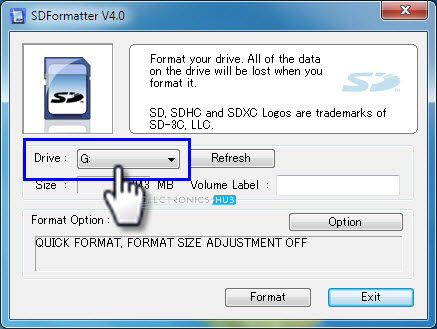
Open the SD Card Formatter tool and select the correct drive which we need to format. After that, go to options and set the FORMAT SIZE ADJUSTMENT to ON. Then format the microSD Card.
Downloading the Operating System
Now, we need to download the operating system for our Raspberry Pi. I’ve used the Raspberry Pi Foundation’s official operating system – Raspbian. It can be downloaded from this page
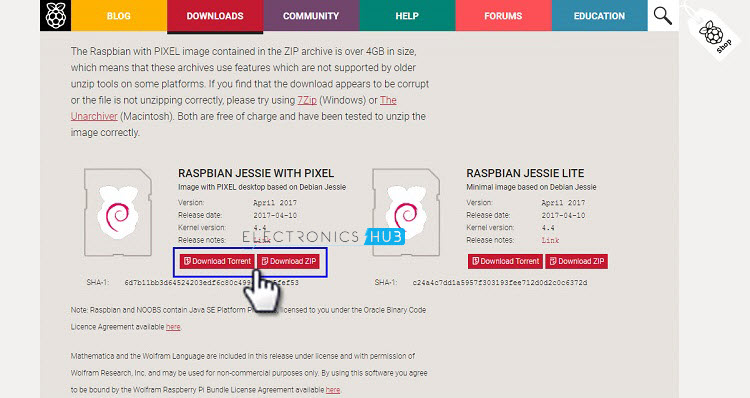
If you observe, there are two variants of the Raspbian OS: Raspbian Jessie with Pixel and Raspbian Jessie Lite. I’ve used the Raspbian Jessie with Pixel as it has a Graphical user Interface (GUI).
After downloading the OS (it will be downloaded in zip format), unzip the contents to a folder. You can find the operating system file with extension .img (image file).
Writing the Raspbian OS to microSD Card
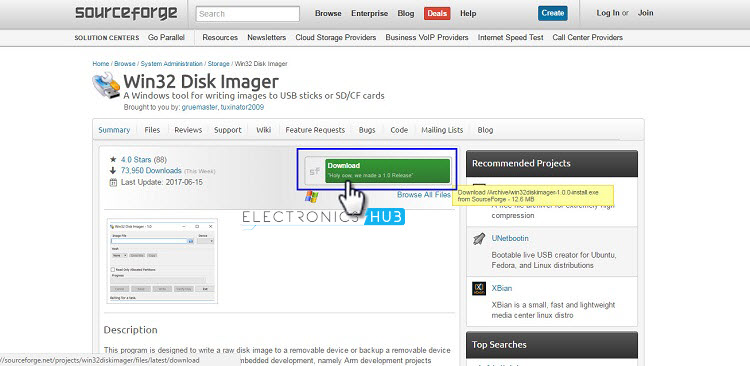
We need to write this OS on to the microSD card. For this I’ll be using the Win32 Disk Imager software. It is a free software that you can use to write image file (.img) on to USB drives or SD Cards.
It can be downloaded from here and install it on your computer.
Open the Win32 Disk Imager software and first select the correct drive letter of the microSD Card (assuming the microSD card is already inserted and formatted). Then select the Raspbian Jessie image file (.img), which we have downloaded and unzipped in to a folder, by clicking on the folder icon.
Then you can click on the Write button on the Win32 Disk Imager. The size of the Raspbian Jessie image file will be around 4GB and hence depending on the write speed of the microSD card, it will take anywhere between 1 to 10 minutes to complete the writing of the image file.

Enabling SSH (Secure Shell)

In the recent Raspbian Operating Systems, the SSH Server is disabled by default. If you are using your Raspberry Pi with a monitor and a keyboard, we can enable the SSH with the help of Raspberry Pi Configuration Settings in the Preferences menu or using the terminal window.
Since we are setting up the raspberry pi without monitor and keyboard (i.e. the headless way), we do not have access to the terminal yet.
There is an alternative way to enable the SSH Server. After you are done with writing the Raspbian OS on to the microSD Card, open the SD Card and create a file with name “SSH” and no extensions in the boot partition of the microSD Card.
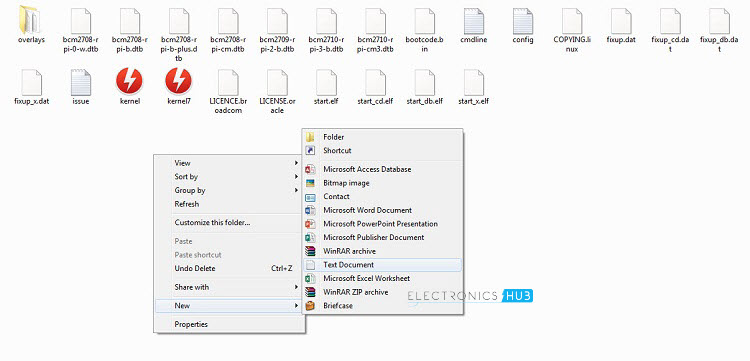
First, open the microSD Card and select the Organize option on the top left corner.
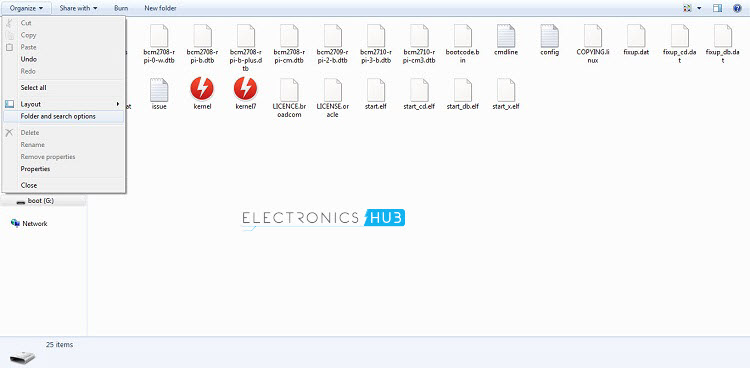
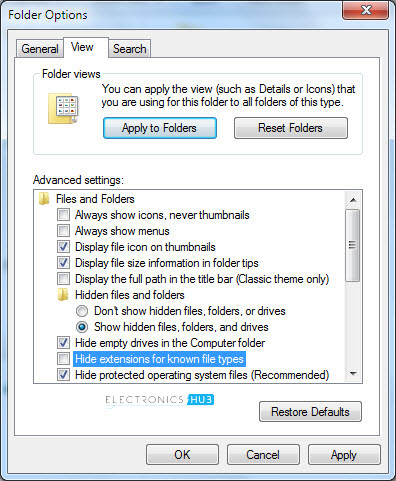
Then click on Folder and Search Options. Go to View tab and uncheck the “Hide extensions for known file types” option.
Then, right click on the empty space and create a New Text Document.
Delete the name “New Text Document” and also the extension “.txt”. Then enter “SSH” without any extension. You will get a warning message, just click on Yes. The SSH file is created.
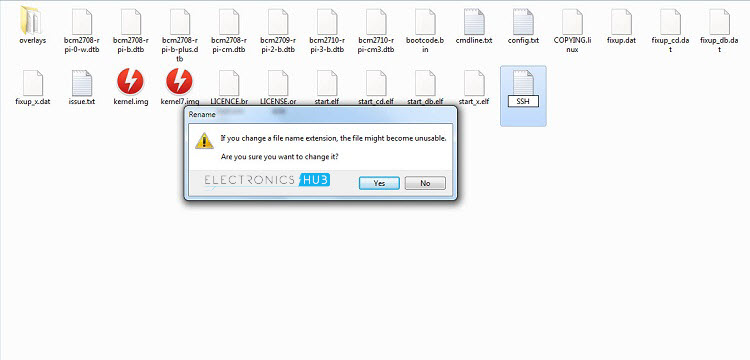
NOTE: When we boot the Raspberry Pi, it looks for the SSH file and since we created it, the Raspberry Pi will enable the SSH and then deletes the file.
Now, you can insert the microSD Card in to the slot on the Raspberry Pi. Before powering it up, we need two more tool to continue with the setup.
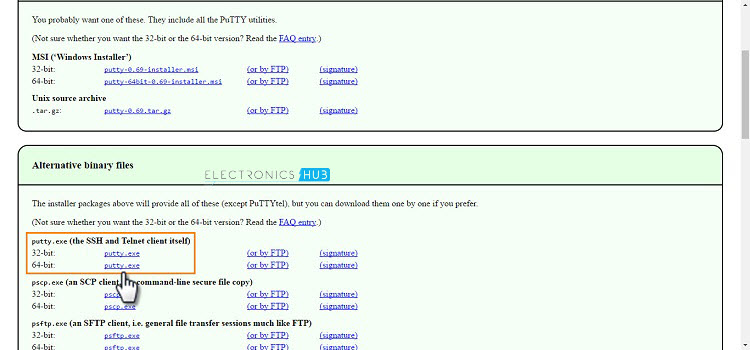
Since we don’t have access to the command prompt of the Raspberry Pi yet, we need a tool called Putty, which acts as a remote SSH Server so that we can access the Raspberry Pi’s command prompt from a remote computer.
Putty can be downloaded from this link
Another software we are going to need is the Advanced IP Scanner. This tool will scan for the devices connected to a router and displays the corresponding IP Addresses.
We need the IP Address of the Raspberry Pi. So, download the Advanced IP Scanner from here . There is no need to install as there is a portable version which can be run directly from the downloaded file.

Booting up the Raspberry Pi

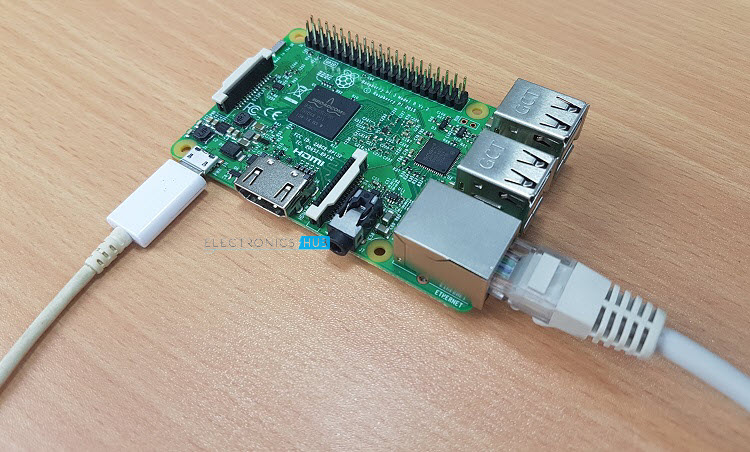
After we have done all the above steps, we are now ready to boot the Raspberry Pi. Before turning on the power, make sure that the Raspberry Pi is connected to the internet through an Ethernet cable. After plugging in the Ethernet cable and the micro USB cable in to the Raspberry Pi, turn on its power supply.
First thing we need to do is get the IP Address of the Raspberry Pi. Open the Advanced IP Scanner tool which we just downloaded and select the Run option. After the tool opens up, click on the Scan option.
The tool then lists out all the devices connected to the router along with their IP Addresses. In our case the IP Address of our Raspberry Pi is 192.168.1.3. Note down this IP Address.

Then, open Putty and enter the IP Address of the Raspberry Pi in the Host Name (or IP Address) field. The rest of the fields like Port 22 and Connection Type as SSH are unchanged.
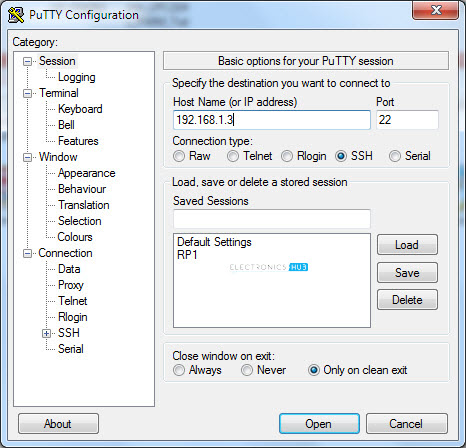
Click on Open and if everything goes well, we will get a warning message from Putty about the SSH Server.
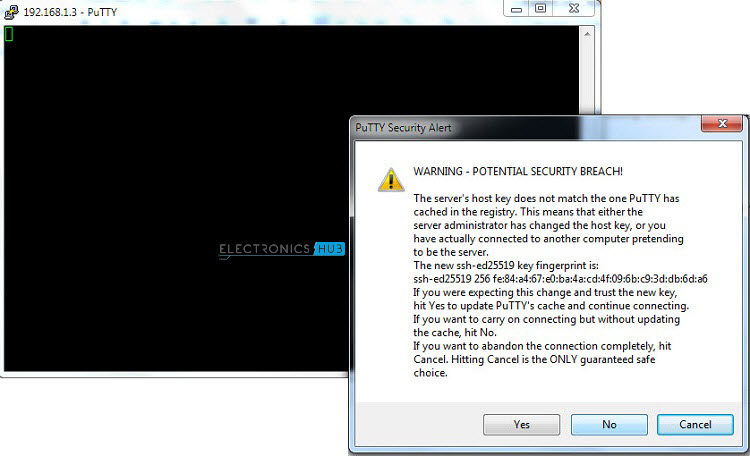
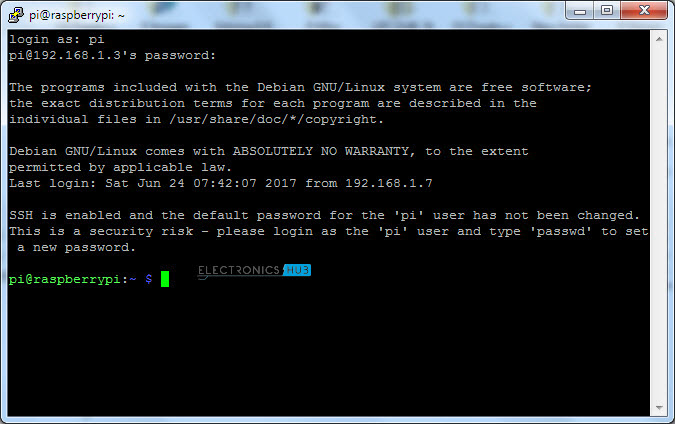
Just click on Yes. If the SSH connection is successful, you will get the Raspberry Pi’s Login Page.
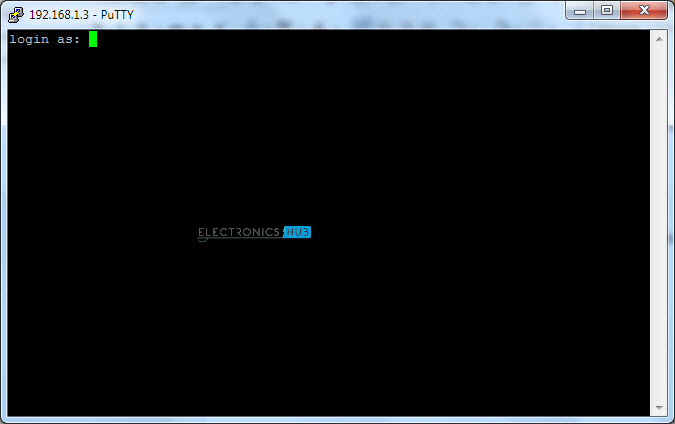
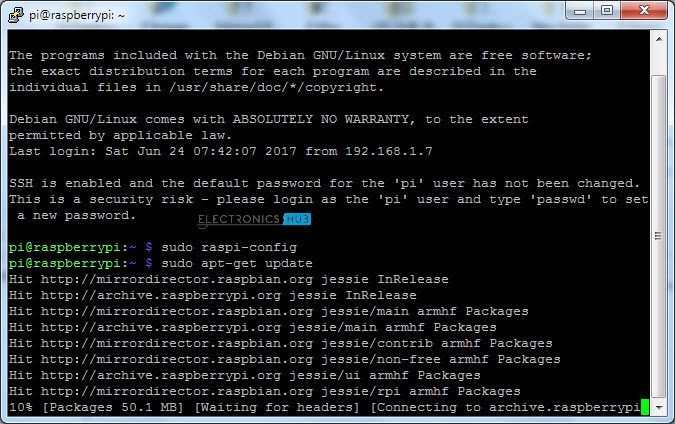
If this is the first time you are using your Raspberry Pi or haven’t changed the default password, enter the default username as pi and when you hit enter, you need to enter the password which is raspberry.
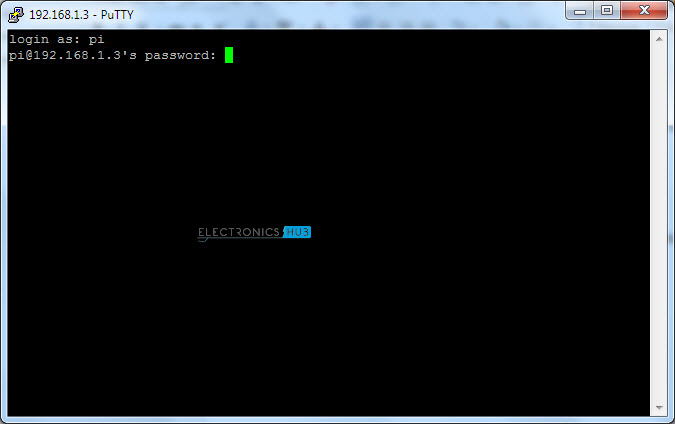
Username – pi Password – raspberry
NOTE: When you enter the password, there will just be a blank space and nothing gets printed on the screen. Do not worry. Just enter the correct password and hit enter.
You are now successfully logged in to the Raspberry Pi through SSH.
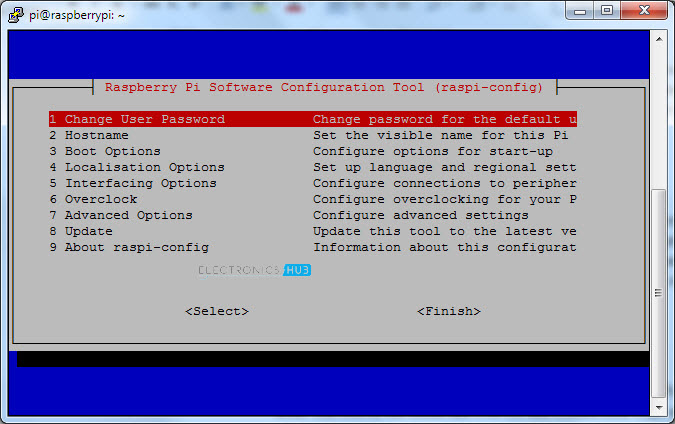
If you want to configure your Raspberry Pi like changing username, password etc. , type sudo raspi-config on the terminal and hit enter. You will now enter in to the Configuration Settings of your Raspberry Pi.
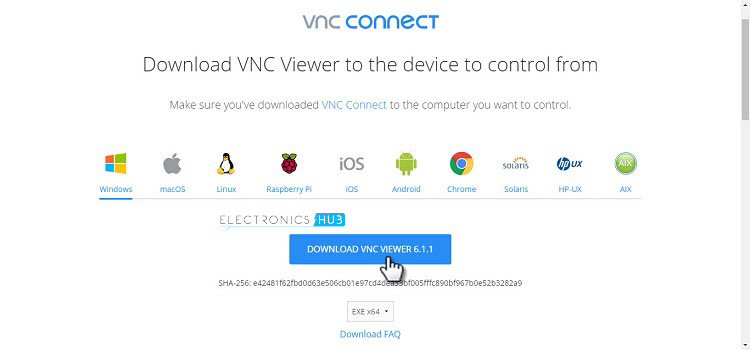
Accessing the Desktop of Raspberry Pi using VNC
We will continue with the setup by accessing the desktop of Raspberry Pi on the computer we are using. For this we need a VNC (Virtual Network Computing) software like RealVNC. The RealVNC Viewer can be downloaded from here
Now, we need to setup the VNC option in our Raspberry Pi. For this first let us update the operating system of the Raspberry Pi by entering sudo apt-get update on the Putty terminal.
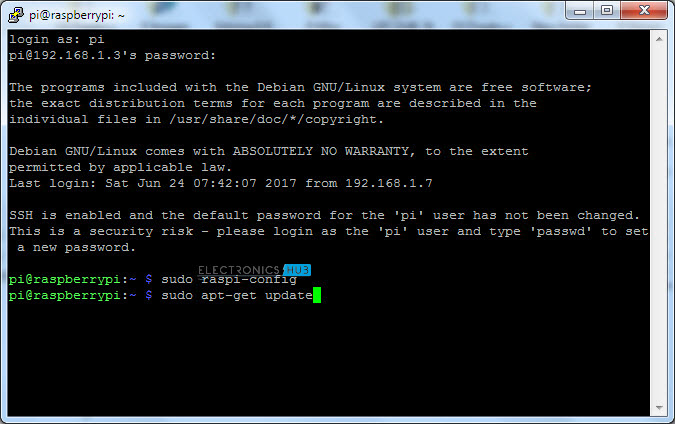
This command will check for any updates and if there are any, it will download and update.
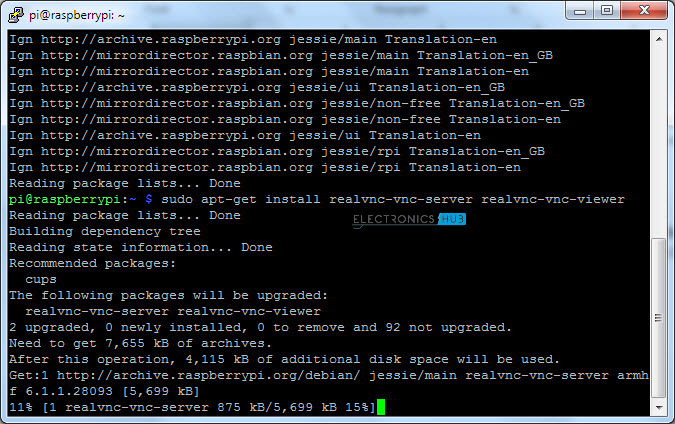
After this, we need to install the VNC Server and VNC Viewer on the Raspberry Pi. For this we need to enter sudo apt-get install realvnc-vnc-server realvnc-vnc-viewer on the Putty.
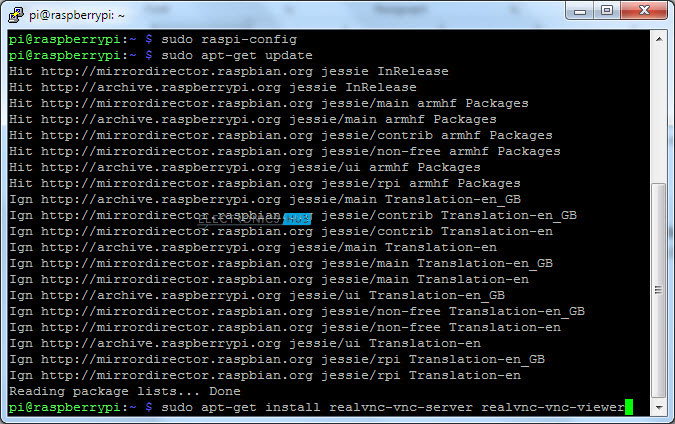
This command will install the VNC Server and VNC Viewer on the Raspberry Pi.
After installing, we need to enable the VNC Server of the Raspberry Pi from the configuration settings. So, enter sudo raspi-config on the Putty.
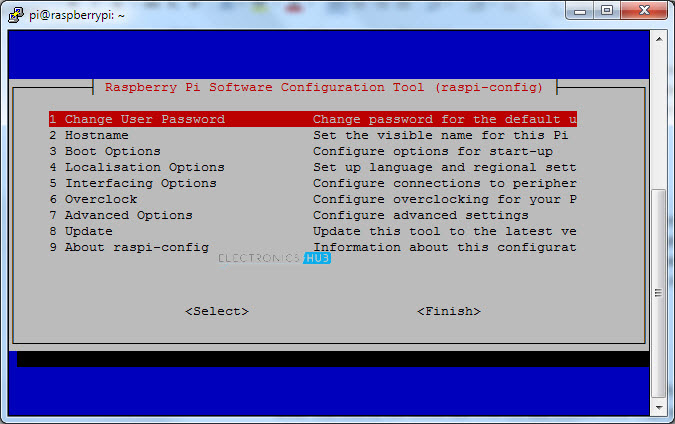
Select Interfacing Options and select VNC from the list.
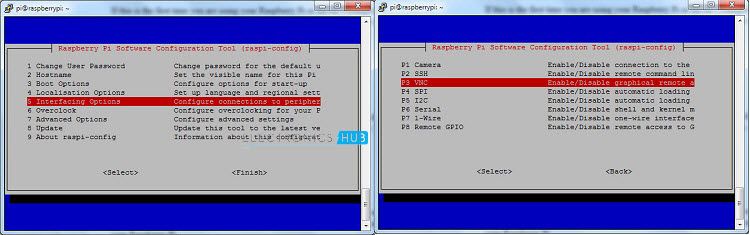
Enable the VNC by selecting YES option. You will get a confirmation message that VNC is enabled.

If you want to change the resolution of your display, you can probably change it now by going in to Advanced Options in the Configuration Settings and selecting Resolution.
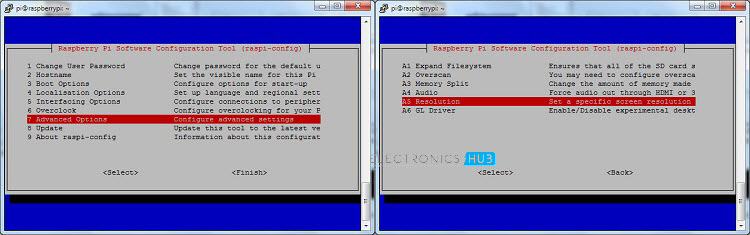
You will get a list of possible resolutions and in our case, the laptop supports a maximum resolution of 1366 x 768. So, I have selected 1280 x 720. You will once again get a confirmation message saying the display resolution has been changed.

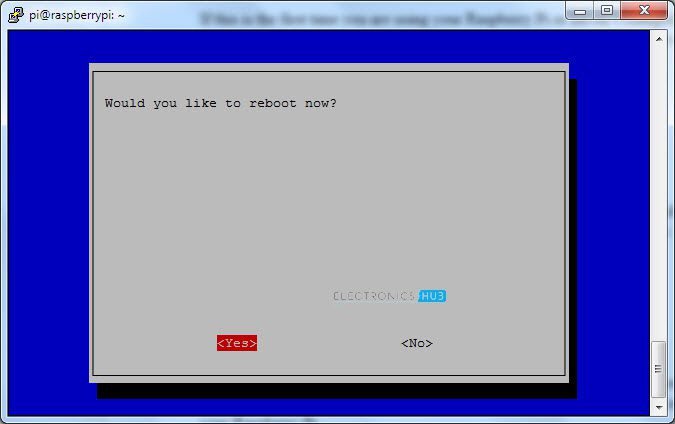
Go back to main window of the Configuration Settings and select Finish. It will ask you to reboot. Click on Yes. Your Raspberry Pi will now reboot.
NOTE: Putty will lose connection with Raspberry Pi after reboot. If you want to use Putty, close it and open it again.
Now, that we have enabled VNC and changed the display resolution of the Raspberry Pi, we are now ready to begin our final step. Open the VNC Viewer which we have downloaded earlier and enter the IP Address of the Raspberry Pi in the address bar and click enter.
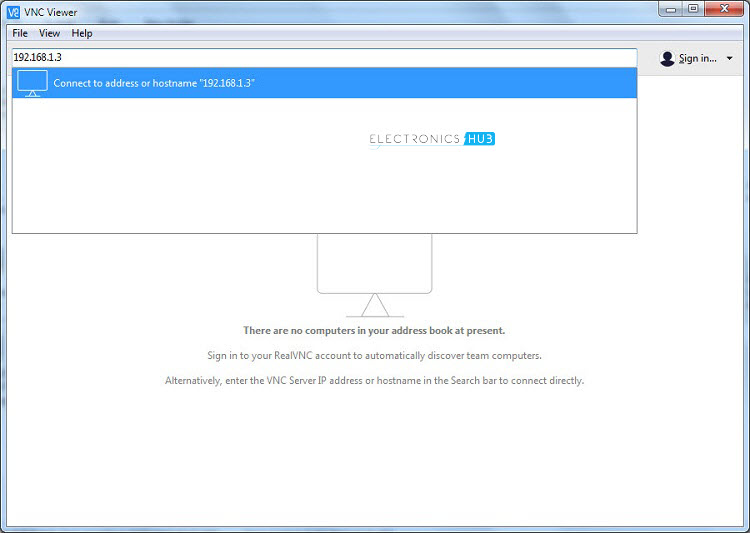
You will get a warning message from VNC Viewer and just click on Continue. Then the VNC Viewer asks for the username and password. If you haven’t changed them using the Raspberry Pi’s configuration settings earlier then enter username as pi and password as raspberry.
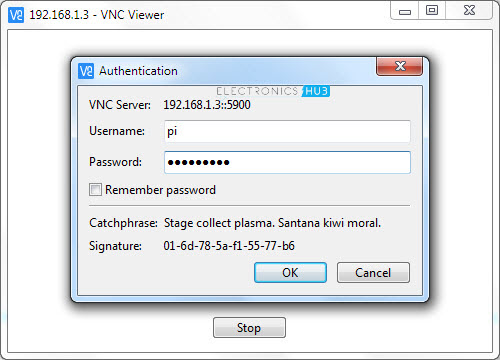
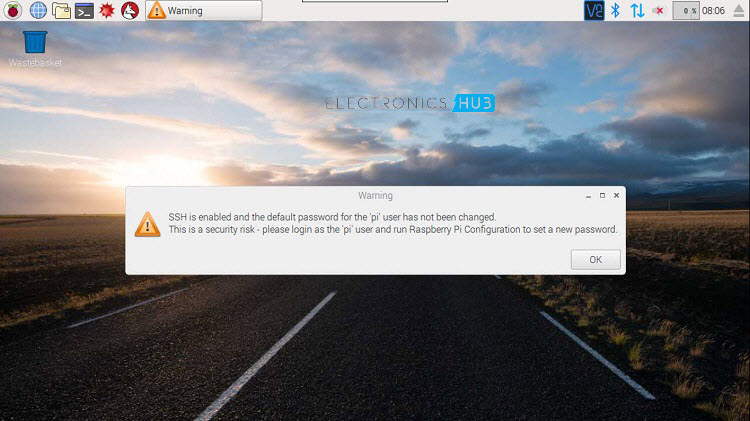
Tada!!! You have now access to the Raspberry Pi’s Desktop.

11 Responses
I GOT ME A RASPBERRY PI 3 GOT READ MORE ABOUT IT TOO USE LOL
Thanks, it worked as you described.
Thank you so much. Your sharing is very useful.
i want to connect projector with pi.
pls give me steps
thanks !!! it worked perfectly. Well sequenced document.
The is a hand-on-hand tutorial. Many thanks!
Thank you so much! It has been working perfectly.
Thank u thank u so muchhhhh!
I do not understand how to connect the pi to the internet? please help
after setting up all the things on the pi and load the code (that I write in my laptop for counting people using Open CV for example), can I unplug the RPi from the computer and install it in a place where I planned use it ? no physical and wireless connection withe computer..
Please reply me by email
Why do you guys alway tell us to use windows when The Raspberry Pi is all about Linux !!